How to Enable IIS [Internet Information Services] in Windows 11?
Simple steps to enable IIS in Windows 11!
How to Enable Internet Information Services in Windows 11?
IIS in Windows 11: Discover the power of Internet Information Services (IIS), the robust web server developed by Microsoft for Windows environments. IIS plays a pivotal role in hosting and managing websites, web applications, and services, ensuring seamless connectivity and optimal performance. This step-by-step guide will walk you through the seamless process of enabling IIS in Windows 11, transforming your system into a dynamic and efficient web server. Let us get into the steps right away.
Prerequisites:
Some key points you need to remember before enabling or disabling the IIS on your Windows 11 pc.
- Operating System Compatibility– Ensure that your system is running on Windows 11
- System Updates– Make sure your Windows 11 operating system is up to date.
- Administrative Privileges– You must have administrative rights on your Windows 11 PC.
- Internet Connection– While not always necessary, an active internet connection can be beneficial.
- Hardware Requirements– Ensure your device meets the minimum hardware requirements.
Enable IIS in Windows 11 – Quick Steps:
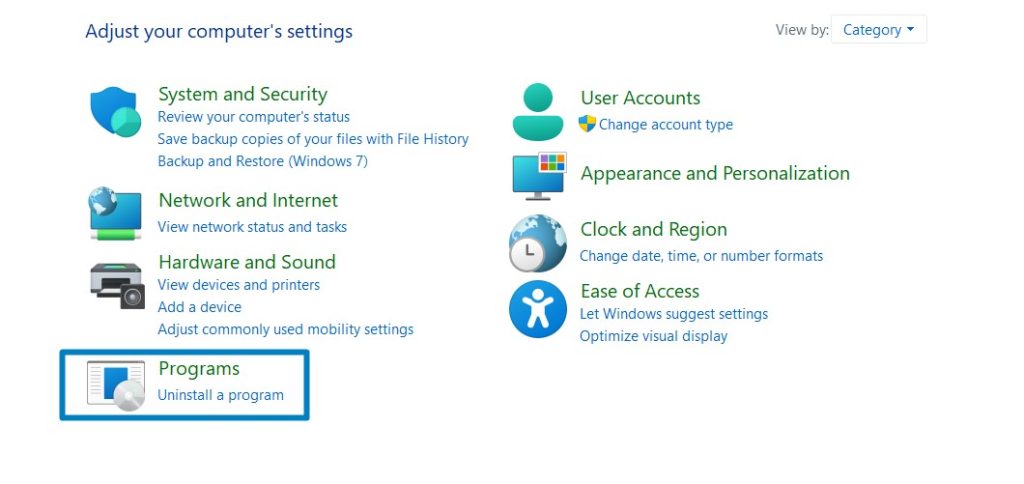
- Click on the Start Menu and open the Control Panel.
- Switch the Control Panel view to Category.

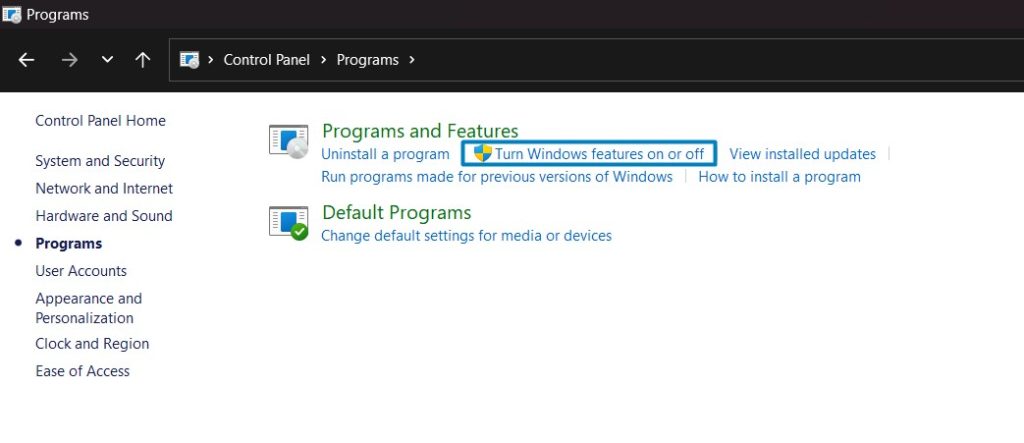
- Now, Click on Programs.
- Under Programs and Features, click on Turn Windows Features on or off.
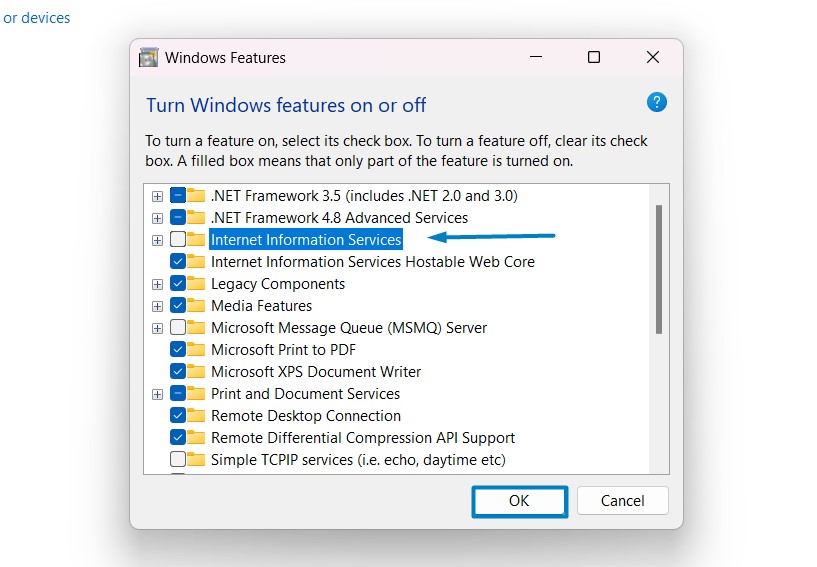
- Windows Features dialog box will open now. From the list of services available, search and locate Internet Information Services.
- Click on the checkbox next to the Internet Information Services and then click on OK.
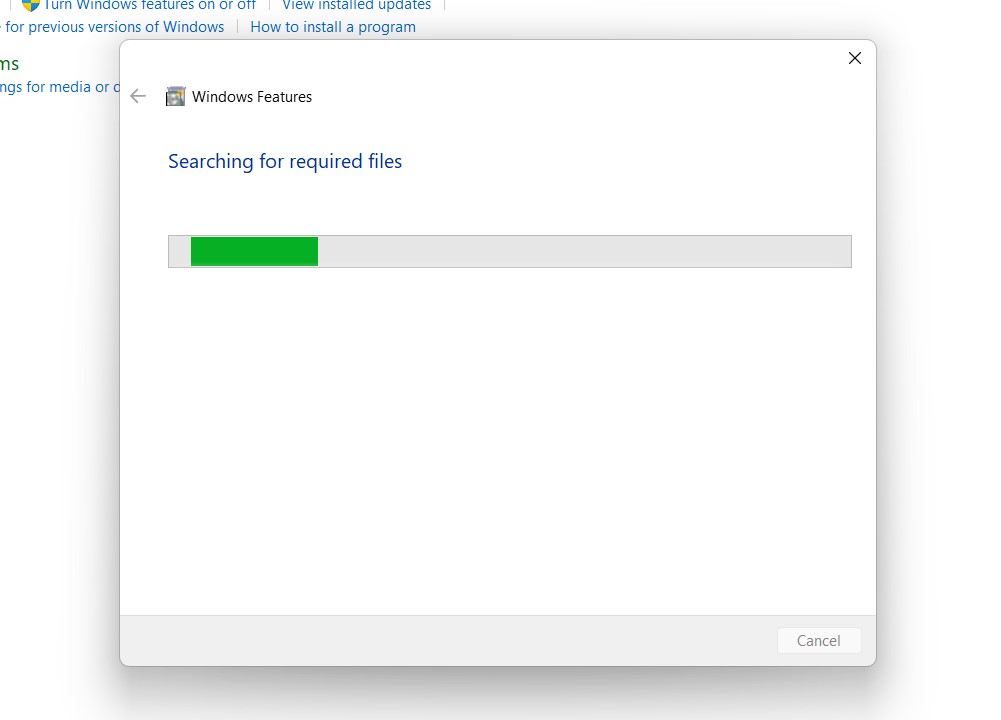
- Windows 11 will search for the required files.
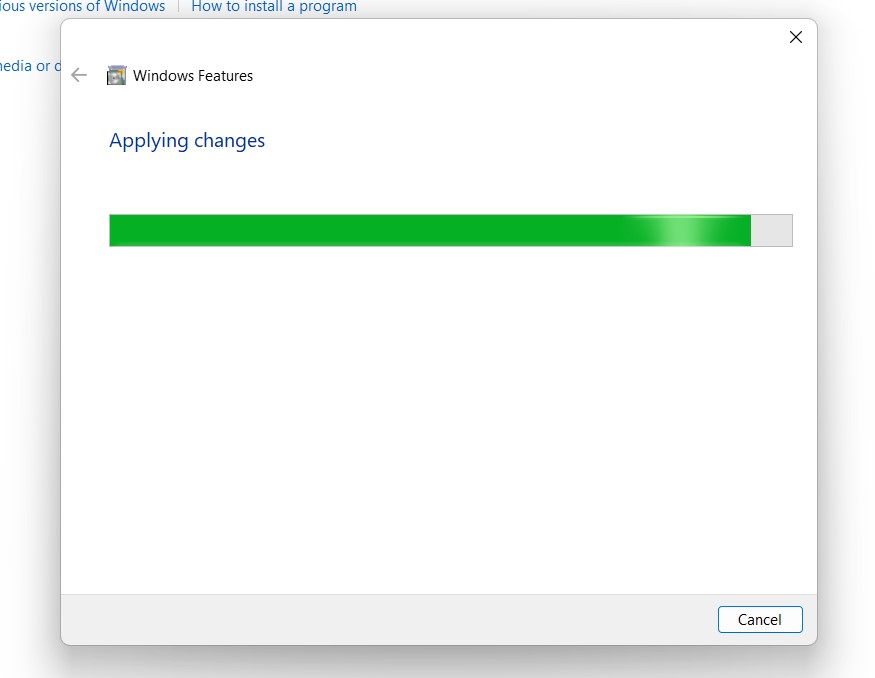
- After the process, Windows will apply the necessary changes.
- The system will prompt for a restart. Continue with Restart now. It is recommended so that changes made to the system reflect while using the environment. Click Close.
- That is it, Internet Information Services [IIS] is now enabled in your Windows 11 laptop or PC. Enjoy Seamless Connectivity.
Internet Information Services Components:
IIS in Windows 11 contains several components. You can either turn it on altogether by following the above steps, or you can manually choose the components in Windows 11. The primary components are as follows
- FTP Server
- Web Management Tools
- World Wide Web Services
The above components include various sub-components like IIS 6 Management Compatibility, IIS Management Console, Application Development Features, .NET Extensibility 3.5, .NET Extensibility 4.8, WebSocket Protocol, Server-Side Includes, CGI, FTP Service, and more.
To manually choose the primary components, please follow the below steps.
Click on the Plus symbol next to the Internet Information Services. From the dropdown, you will be able to choose the primary components, and their corresponding sub-components, you can choose to keep the components enabled or disabled according to your convenience and requirements by using the corresponding checkboxes next to the components.
Disabling IIS [Internet Information Services] in Windows 11?
If you are aware of the enabling process, then disabling IIS in Windows 11 will be a piece of cake. The following are the steps.
Step 1: Access the Control Panel
- Tap the Windows key or winkey on your keyboard to open the Start menu.
- Type “Control Panel” in the search bar and click on the app when it appears in the search results.
- Now goto the Control Panel allows you to modify system settings, including enabling or disabling Windows features.
Step 2: Switch to Category View
- In the Control Panel window, look at the top right corner and find the ‘View by’ dropdown menu.
- Click on the dropdown menu and select “Category.” This changes the layout to a more intuitive, categorized list of settings.
Step 3: Access Windows Features
- In the Control Panel under “Category” view, click on “Programs.“
- Under “Programs and Features,” you will find an option labeled “Turn Windows features on or off.” Click on this to access the Windows Features dialog box.
- This dialog box lists all the Windows features you can enable or disable, including IIS.
Step 4: Disable Internet Information Services
- In the Windows Features dialog box, scroll down to find “Internet Information Services.”
- Uncheck the box next to “Internet Information Services” to disable all IIS features. If you need to disable specific features within IIS, you can expand the node and select accordingly.
- Click “OK” to apply the changes. Windows 11 will then process your request, which may take a few minutes.
Step 5: Restart Your Computer
- Once the changes are applied, a prompt may appear requesting you to restart your computer. Save any open work and click “Restart now” to complete the process.
- Restarting ensures that all services and processes are properly updated to reflect the change, effectively disabling IIS on your system.
What are the prerequisites for enabling IIS in Windows 11?
Before enabling IIS on Windows 11, ensure your system is updated to the latest version. You will need administrative privileges to make changes to Windows features. Additionally, having a stable internet connection can be beneficial if Windows needs to download additional files during the IIS installation process.
Can I enable specific components of IIS in Windows 11, and if so, how?
Yes, you can choose to enable specific components of IIS in Windows 11. When you reach the ‘Windows Features’ dialog box and locate ‘Internet Information Services’, you can expand this section to view and select individual components. This allows you to customize the installation based on your needs, enabling only the necessary features and conserving system resources.
How do I verify that IIS has been successfully enabled in Windows 11?
To verify that IIS is enabled, you can open your preferred web browser and type ‘http://localhost‘ in the address bar. If IIS is running, you should see the default IIS welcome page. Additionally, you can check the ‘Services’ app in Windows 11 to ensure that the IIS-related services, such as ‘World Wide Web Publishing Service’, are running.
What should I do if I encounter an error while enabling IIS in Windows 11?
If you encounter an error while trying to enable IIS in Windows 11, first ensure you have administrative rights and your system is updated. Check the error message for specific details and consult the Microsoft support website or community forums for solutions. Sometimes, disabling other conflicting features or services can resolve the issue. If the problem persists, you might consider seeking assistance from a professional IT support service.
Take away:
In conclusion, the journey to enhanced web hosting capabilities on Windows 11 begins with the activation of Internet Information Services (IIS). By following the simple steps outlined in this guide on Winsides.com, you’ve now equipped your system to serve as a powerful and versatile web server.
IIS opens up a world of possibilities for hosting websites, managing applications, and ensuring a seamless online experience. The dynamic features and robust performance of IIS make it an indispensable tool for developers and IT professionals alike. Enjoy Coding! Peace out!