Microsoft Outlook is one of the biggest email managing service provides by Microsoft corporation. Outlook is a powerful tool which offers client emails widely used for managing emails, calendars, and tasks in both personal and professional settings. You can run this application normally with the standard user permissions but you may need to elevated admin rights for adding outlook addons, for repairing a corrupted Outlook profile or modifying registry settings related to Outlook mail service and running Outlook with older software or custom plugins. So i have created this article to get to know about the information you to run Microsoft Outlook as Administrator with elevated rights on Windows 11 pc.
What are the Advantages of running Microsoft Outlook as Administrator on Windows 11
Running Outlook as an administrator can help when certain features or add-ins need extra permissions to work properly, like accessing shared mailboxes or encrypted emails, or when you’re troubleshooting issues tied to system restrictions. It’s especially useful for IT tasks like installing updates or debugging permission errors.
IMPORTANT: Unless you’re facing a specific problem, running Outlook this way isn’t necessary and can create security risks by giving the app more control than it usually needs.
Multiple Ways to run Microsoft Outlook as Administrator on Windows 11
- Quickly open Outlook as Administrator using the Start menu.
- Use the Run Command and open Microsoft Outlook with Administrative Privileges.
- Launch Microsoft Outlook using Windows Shell Command.
1. How to open Microsoft Outlook with Administrative Privileges using the Start menu?
This is the quickest way to access this app with elevated privileges. The following are the steps.
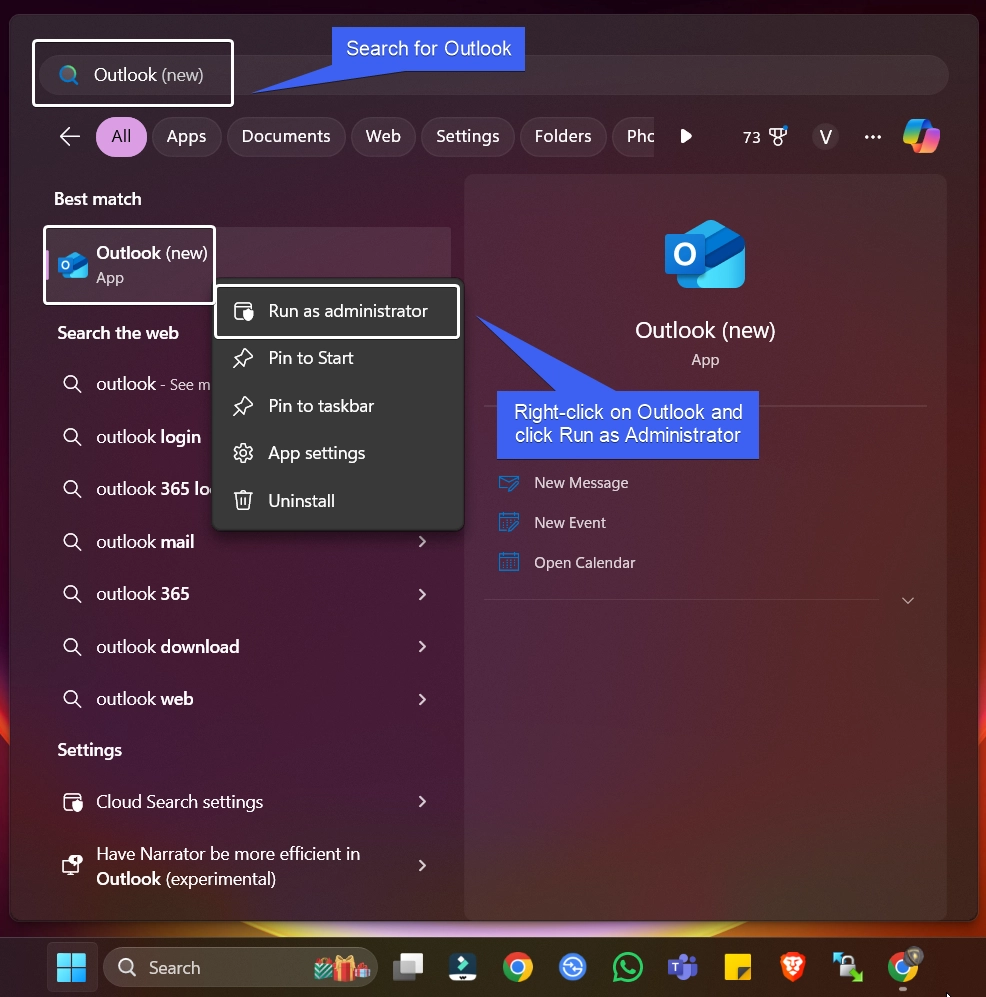
- Go to the Start menu and search for Outlook. You can also use the shortcut WinKey + S.
- Once you find the application, right-click on the app and click Run as Administrator.

- Alternatively, you can just press and hold CTRL + SHIFT and then click on the Outlook. This will trigger the system to run it with Administrative Privileges.
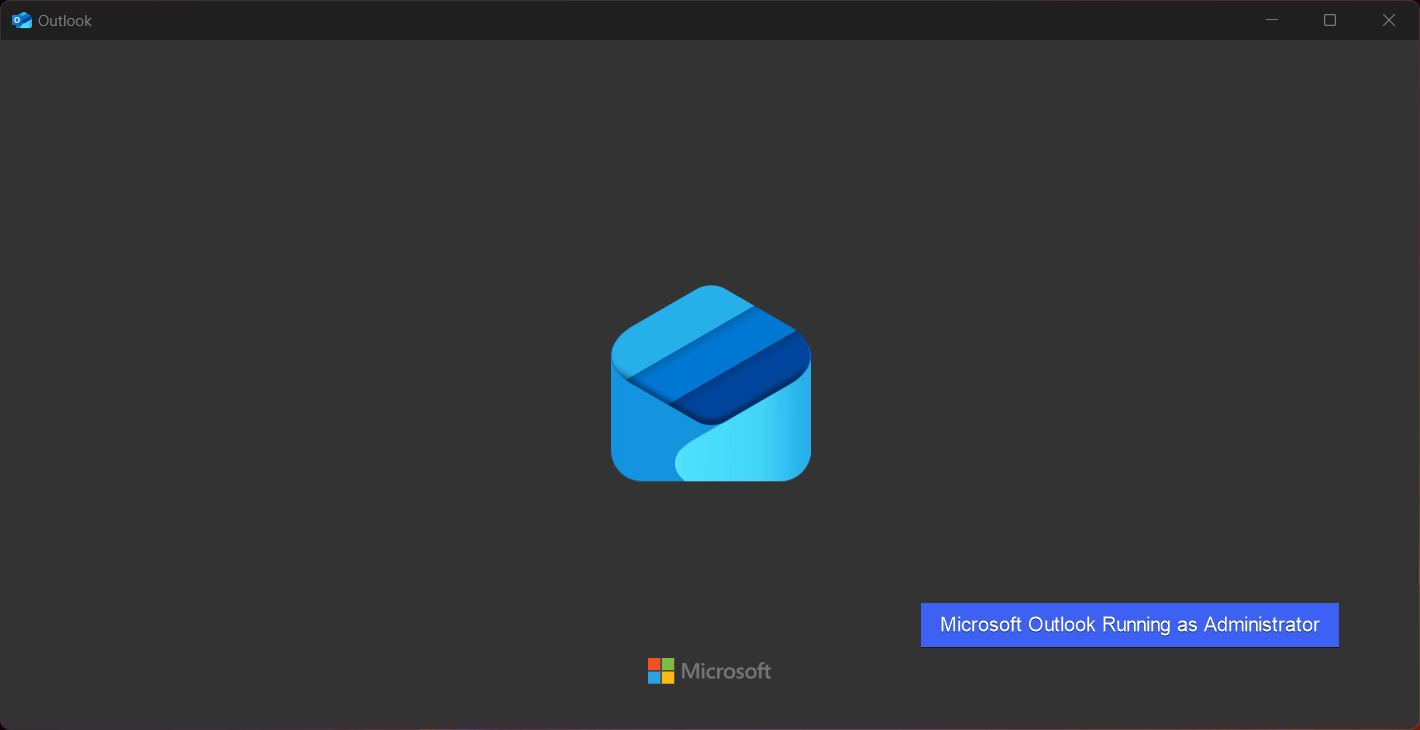
- The User Account Control (UAC) will prompt for your confirmation and open Microsoft Outlook with Administrative Privileges on Windows 11.

Use Run Command and Open Microsoft Outlook with Administrative Privileges
In this section, we will use the Run Command to open this app with Elevated Privileges.
- Go to the Run Command using the shortcut WinKey + R.
- Execute the following command in the Run Command box.
runas /user:Administrator "C:\Path\to\OUTLOOK.EXE"

- The system will confirm and then open Outlook with Elevated Permissions.
Launch Microsoft Outlook as Administrator using the Windows Shell Command
Here, we will use a Windows Shell Command to list all Classic Desktop Apps, and Universal Windows Platform Applications on Windows 11.
- Go to the Run Command and type the following command and click OK.
shell:appsfolder

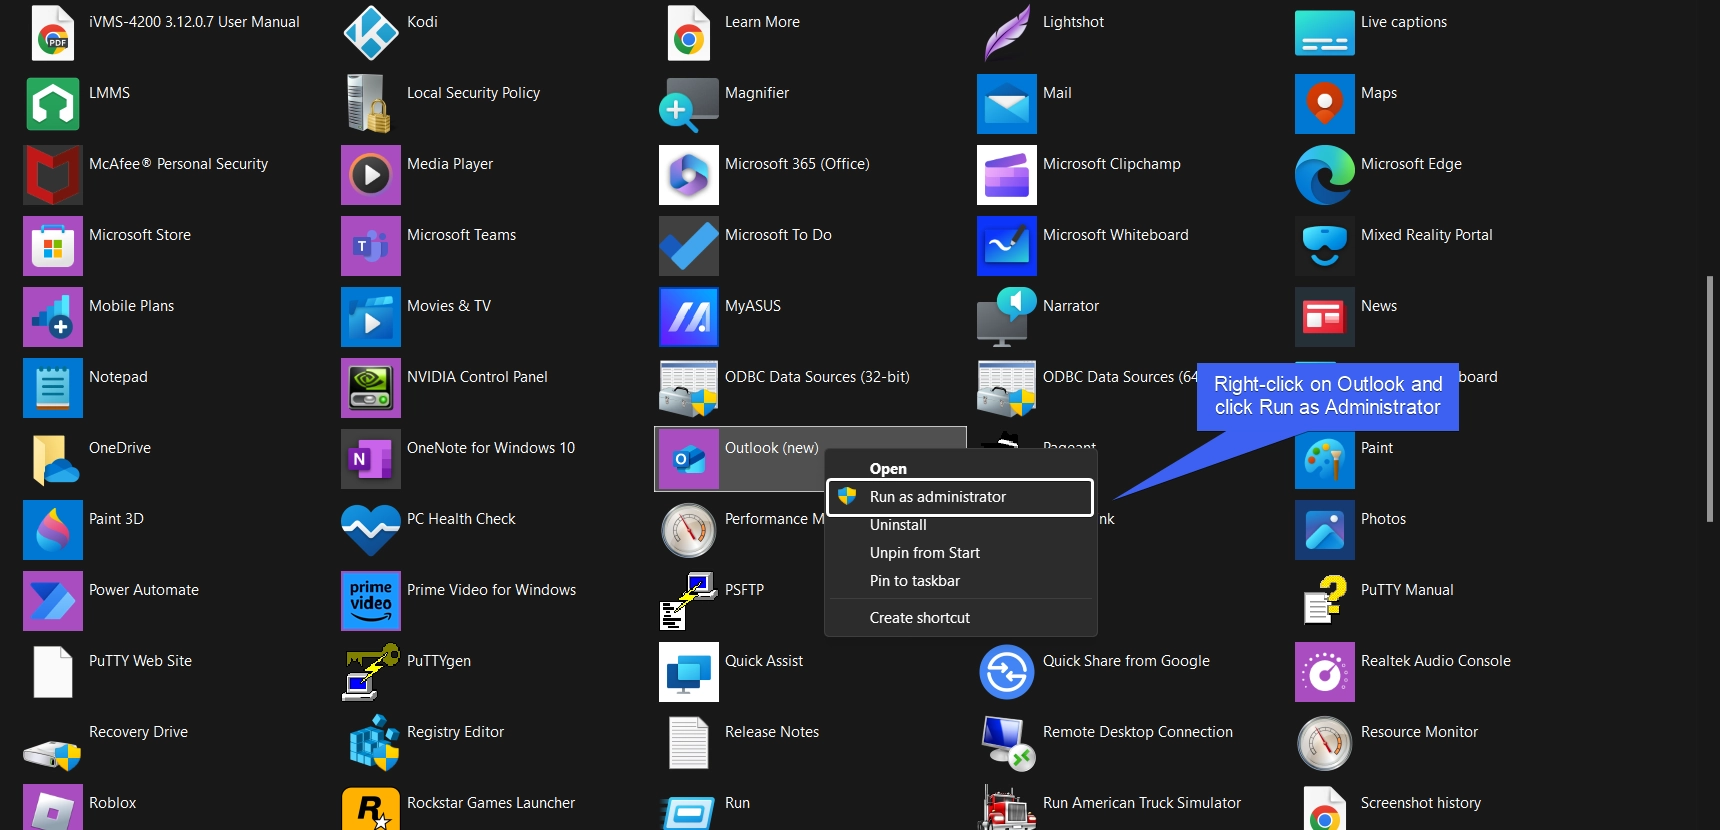
- This command will open all the installed and UWP Applications on Windows 11.
- Locate Outlook and Right-click on it and click Run as Administrator.
- The UAC will prompt for your confirmation and open Outlook with Elevated Privileges.
Keep in mind while running an App as Administrator on Windows 11

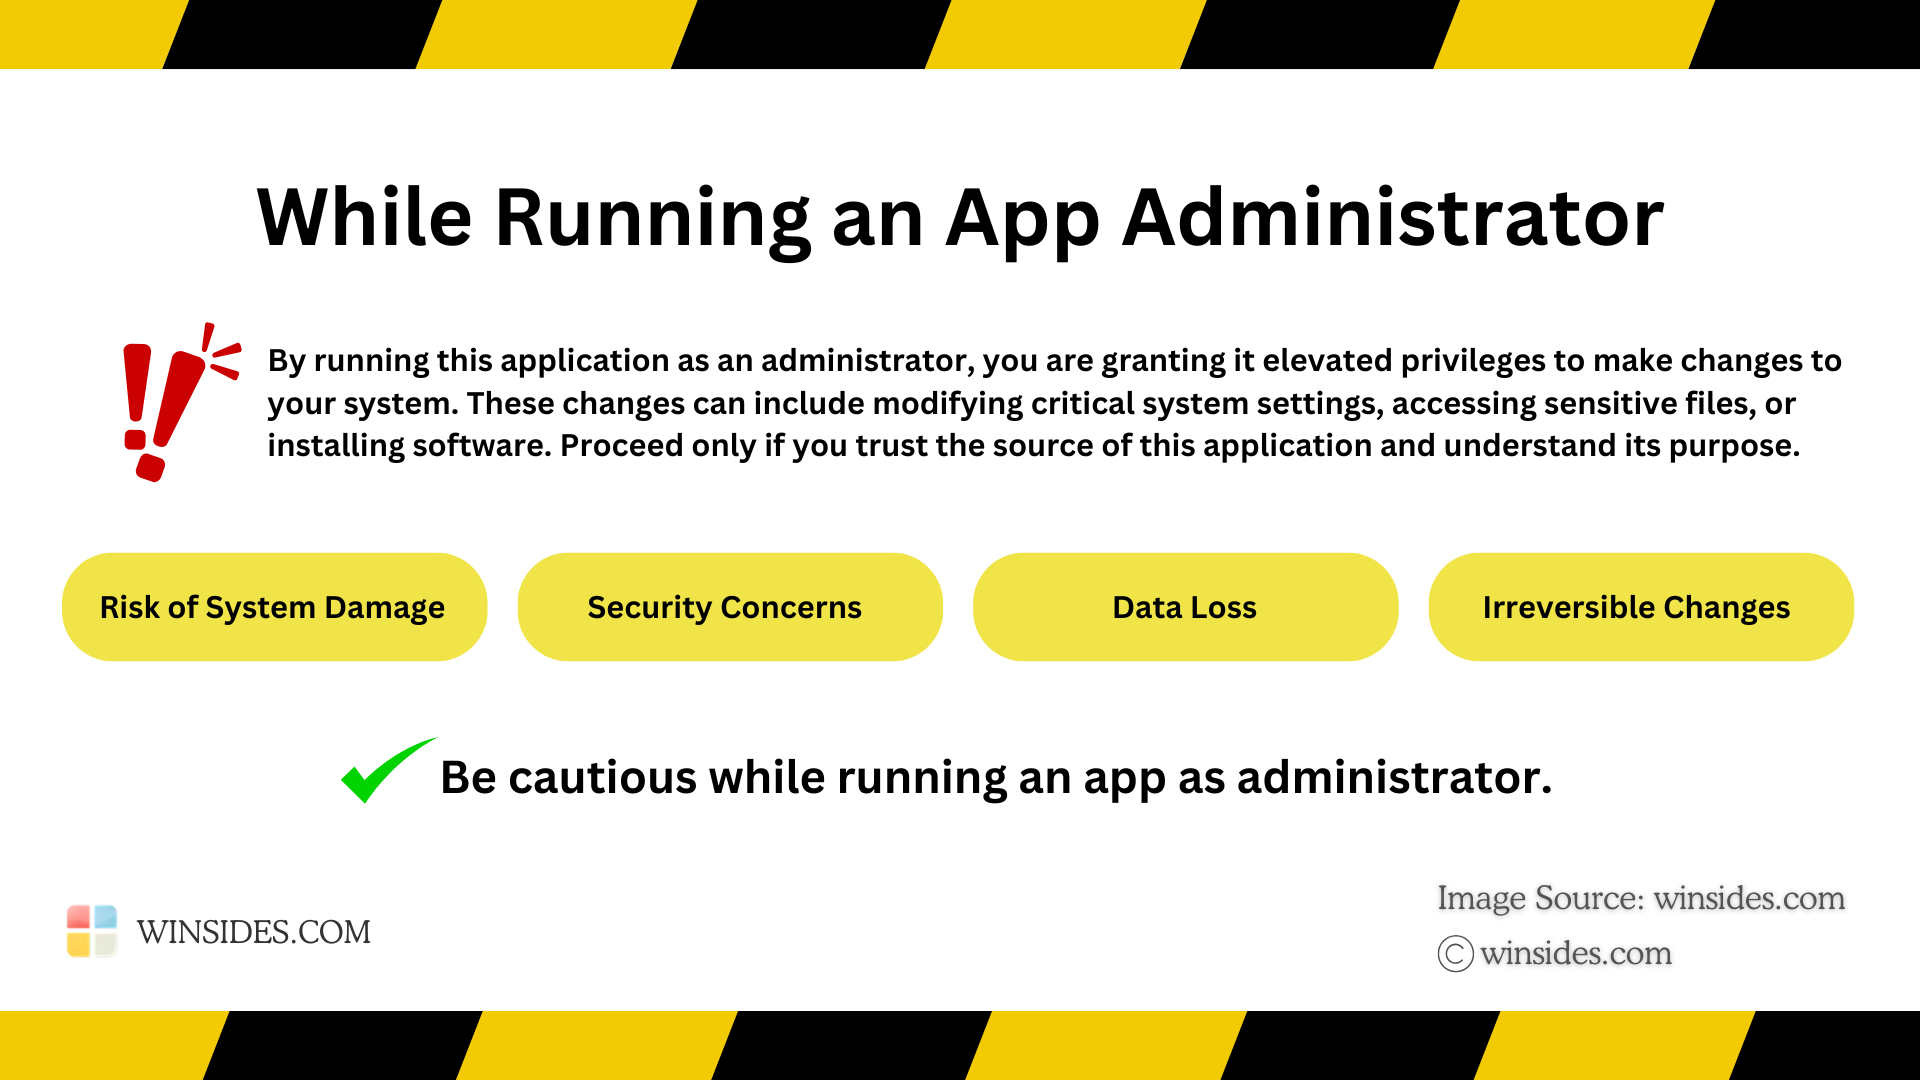
Running Microsoft Outlook as Administrator on Windows 11 grants it elevated privileges, which can potentially bypass system security restrictions. Please proceed with care and only run trusted applications in this mode. At Winsides.com, we advise our users to use Administrator privileges only when absolutely necessary to perform tasks requiring elevated rights. Misuse of administrative privileges may lead to System Vulnerabilities, Data Loss, System Instability, Security Concerns, Irreversible Changes, etc.
Take away
Running Microsoft Outlook as an administrator on Windows 11 is a simple yet effective way to overcome certain limitations, especially when dealing with add-ins, compatibility issues, or advanced troubleshooting. Remember to use administrative mode only when necessary. If you have any queries related to the above topic and then kindly comment us below and we will reply you to soon. Find more interesting tutorials on our blog: WinSides.com
 How to Check PC Specs without Logging into Windows 11?
 How to Enable HDR Video Streaming on Windows 11?
 How to Clean Temporary Files on Windows 11?
 How to Use ODBC on Windows 11?