Dynamic Content Compression Performance Feature in Windows 11:
Enable Dynamic Content Compression: Unleash the speed and efficiency of your web applications with Dynamic Content Compression in Internet Information Services (IIS) on Windows 11. In the fast-paced digital landscape, user experience is paramount, and page loading times can significantly impact engagement. Enter Dynamic Content Compression, a game-changing feature designed to turbocharge your website’s performance. In this guide, we’ll delve into the world of dynamic content compression, exploring how IIS on Windows 11 seamlessly compresses response data, accelerates content delivery, and ensures your users experience the swift and responsive web interactions they expect. Check out: Enable Static Content Service in Windows 11
- Click on the Start Menu and open the Control Panel.
- Switch the Control Panel view to Category.
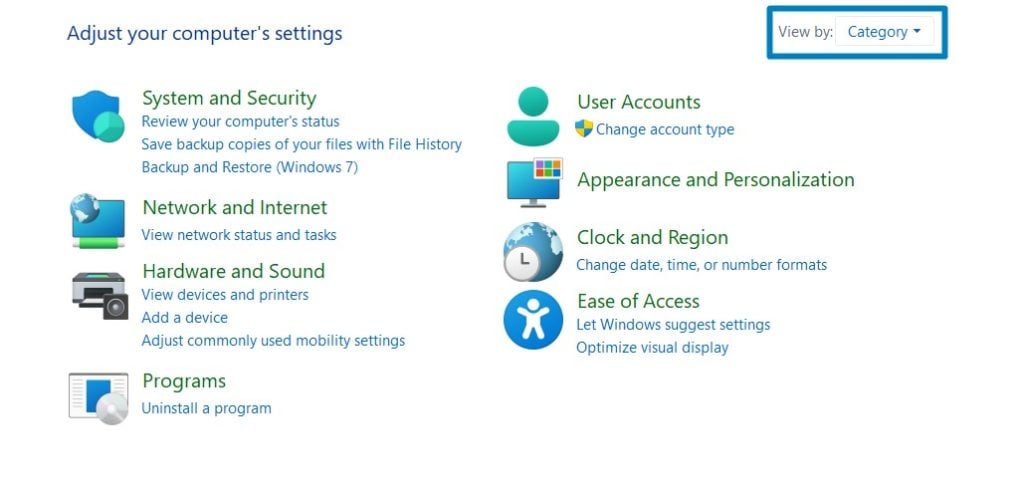
Category View - Now, Click on Programs.
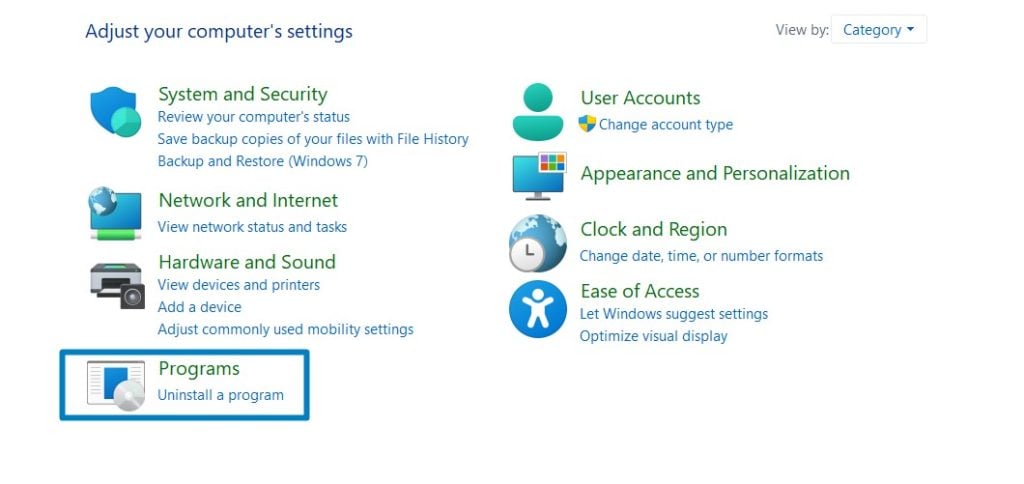
Programs - Under Programs and Features, click on Turn Windows Features on or off.
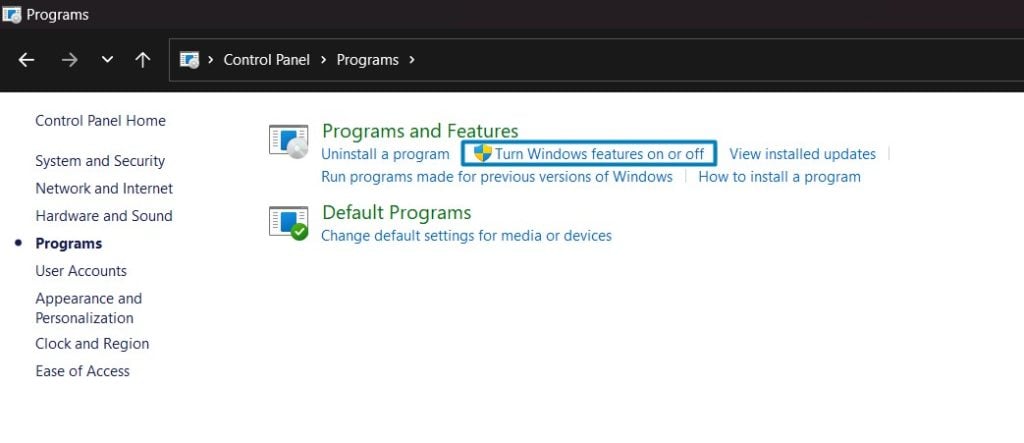
Turn Windows Features on or off - Windows Features dialog box will open now.
- From the list of services available, search and locate Internet Information Services.
- Click on the checkbox next to the Internet Information Services and then click on OK.
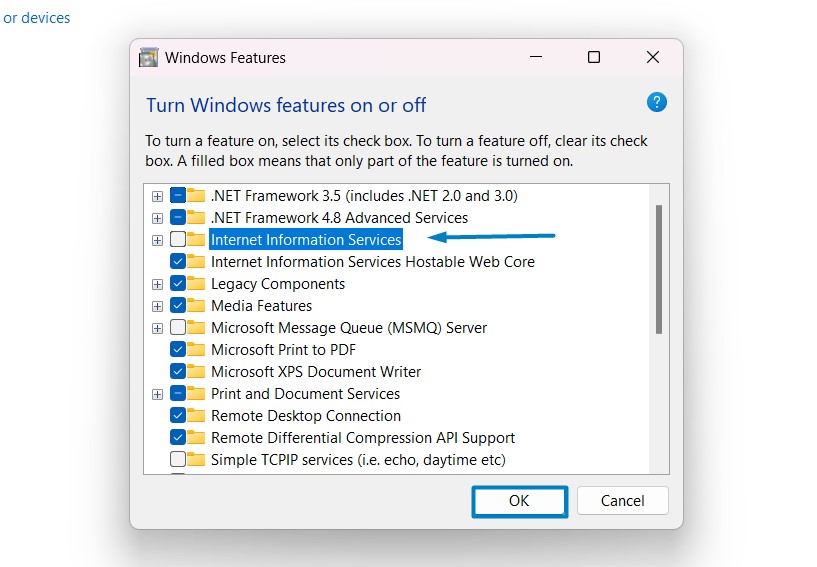
Turn on Internet Information Services - Click the plus sign (+) next to the Internet Information Services to expand the list.
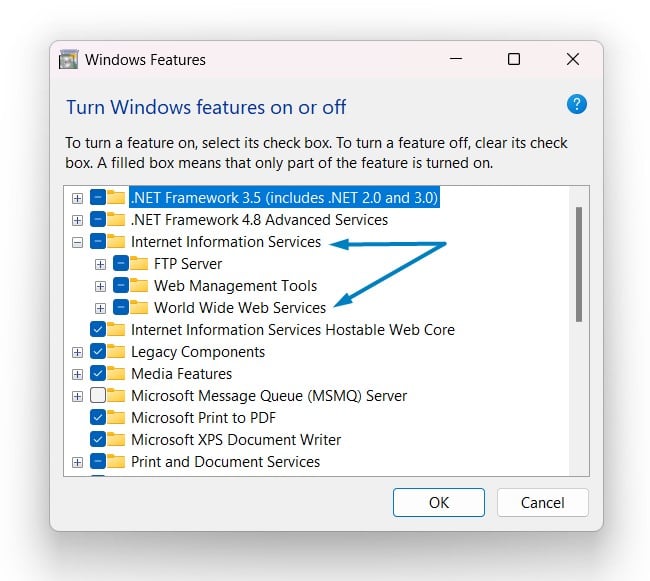
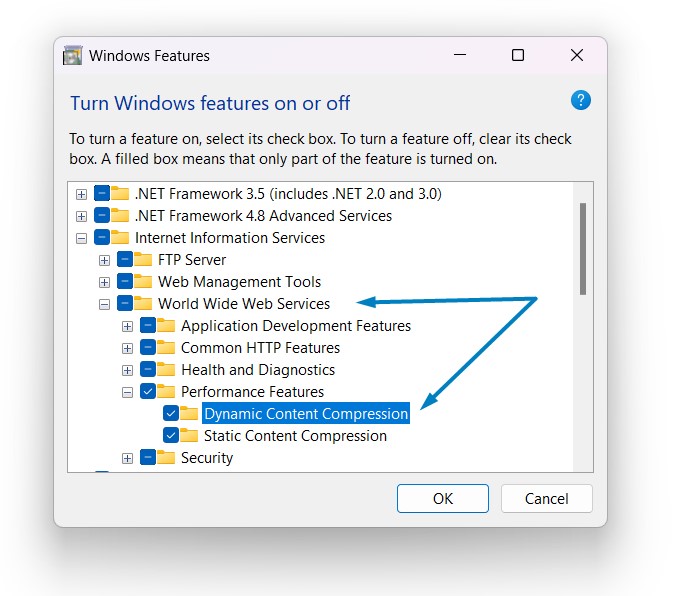
World Wide Web Services IIS - Now, expand World Wide Web Services, and then expand Performance Features.
- Click on the checkbox next to Dynamic Content Compression, and click OK.
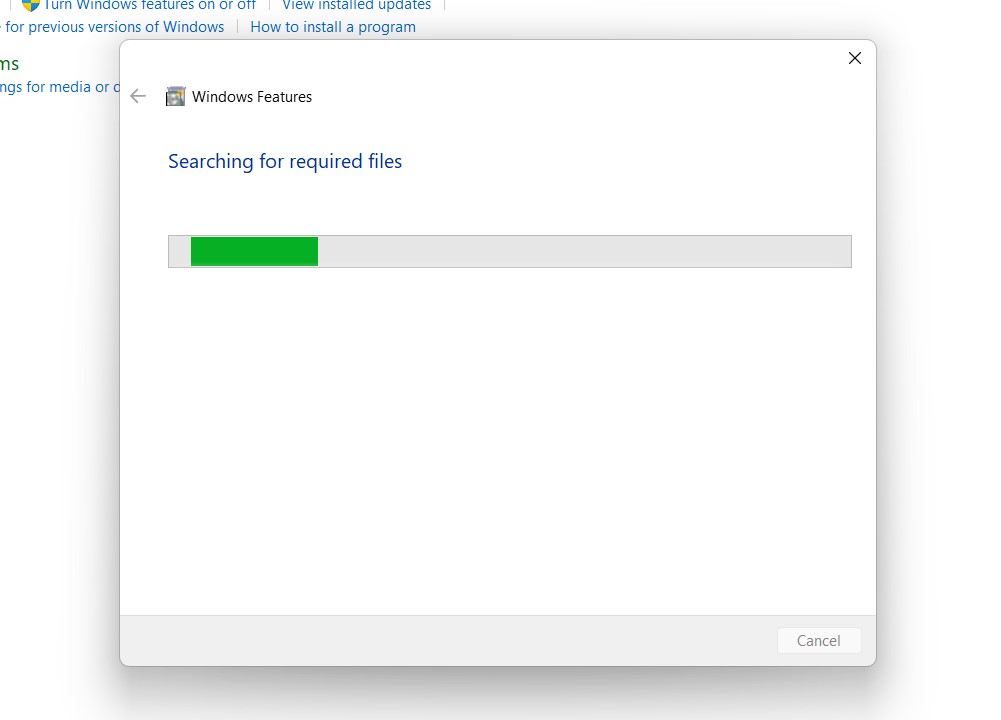
Dynamic Content Compression - Windows 11 will search for the required files.
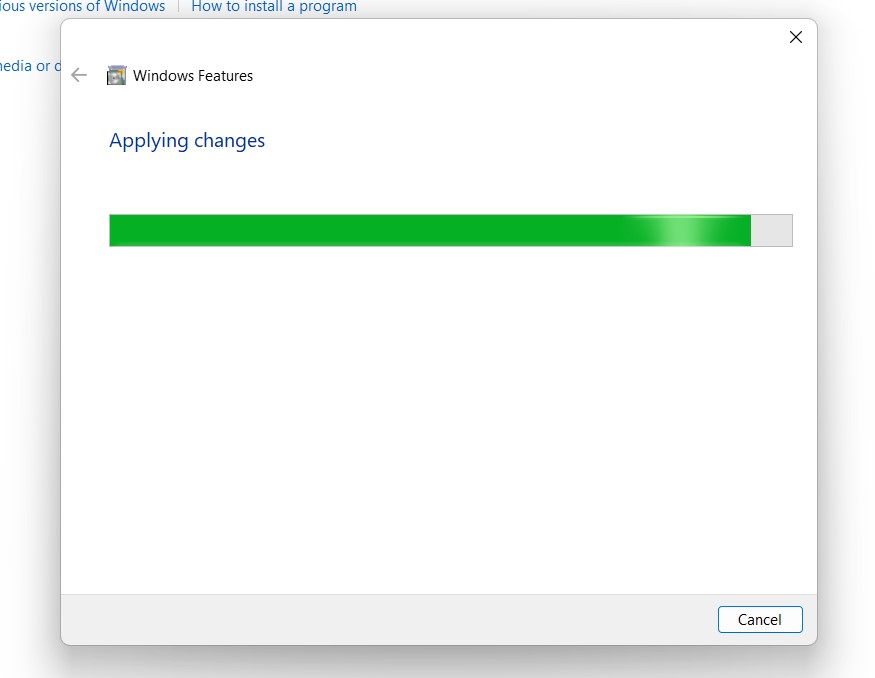
Searching for the required files - After the process, Windows will apply the necessary changes.
Applying Changes - The system will prompt for a restart. Continue with Restart now. It is recommended that changes made to the system reflect while using the environment. Click Close.
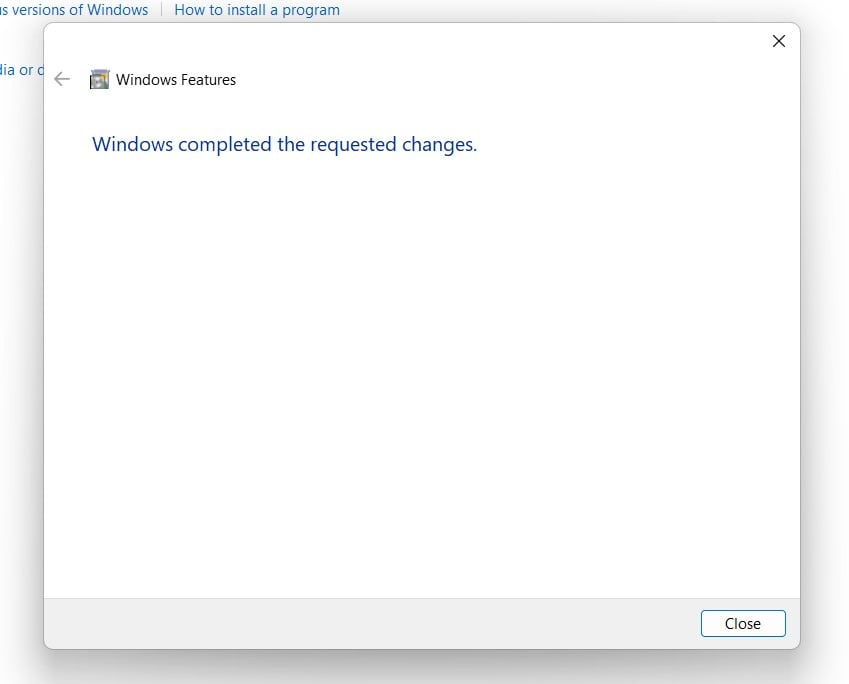
Close - That is it, Dynamic Content Compression IIS is now enabled on your Windows 11 laptop or PC. Enjoy Seamless Connectivity.
Take Away:
In conclusion, embracing Dynamic Content Compression in Internet Information Services (IIS) on Windows 11 is not just a technical enhancement, it’s a strategic move towards a faster, more responsive, and user-friendly web presence. By compressing response data, IIS ensures that your web applications load swiftly, contributing to an enhanced user experience and improved search engine rankings. As you implement Dynamic Content Compression, you’re optimizing performance and staying ahead in the competitive digital landscape. Happy Coding! Peace out!
![How to Enable IIS [Internet Information Services] in Windows 11? 1 Enable IIS in Windows 11](https://winsides.com/wp-content/uploads/2024/01/IIS-in-Windows-11-390x220.webp) How to Enable IIS [Internet Information Services] in Windows 11?
How to Enable IIS [Internet Information Services] in Windows 11? How to Enable Simple TCP/IP Services in Windows 11?
 Enable SMB 1.0 / CIFS File Sharing Support using Command Prompt & Windows PowerShell
 Enable SMB 1.0/CIFS File Sharing Support in Windows 11