Enable ISAPI Filters in Windows 11: ISAPI is a set of Windows programming interfaces that allow developers to create high-performance web applications that run on an Internet Information Services (IIS) web server. It is commonly used for developing dynamic web content, such as generating HTML pages on the go and processing HTTP requests at the server level. ISAPI is the short form for Internet Server Application Programming Interface. Unlike ISAPI Extensions, ISAPI Filters intercepts and processes the incoming HTTP requests and outgoing responses on an IIS server. This article will guide you through the steps on How to Enable ISAPI Filters in Windows 11 using clear images. Let’s get started.
Key Steps
- Go to Programs and Features using the run command
appwiz.cpl- Click on Turn Windows Features on or off.
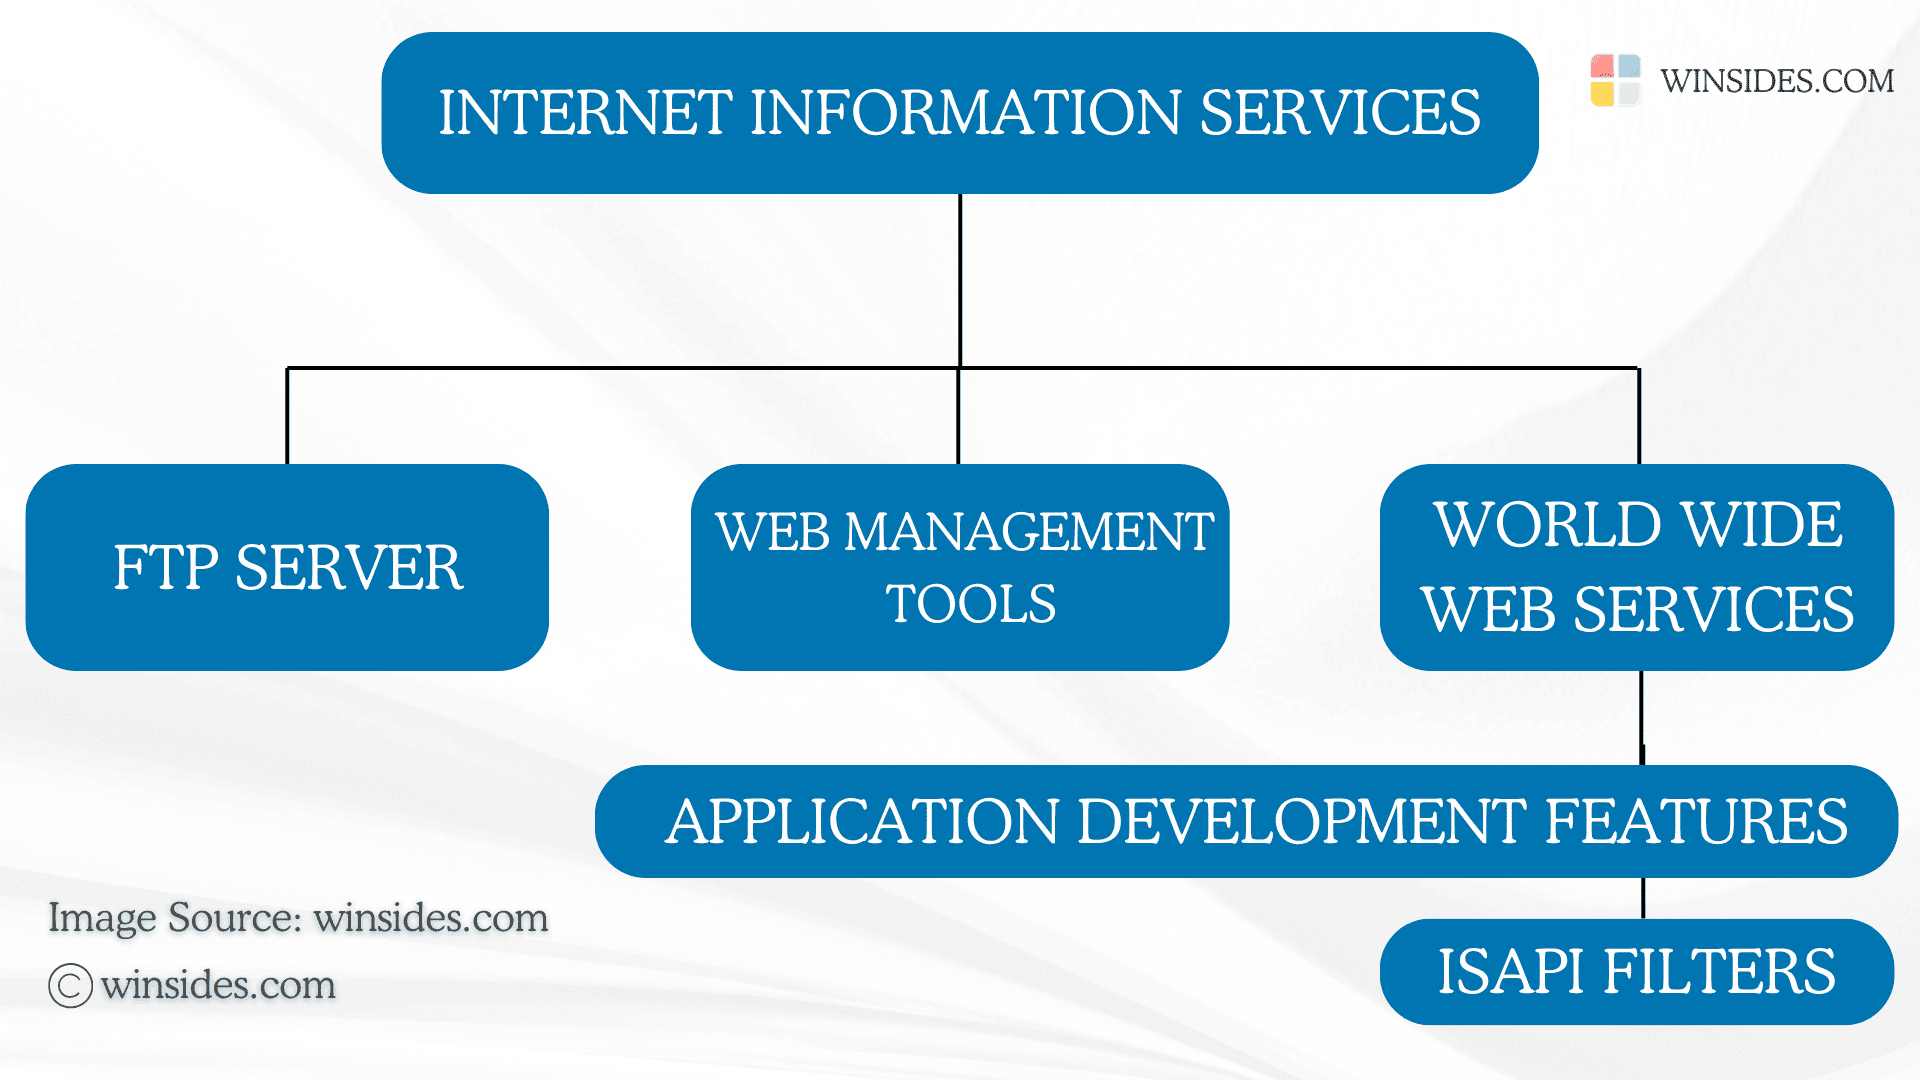
- Expand Internet Information Services node and futher expand World Wide Web Services.
- Finally, expand Application Development Features.
- Enable ISAPI Filters by clicking on the checkbox next to it and click OK.
- That is it. ISAPI Filters is now enabled in your Windows 11 PC.
What are ISAPI Filters and How do they work?
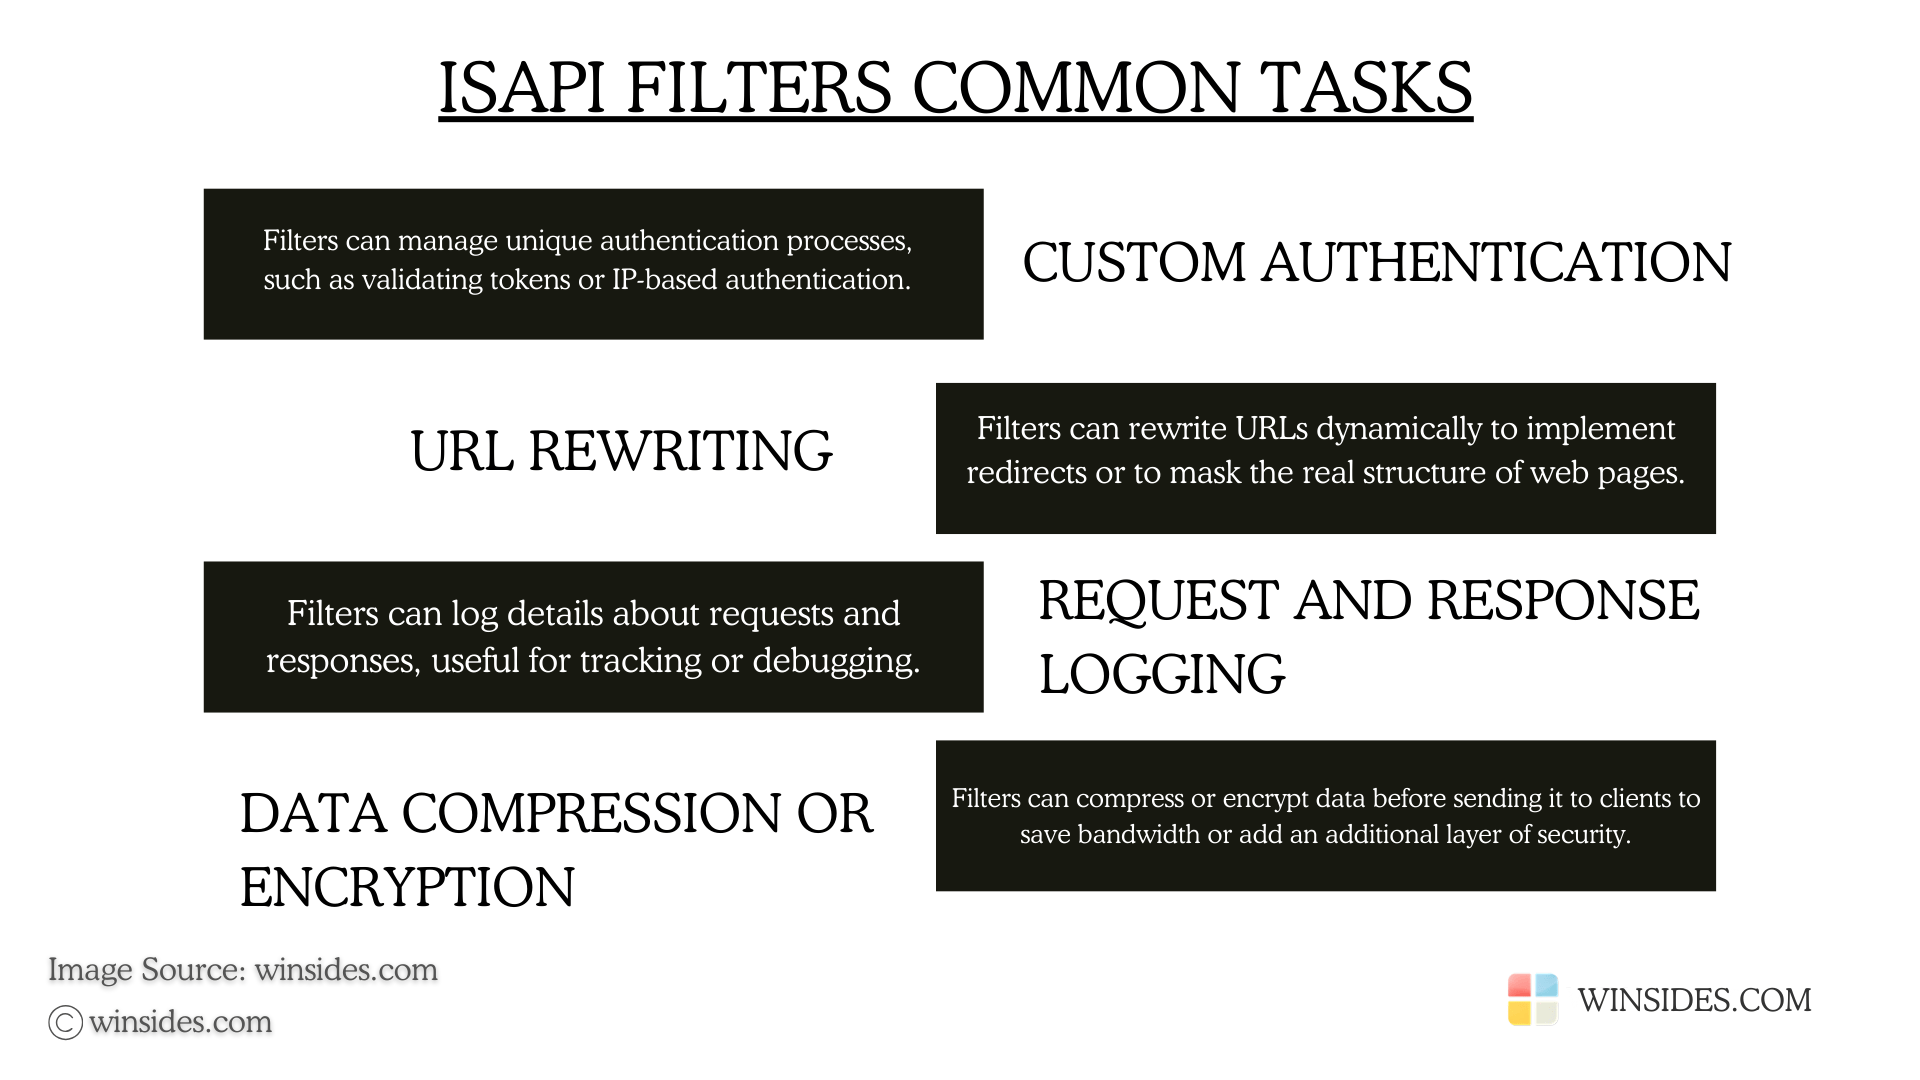
They are components used in the IIS to intercept, inspect, and modify incoming HTTP requests and outgoing responses as they pass through the server. ISAPI Filters are implemented as Dynamic Link Libraries (DLLs) that are installed on the IIS server. Whenever the web server starts, they are loaded, staying active to handle all the incoming and outgoing requests. They also operate based on specific server events during the HTTP requests such as Authentication, URL Mapping, and Request processing.
Simple Steps to Enable ISAPI Filters in Windows 11
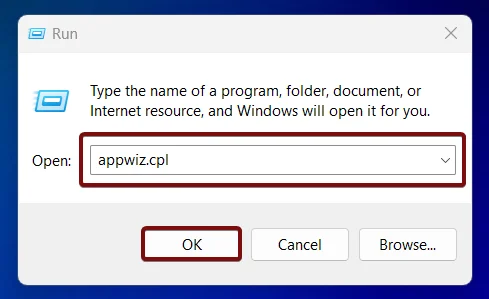
- Open the Run command using the keyboard shortcut Win Key + R.
- Enter the following command
appwiz.cpland click OK. This command will open the Programs and Features window.
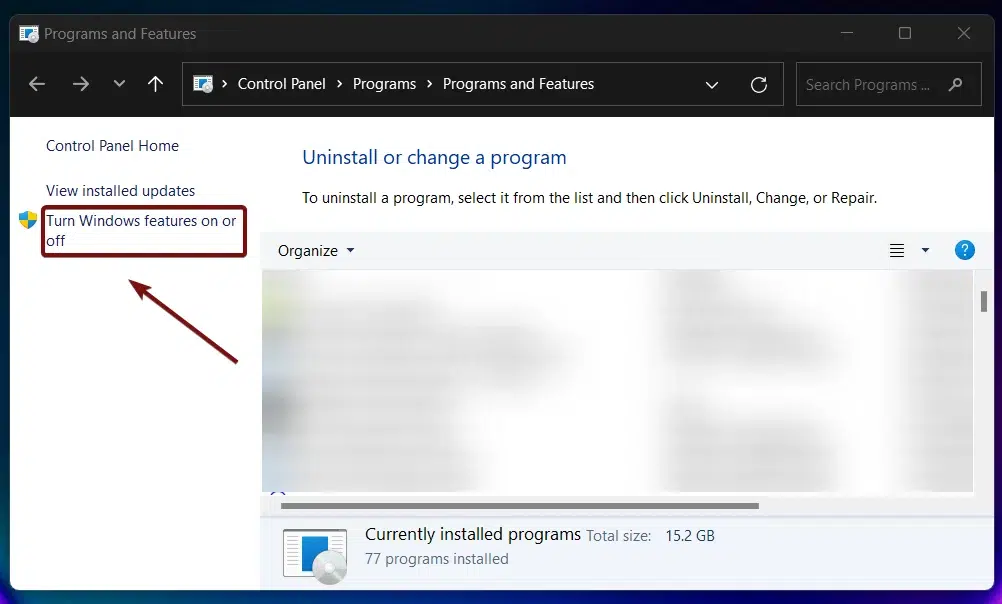
- The Programs and Features window will open now. Here, you can find Turn Windows Features on or off option from the left pane.
- Clicking on Turn Windows features on or off will open the Windows Features dialog. Here, you can find all the available optional features.
- Locate Internet Information Services from the list of services available and expand the tree.
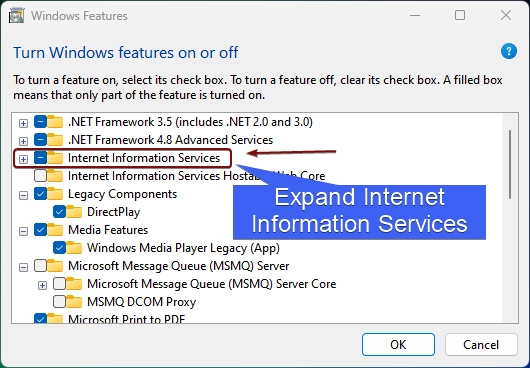
- Now, you will find FTP, Web Management Tools, and World Wide Web Services. We have to expand the World Wide Web Services.
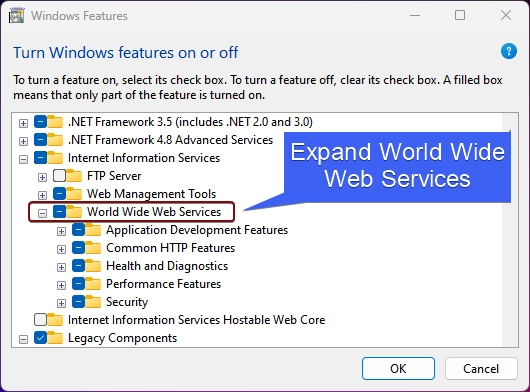
- You will find various features such as Application Development Features, Common HTTP Features, Health and Diagnostics, etc. Expand the Application Development Features node.
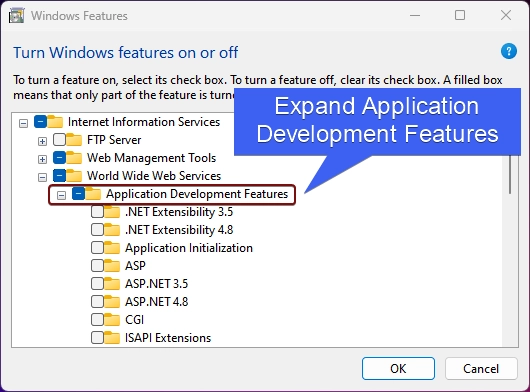
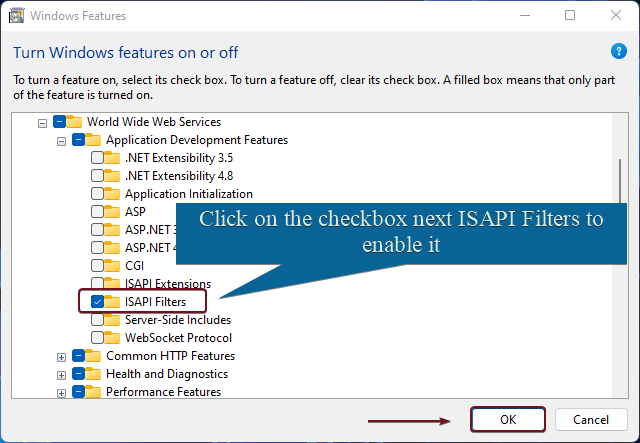
- You can find ISAPI Filters there. Click on the checkbox next to it to enable it and click OK.
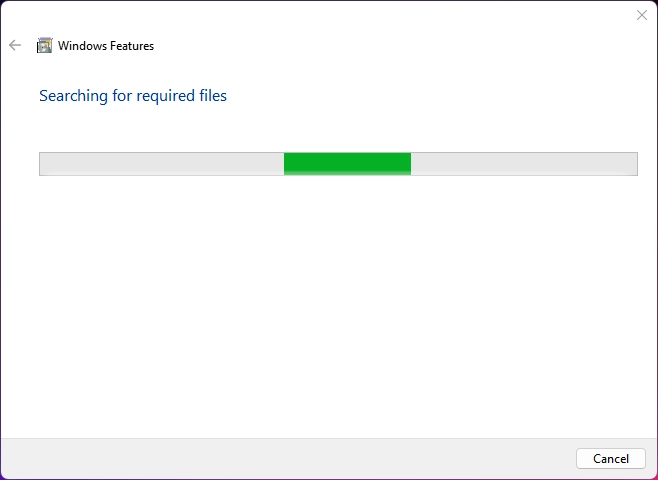
- Windows will now start searching for the required files.
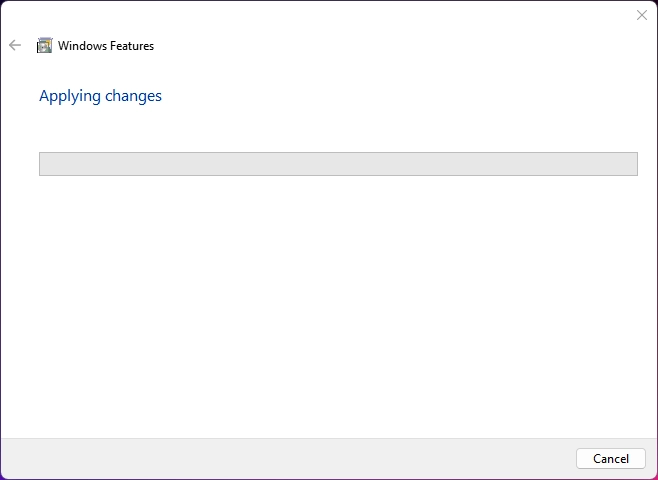
- Then the system will apply the changes.
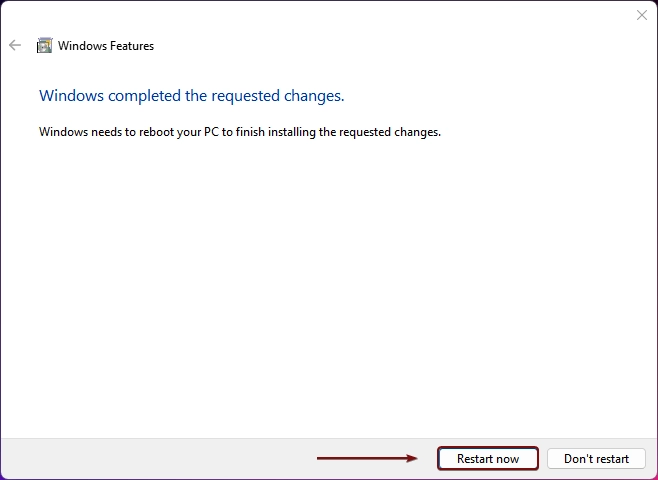
- You will be prompted to do a restart. Click on Restart now. We highly recommend doing the restart right away so that the changes made will be reflected in the system.
- Once the restart is complete, that is it. ISAPI Filters is now enabled on your Windows 11 PC.
What are ISAPI Extensions in Windows 11?
Just like ISAPI Filters, ISAPI Extensions are also the components of IIS that actively handle and respond to specific types of HTTP requests. While ISAPI Filters passively monitor the requests, ISAPI Extensions work actively. ISAPI Extensions act as endpoints that completely process the request.
Take away
ISAPI Extensions and ISAPI Filters have largely been superseded by newer technologies like ASP.NET and ASP.NET Core, which offer easier development and more flexibility for building web applications. However, ISAPI Extensions and ISAPI Filters remain useful in certain high-performance or legacy applications. If you have any queries, do let us know in the comment section. For more interesting articles, stay tuned to winsides.com. Happy Coding! Peace out!
Like our article
Kindly give us a review. We love to hear your feedback.
![How to Enable IIS [Internet Information Services] in Windows 11? 1 Enable IIS in Windows 11](https://winsides.com/wp-content/uploads/2024/01/IIS-in-Windows-11-390x220.webp) How to Enable IIS [Internet Information Services] in Windows 11?
How to Enable IIS [Internet Information Services] in Windows 11? How to Enable Simple TCP/IP Services in Windows 11?
 Enable SMB 1.0 / CIFS File Sharing Support using Command Prompt & Windows PowerShell
 Enable SMB 1.0/CIFS File Sharing Support in Windows 11