The Windows Hypervisor Platform in Windows 11 is a fundamental component of virtualization in Windows 11, allowing users to run virtual machines with enhanced performance and compatibility. Enabling the Windows Hypervisor Platform unlocks many features, including support for Hyper-V and other virtualization technologies. In this guide, we’ll walk you through the simple steps to enable the Windows Hypervisor Platform on your Windows 11 system, empowering you to harness the full potential of virtualization.
How to Turn on Windows Hypervisor Platform in Windows 11?
- Click on the Start Menu and open the Control Panel.
- Switch the Control Panel view to Category.
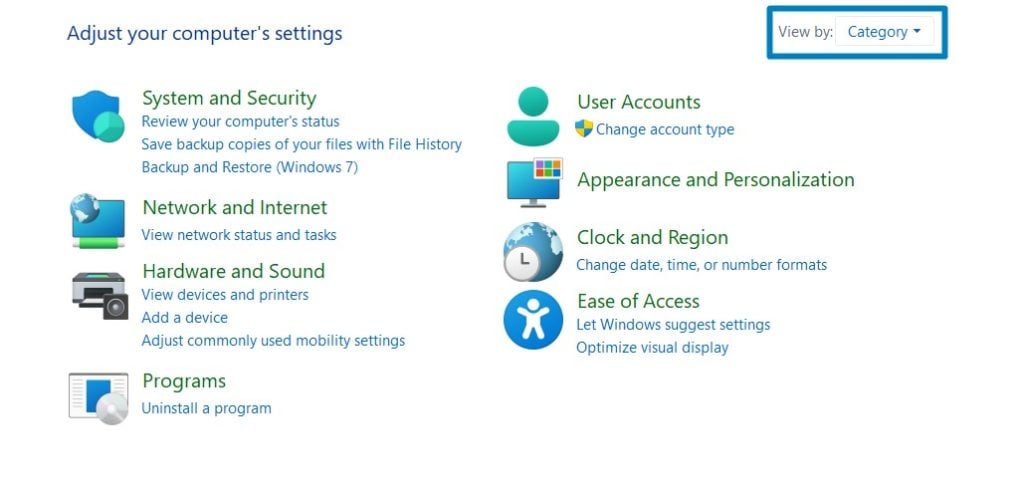
Category View - Now, Click on Programs.
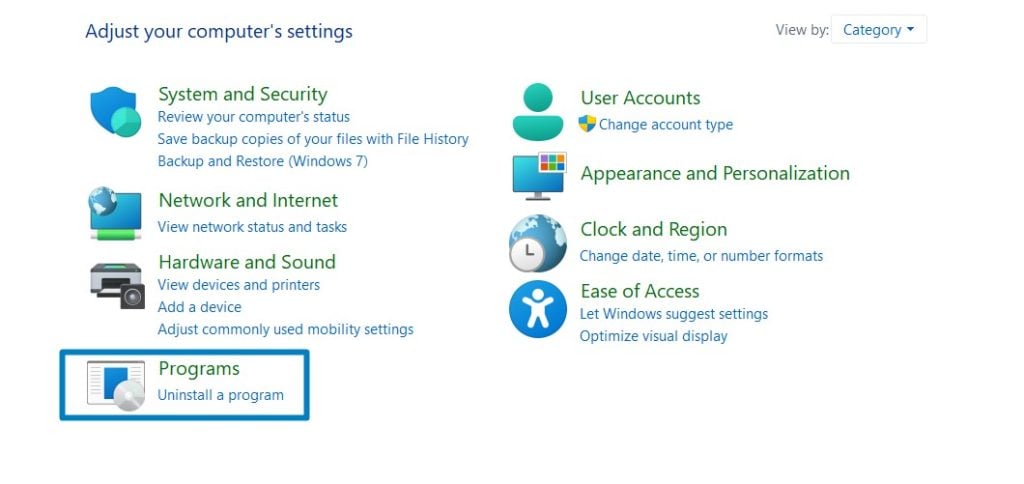
Programs - Under Programs and Features, click on Turn Windows Features on or off.
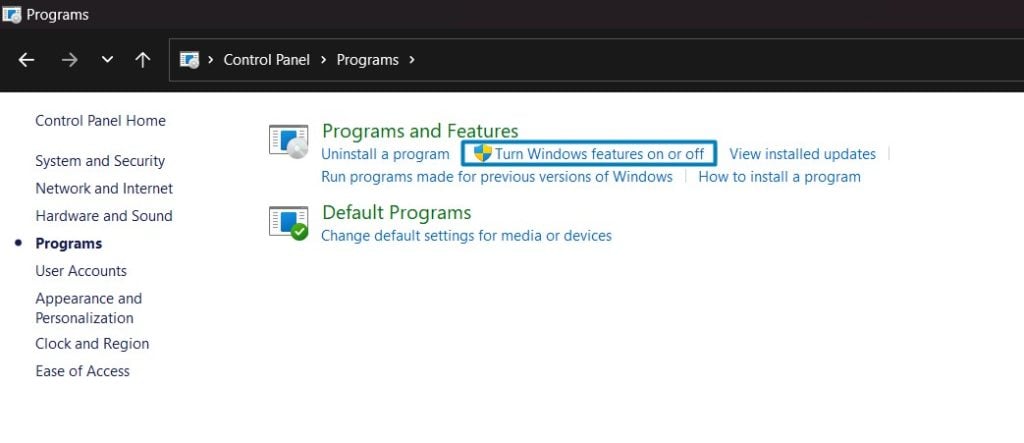
Turn Windows Features on or off - Windows Features dialog box will open now.
- Search and locate the Windows Hypervisor Platform from the list of services available.
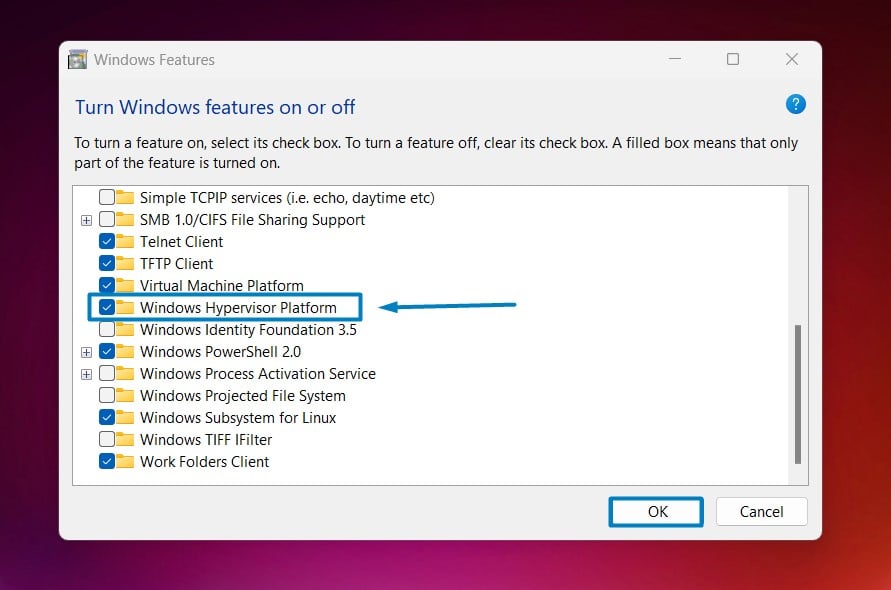
Enable Windows Hypervisor Platform in Windows 11 - Click on the checkbox next to it and then click on OK.
- Windows 11 will search for the required files.
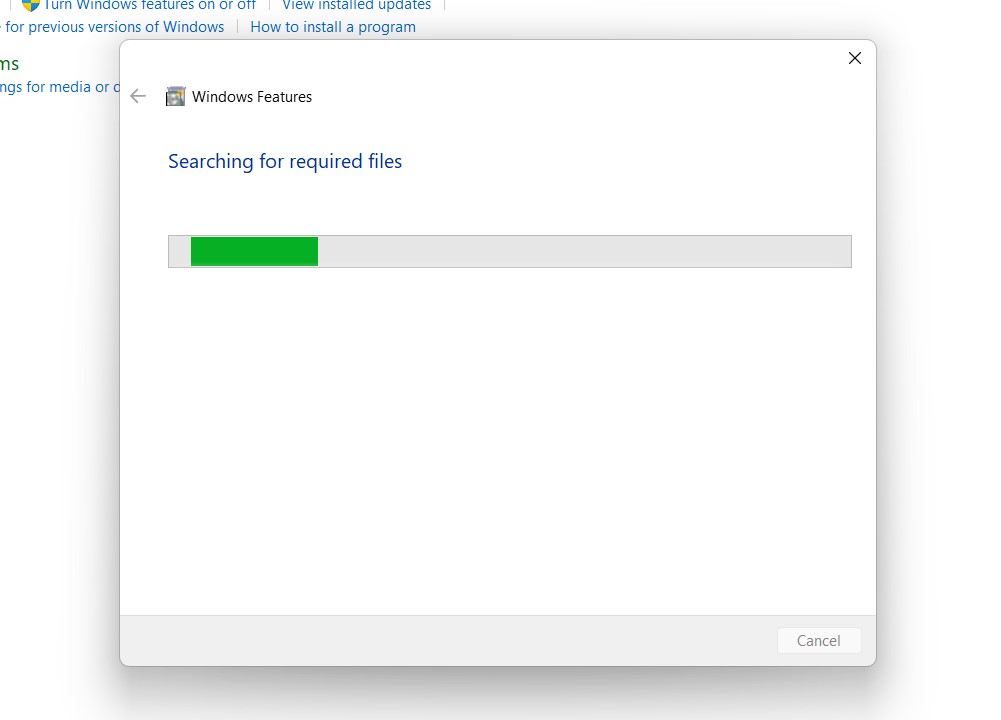
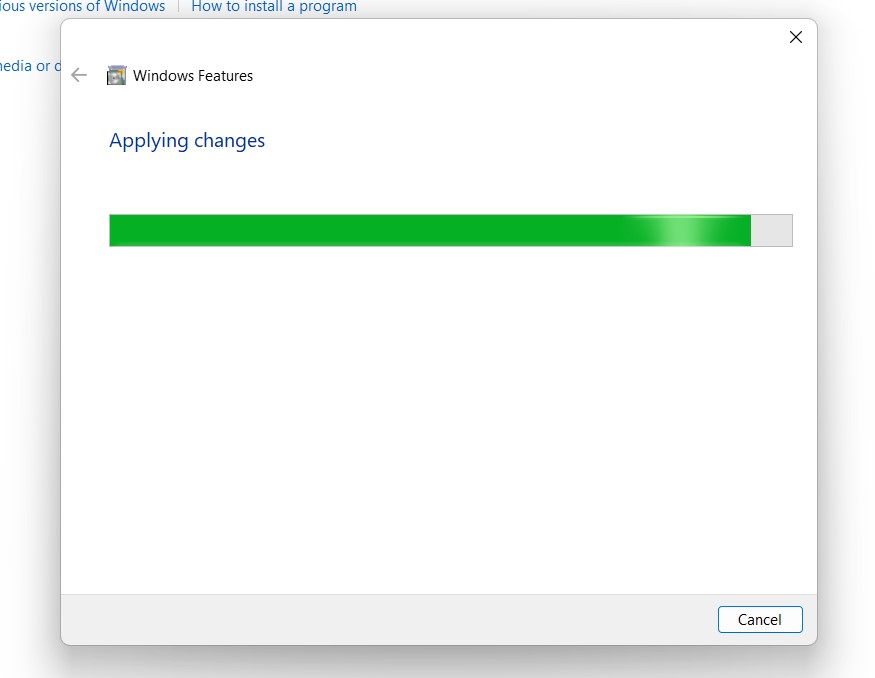
Searching for the required files - After the process, Windows will apply the necessary changes.
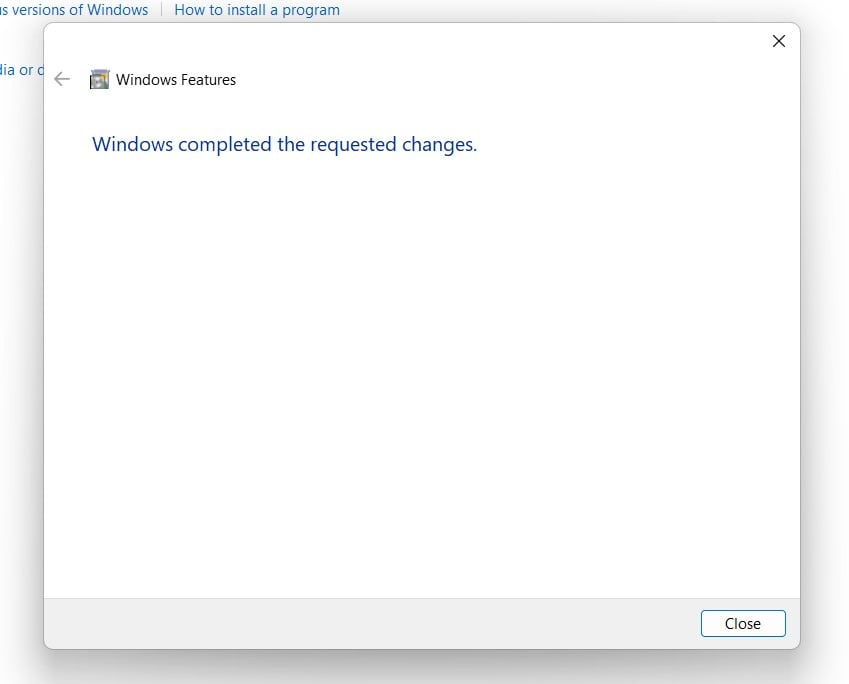
Applying Changes - The system will prompt for a restart. Click Close. Continue with Restart if prompted. It is recommended that changes made to the system reflect while using the environment.
Close - That is it, Windows Hypervisor Platform is now enabled on your Windows 11 laptop or PC. Enjoy Seamless Connectivity.
The Windows Hypervisor Platform serves as the foundation for running virtual machines on Windows 11. It provides a robust and secure environment for hosting virtualized workloads, enabling efficient resource utilization and seamless integration with other Windows features.
Check System Compatibility:
- Press Windows + R to open the Run dialog box.
- Type msinfo32 and press Enter to open the System Information window.
- Look for the “Hyper-V Requirements” section and verify that all requirements are met, including CPU support for virtualization technology and hardware-assisted virtualization.
Enable Virtualization in BIOS/UEFI:
- Restart your computer and access the BIOS/UEFI settings by pressing the designated key during startup (often Del, F2, or Esc).
- Navigate to the virtualization settings (usually located under CPU or Advanced settings).
- Enable Intel VT-x or AMD-V (depending on your processor) and any other relevant virtualization features.
Save the changes and exit the BIOS/UEFI settings. - Once virtualization support is enabled in the BIOS/UEFI settings, you can proceed to enable the Windows Hypervisor Platform in Windows 11 using the above-mentioned steps.
Take away:
By following the steps outlined in this guide, you can ensure compatibility with virtualization technologies and unlock a world of possibilities for development, testing, and productivity. Explore the potential of virtualization with the Windows Hypervisor Platform and elevate your Windows 11 experience today. Happy Coding! Peace out!
![How to Enable IIS [Internet Information Services] in Windows 11? 1 Enable IIS in Windows 11](https://winsides.com/wp-content/uploads/2024/01/IIS-in-Windows-11-390x220.webp) How to Enable IIS [Internet Information Services] in Windows 11?
How to Enable IIS [Internet Information Services] in Windows 11? How to Enable Simple TCP/IP Services in Windows 11?
 Enable SMB 1.0 / CIFS File Sharing Support using Command Prompt & Windows PowerShell
 Enable SMB 1.0/CIFS File Sharing Support in Windows 11