Microsoft Print to PDF is a built-in feature in Windows 11 that allows users to convert documents, web pages, and images into PDF format effortlessly. This handy tool eliminates the need for third-party software and simplifies the process of creating PDF files. In this guide, we’ll walk you through the steps to enable and use Microsoft Print to PDF on your Windows 11 device.
Enable Microsoft Print to PDF Print – Quick Steps:
- Click on the Start Menu and open the Control Panel.
- Switch the Control Panel view to Category.
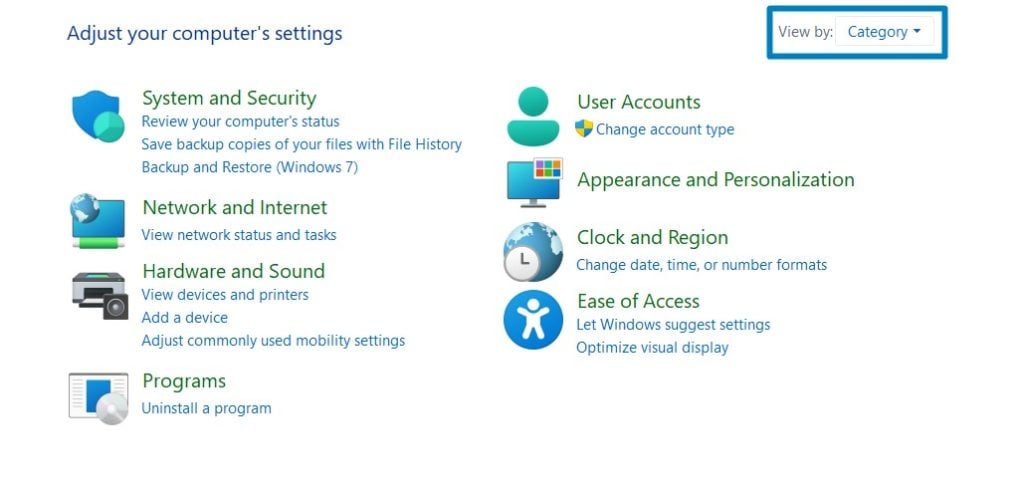
Category View - Now, Click on Programs.
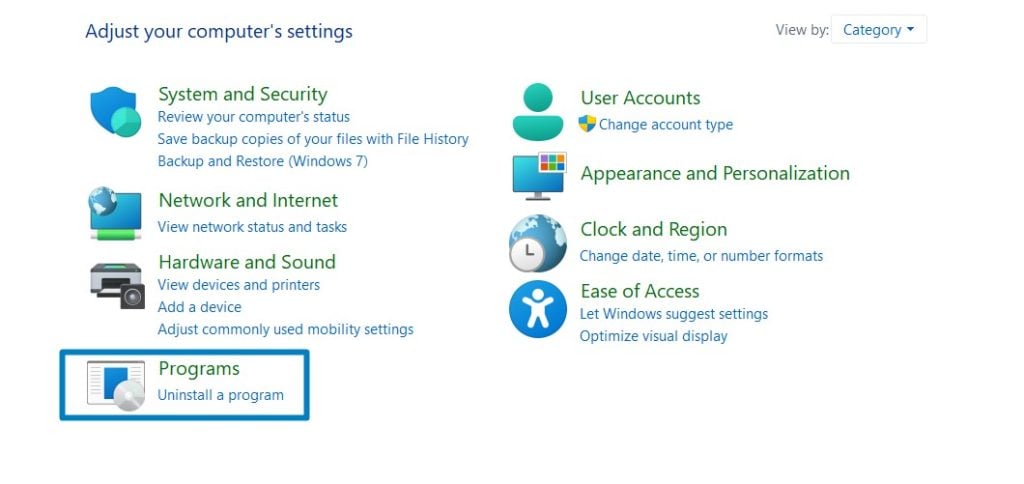
Programs - Under Programs and Features, click on Turn Windows Features on or off.
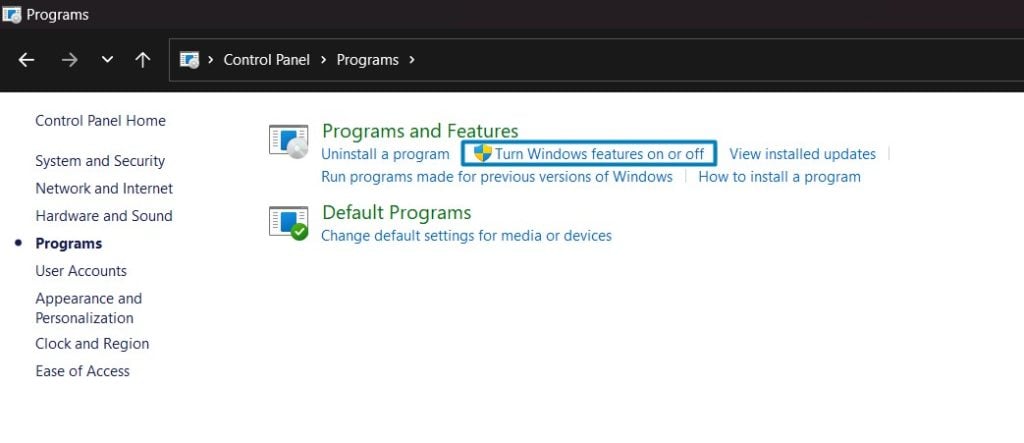
Turn Windows Features on or off - Windows Features dialog box will open now.
- Search and locate Microsoft Print to PDF from the list of services available.
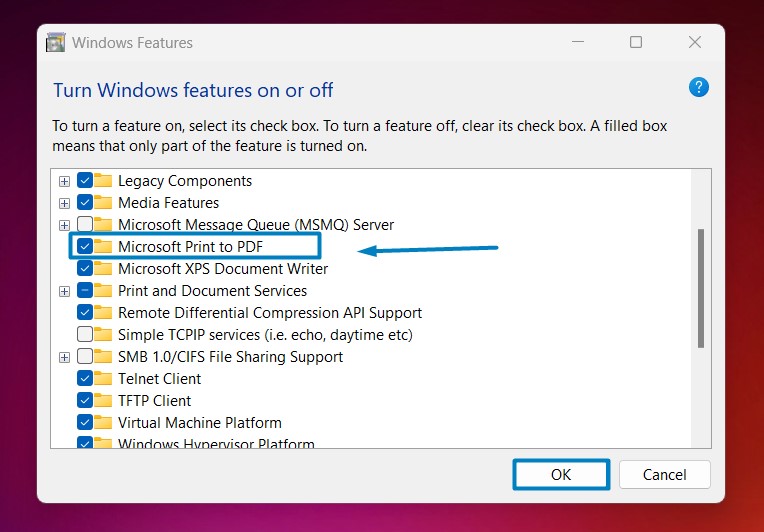
Microsoft Print to PDF - Click on the checkbox next to it and then click on OK.
- Windows 11 will search for the required files.
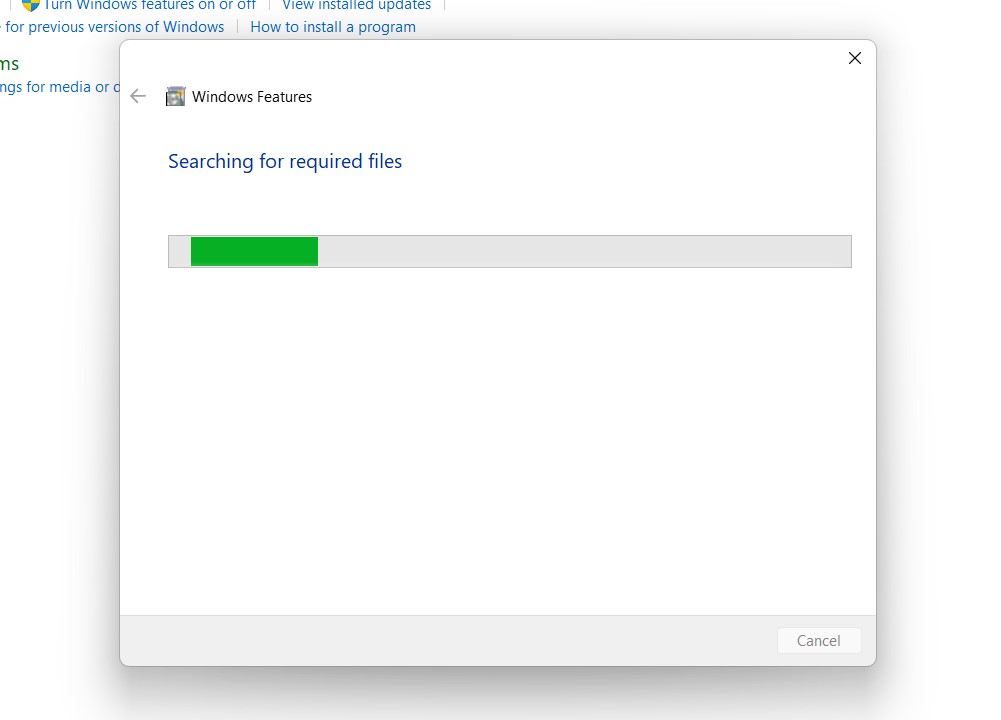
Searching for the required files - After the process, Windows will apply the necessary changes.
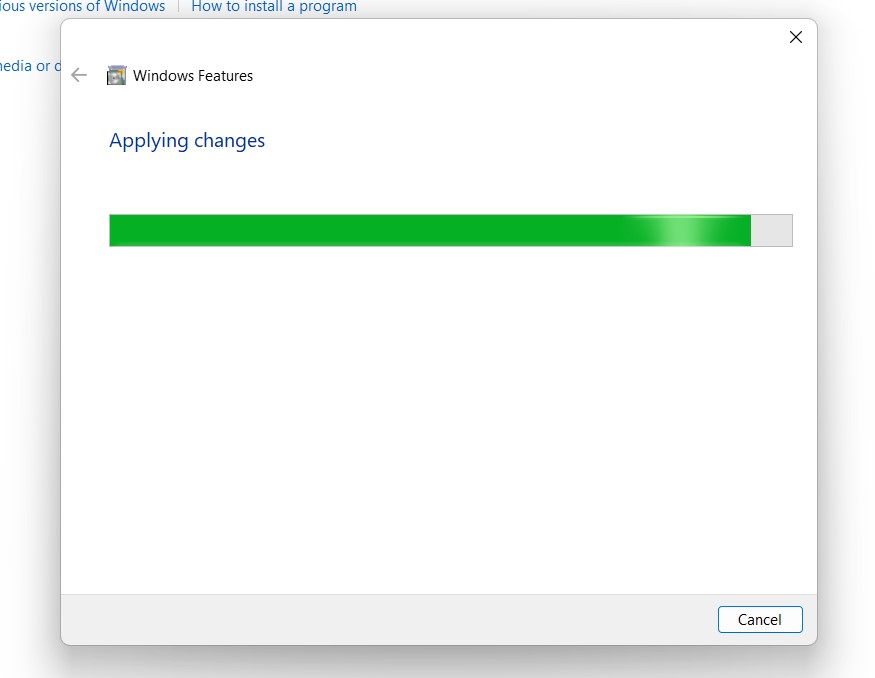
Applying Changes - The system will prompt for a restart. Click Close. Continue with Restart if prompted. It is recommended that changes made to the system reflect while using the environment.
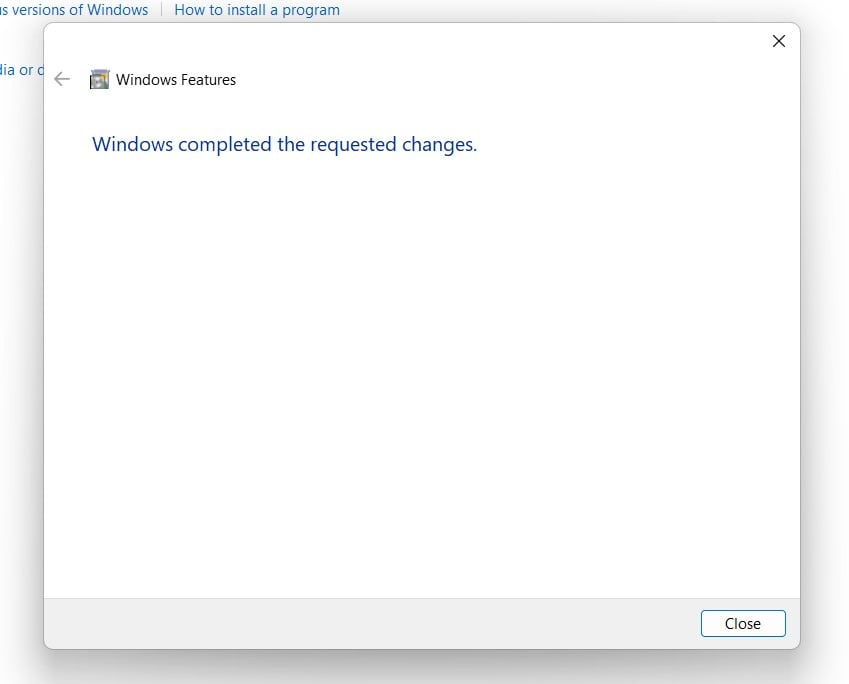
Close - That is it, Microsoft Print to PDF is now enabled on your Windows 11 laptop or PC. Enjoy Seamless Connectivity.
Unlike some third-party PDF printers, Microsoft Print to PDF is built directly into Windows, ensuring consistent performance and compatibility across different applications and devices. This integration not only enhances user experience but also reduces the need for additional software installations, simplifying the PDF creation process for Windows users.
Take away:
Enabling Microsoft Print to PDF in Windows 11 is a straightforward process that enhances your productivity and document management capabilities. Whether you’re saving reports, receipts, or web content, Microsoft Print to PDF provides a convenient solution for creating PDF files. Start using Microsoft Print to PDF today and enjoy seamless PDF creation on your Windows 11 device. Happy Coding! Peace out!
![How to Enable IIS [Internet Information Services] in Windows 11? 1 Enable IIS in Windows 11](https://winsides.com/wp-content/uploads/2024/01/IIS-in-Windows-11-390x220.webp) How to Enable IIS [Internet Information Services] in Windows 11?
How to Enable IIS [Internet Information Services] in Windows 11? How to Enable Simple TCP/IP Services in Windows 11?
 Enable SMB 1.0 / CIFS File Sharing Support using Command Prompt & Windows PowerShell
 Enable SMB 1.0/CIFS File Sharing Support in Windows 11