Enable Telnet Client in Windows 11: It is a powerful tool that enables users to establish remote connections to other devices over a network, making it a valuable asset for network troubleshooting and management tasks. Enabling the Telnet Client in Windows 11 allows users to utilize this functionality seamlessly within the operating system. In this comprehensive guide, we’ll walk you through the steps to enable the Telnet Client in Windows 11, empowering you to leverage its capabilities for efficient network communication.
Turn on Telnet Client in Windows 11 OS:
- Click on the Start Menu and open the Control Panel.
- Switch the Control Panel view to Category.
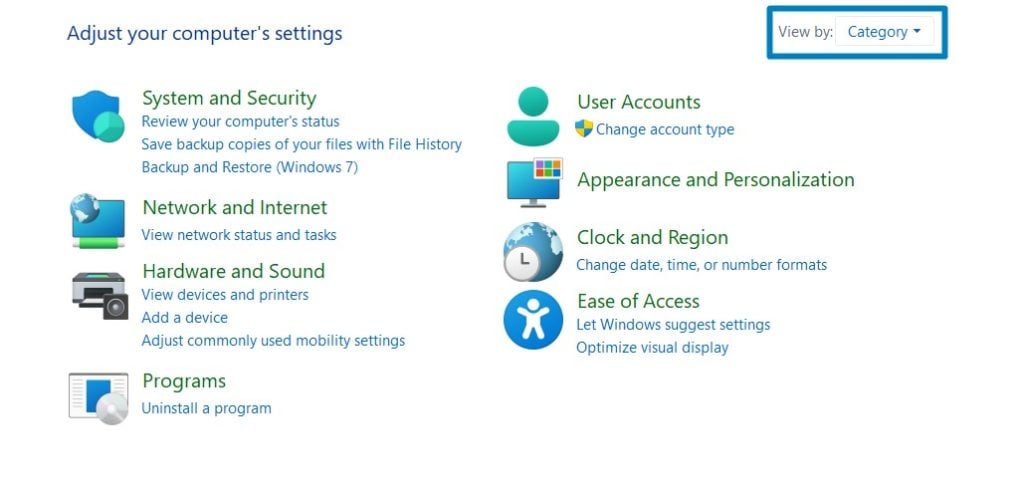
Category View - Now, Click on Programs.
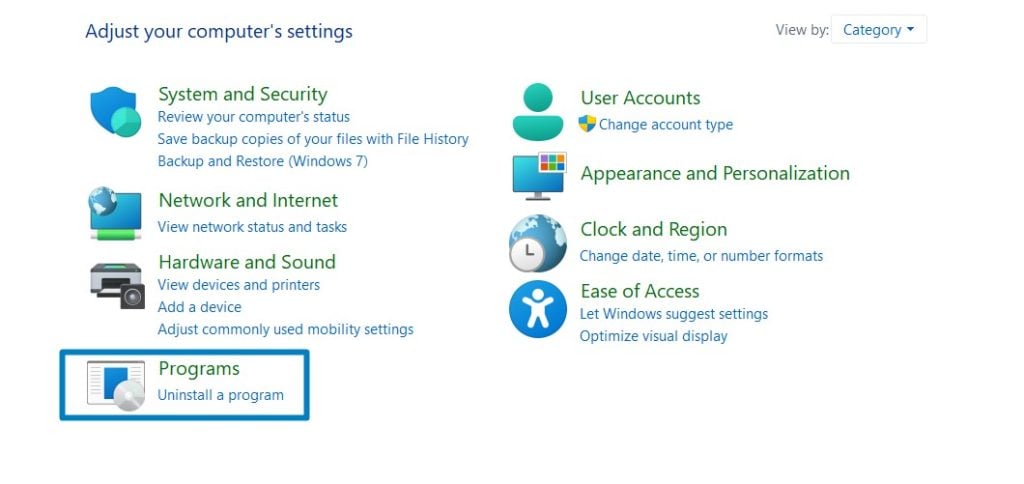
Programs - Under Programs and Features, click on Turn Windows Features on or off.
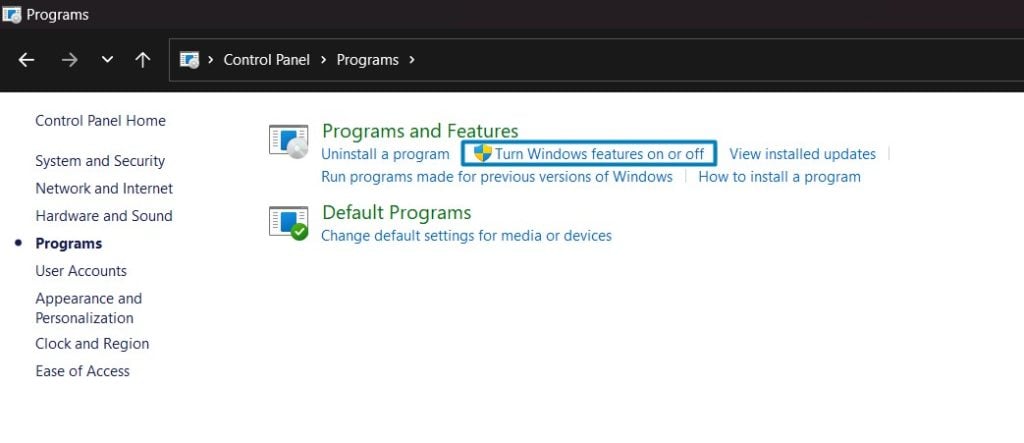
Turn Windows Features on or off - Windows Features dialog box will open now.
- Search and locate the Telnet Client from the list of services available.
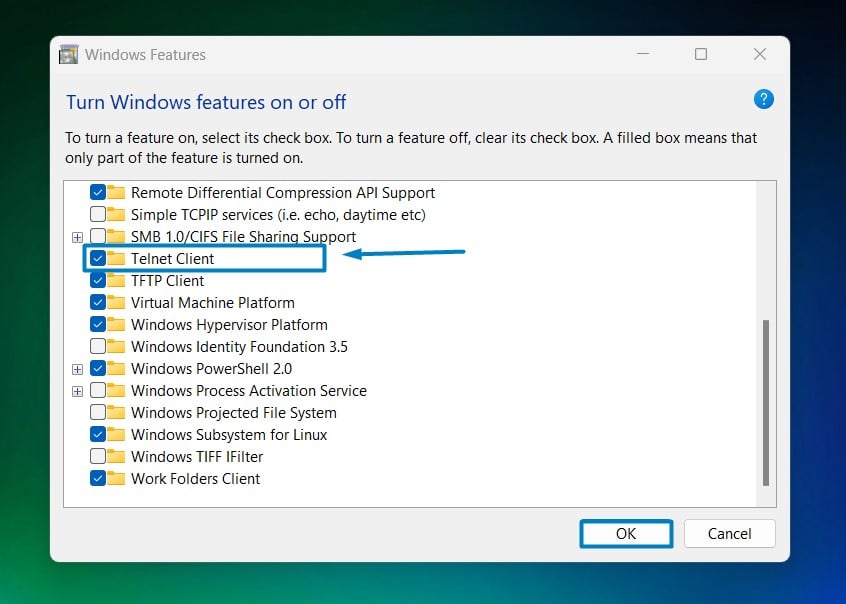
- Click on the checkbox next to it and then click on OK.
- Windows 11 will search for the required files.
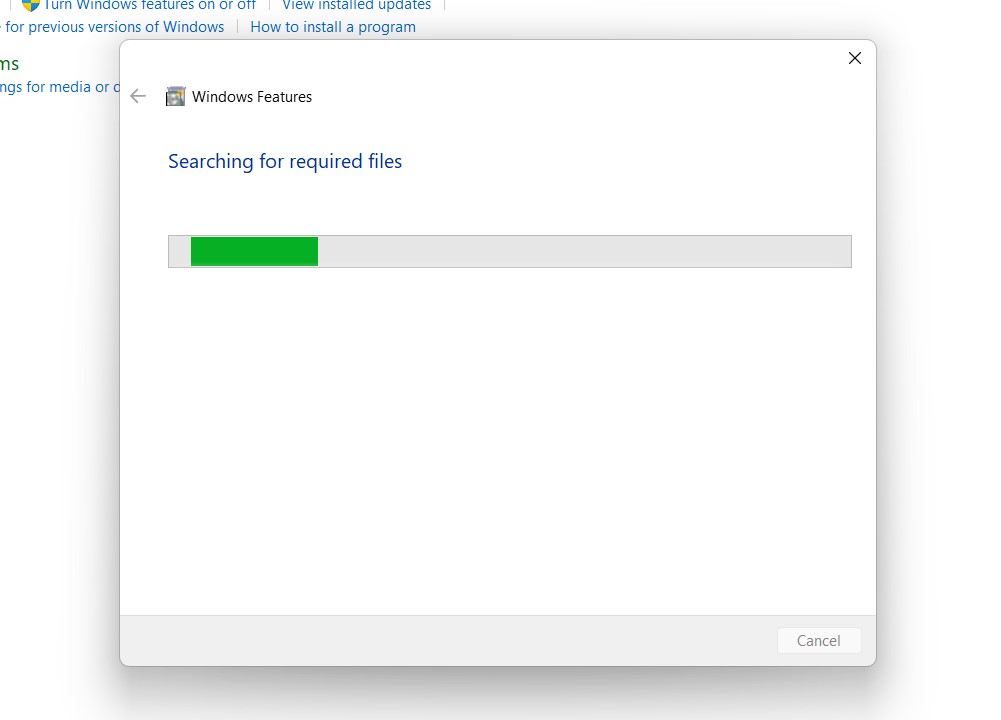
Searching for the required files - After the process, Windows will apply the necessary changes.
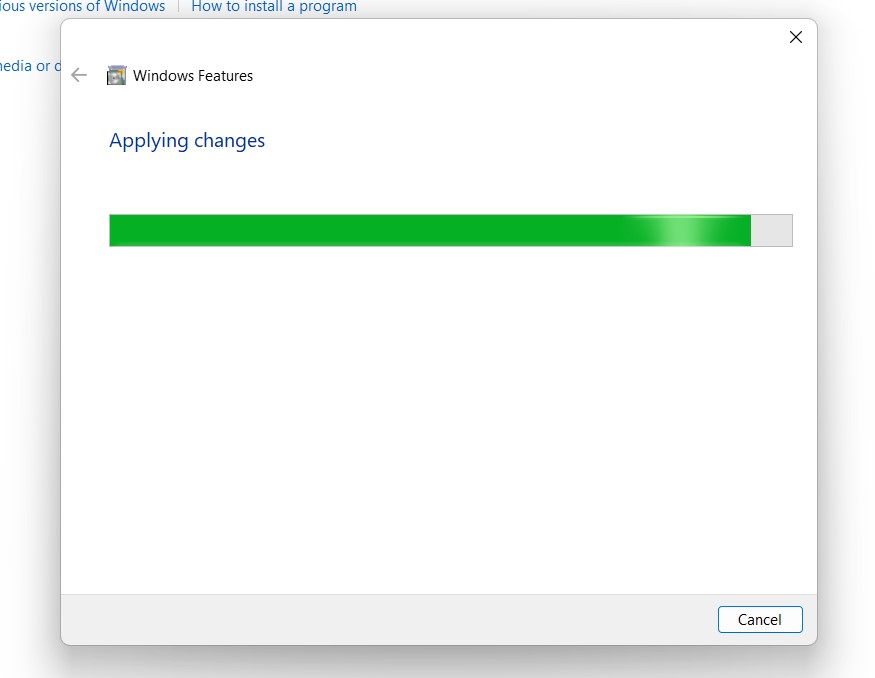
Applying Changes - The system will prompt for a restart. Click Close. Continue with Restart if prompted. It is recommended that changes made to the system reflect while using the environment.
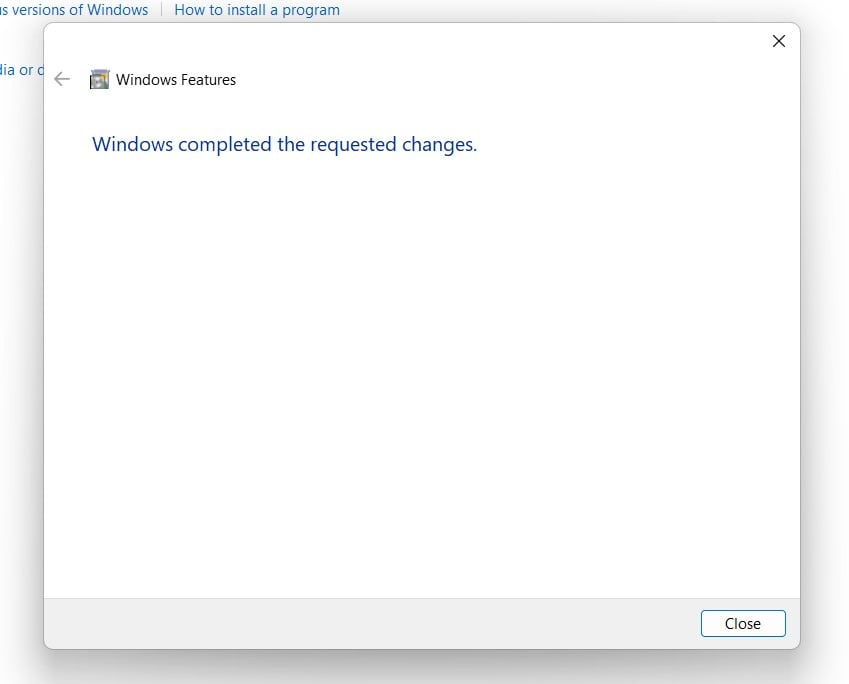
Close - That is it, Telnet Client is now enabled on your Windows 11 laptop or PC. Enjoy Seamless Connectivity.
The Telnet Client in Windows 11 provides a command-line interface for establishing Telnet sessions with remote devices. It allows users to access and manage network resources, configure devices, and perform diagnostic tasks remotely.
How to use Telnet Client in Windows 11?
- To establish a Telnet session, type telnet in Command Prompt, replacing it with the IP address or hostname of the remote device.
- Enter your login credentials (if required) to access the remote device.
Take away:
Enabling the Telnet Client in Windows 11 provides users with a powerful tool for remote network management and troubleshooting. By following the steps outlined in this guide, you can easily enable the Telnet Client and harness its capabilities for efficient network communication. Empower yourself with the ability to establish Telnet sessions and manage network resources seamlessly within Windows 11. Happy Coding! Peace out!
![How to Enable IIS [Internet Information Services] in Windows 11? 1 Enable IIS in Windows 11](https://winsides.com/wp-content/uploads/2024/01/IIS-in-Windows-11-390x220.webp) How to Enable IIS [Internet Information Services] in Windows 11?
How to Enable IIS [Internet Information Services] in Windows 11? How to Enable Simple TCP/IP Services in Windows 11?
 Enable SMB 1.0 / CIFS File Sharing Support using Command Prompt & Windows PowerShell
 Enable SMB 1.0/CIFS File Sharing Support in Windows 11