Unbranded Boot in Windows 11 refers to a boot experience that removes the Windows logo and other branding during startup, shutdown, or when resuming from hibernation. It’s often used by OEMs (Original Equipment Manufacturers) to customize the appearance of the boot process or by those wanting a cleaner, minimalist boot screen. I use the Asus Rog G Strix 15 and usually get the Asus ROG Red Logo on the initial boot screen. This feature is designed to give Original Equipment Manufacturers control over customizing the boot experience on devices they produce or manage and hence, it is available only on Windows 11 Pro, Enterprise, and Education. If you are a Windows 11 Home user, then this feature will not be available on your Windows 11 PC. Let’s get started and Enable Unbranded Boot in Windows 11 using simple steps.
Key Steps:
- To Enable this Feature in Windows 11 Professional Editions, lets go to Windows Features. To access it, we can use Run command. We can use the shrotcut Win Key + R to open Run Command.
- Once the Run command opens, execute the command “appwiz.cpl“.
- The Programs and Features windows will open now.
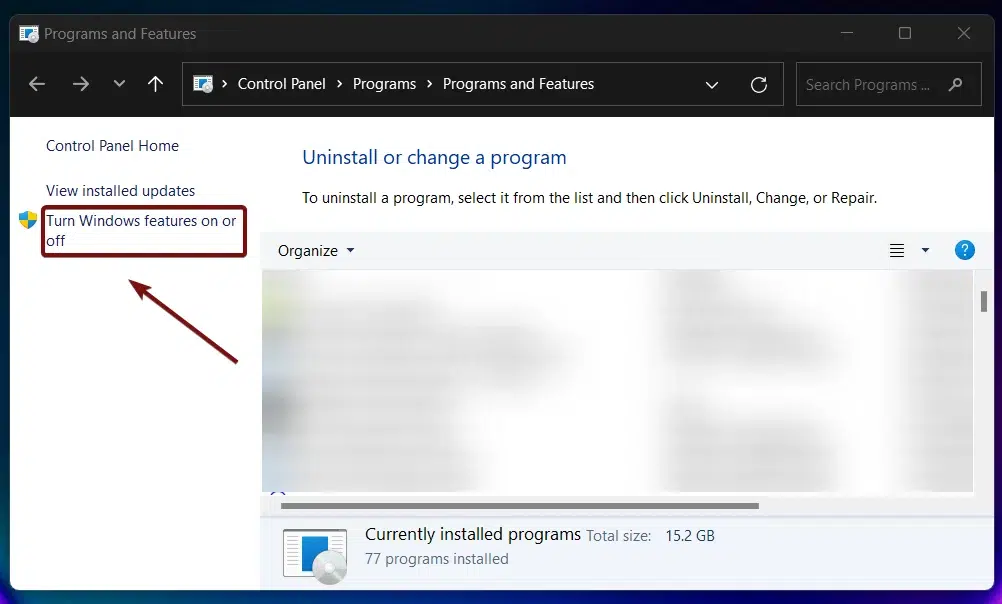
- From the left pane, click on Turn Windows Features on or off.
- Windows Features dialog box will appear now. There will be a lot of features available.
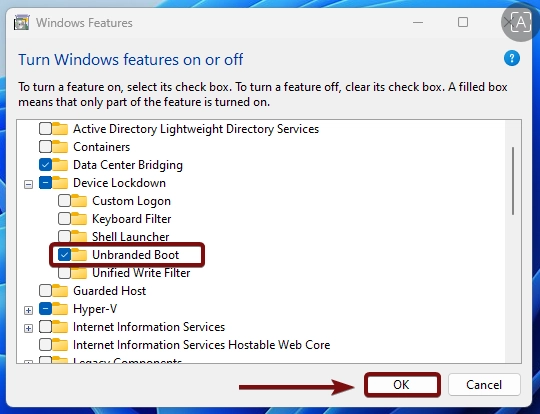
- We have to locate unbranded boot from the list. Once, we locate it, click on the checkbox next to it and then Click OK.
- The sytem will turn on the Unbranded Boot in Windows 11. Kindly not that this feature is limited to the Windows 11 professional editions like Windows 11 Pro, Education, and Enterprise, and is not available in the Windows 11 Home Edition.
- The alternate way to access unbranded boot in Windows 11 Pro is to use the command prompt and access the Boot Configuration Data.
Different Ways to Access the Unbranded Boot in Windows 11 Professional Editions:
We can access the Unbranded Boot Feature in two different ways,
- Using Windows Features ( GUI Method)
- Using Command Prompt to access Boot Configuration Data (BCD) (CLI Interface)
Windows Features provides a quick and convenient way to access this Feature. On the other hand, BCD via the Command Line Interface allows deeper customization of the boot processes.
Enable Unbranded Boot in Windows 11 Professional Editions
Here in this section, we will check out how to enable this feature using GUI.
- Let’s go to Run Command. You can either use the Start menu or the key combination Win Key + R to open Run Command.
- On the Run Command, type the following command
appwiz.cpl, and click OK.
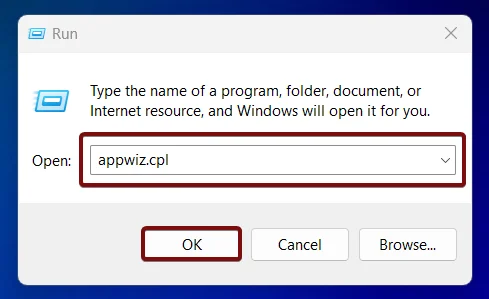
- This command will open Programs and Features Windows On the left side, you can find Turn Windows Features on or off. Click on that.
- Now, the Windows Features Dialog box will pop up. Here, you can find all the features available in your Windows 11 Pro Editions.
- You can find the “Device Lockdown” feature. Click on the plus sign to expand the Device Lockdown node.
- You can find the Unbranded Boot feature over there. Click on the checkbox next it it, and finally click OK.
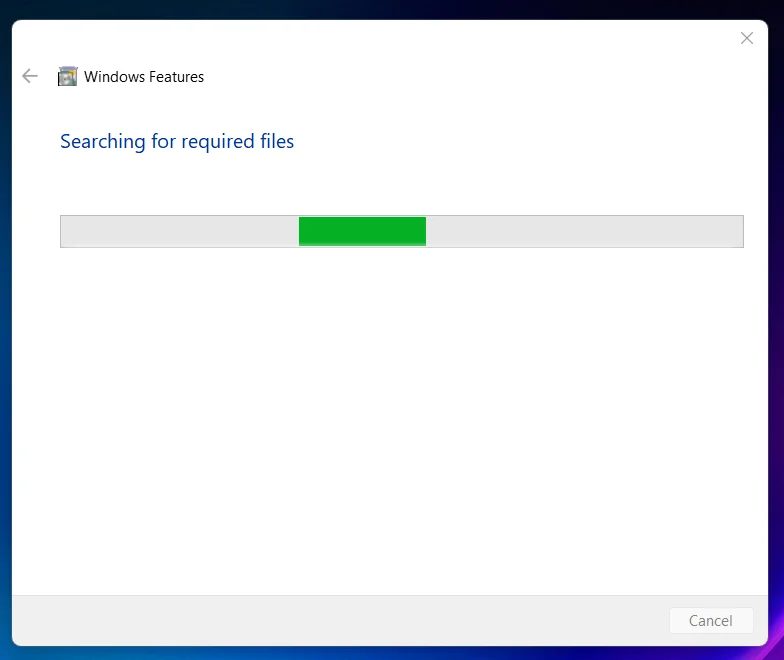
- That is it, Windows will search for the required files. In this step, the system will look for the files required to enable this feature.
- Then, Windows will apply the necessary changes.
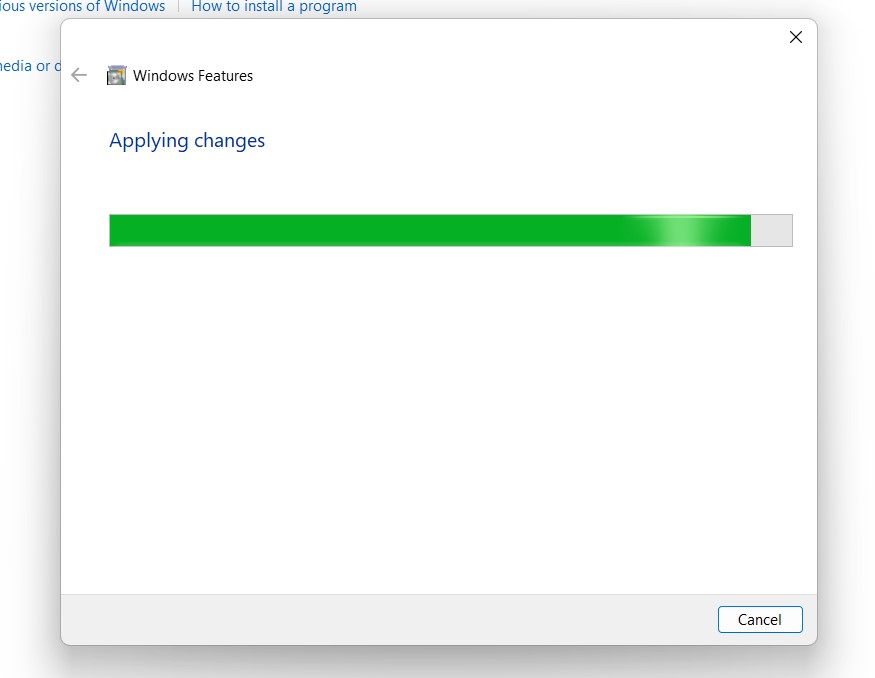
- Finally, click Close or Restart depending upon the option available. However, it is highly recommended to restart your system right away.
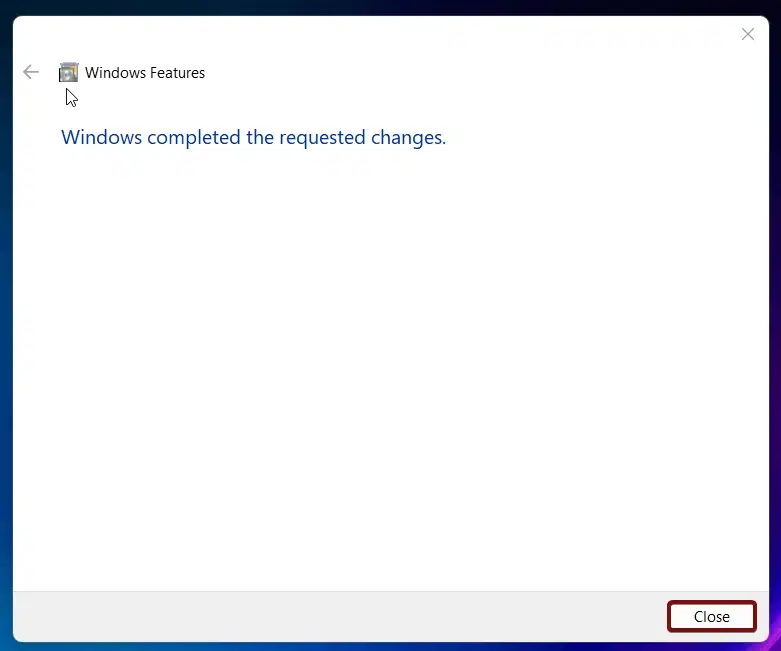
What can we expect once the Unbranded Boot is enabled in Windows 11:
Alright, using the above steps, we have now enabled this feature. So, what happens next, how does it work? There are several; visible differences you can notice the next time you boot your system.
- The standard Windows Logo that usually appears during the system startup will no longer be visible. Instead of the usual Windows branding, you may see a plain or blank screen during the boot process.
- The familiar Spinning Dots animation that represents the Windows 11 loading will no longer show. It may be removed or replaced with a minimal loading indicator, depending on your system.
Overall, the boot screen will be fairly minimal.
Enable Unbranded Boot using Boot Configuration Data in Windows 11
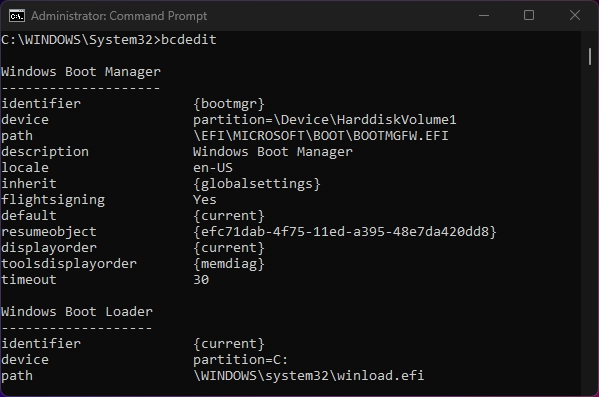
If you’re looking to customize the boot process of your Windows 11 device beyond what the graphical interface offers, using Boot Configuration Data (BCD) is a powerful method. BCD (Boot Configuration Data) is the firmware-independent database for boot-time configuration data. It controls how your system boots and is essential for any advanced boot customizations.
- To modify the Boot Settings, let us access Command Prompt with Administrator privileges.
- The User Account Control (UAC) will prompt for permission. Click Yes. This will allow the CMD to make changes to the system.
- On the command prompt, execute the following command.
bcdedit /set {globalsettings} bootux disabled
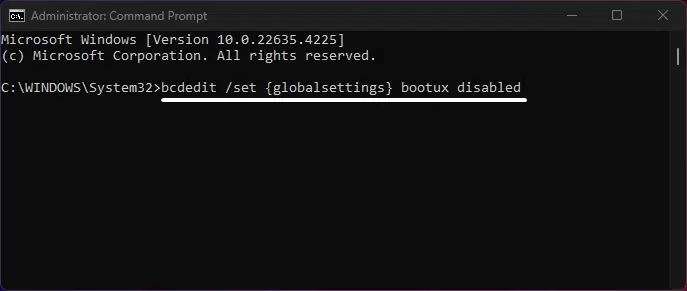
- This command will disable the Windows Boot UX which includes the Windows Logo and the related branding.
- Let us make sure the changes have been applied successfully using the following command.
bcdedit /enum {globalsettings}
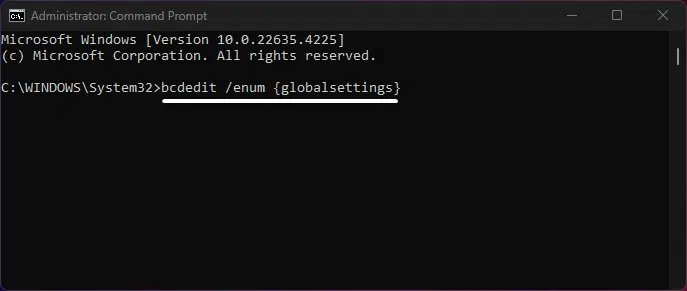
- This command will show us all the changes made and hence look for the setting we have changed now. The bootux should be set to disabled indicating that the Unbranded Boot is now active.
- Finally, as always, restart the Windows 11 PC. This step will ensure all the changes are effectively made to the system.
While enabling Unbranded Boot via the Windows Features is straightforward, using BCD allows you to directly control and customize other advanced boot settings. For example, you can configure boot parameters or troubleshoot boot-related issues all from one place. This method is particularly useful for IT professionals, OEMs, or anyone looking to have more control over the boot process.
Take away:
For everyday users, the Unbranded Boot feature might not be critical, but for those in niche industries, such as tech hardware, enterprise IT departments, or organizations focused on security, this feature provides the flexibility to fine tune their systems. The Unbranded Boot feature, while not the most commonly searched or essential setting, serves specific use cases where branding, user experience, and visual simplicity are crucial. If you have any queries, do let us know in the comment section, and if you like our article, kindly give us a review. For more interesting articles and Windows 11 Tutorials, stay tuned to winsides.com
![How to Enable IIS [Internet Information Services] in Windows 11? 1 Enable IIS in Windows 11](https://winsides.com/wp-content/uploads/2024/01/IIS-in-Windows-11-390x220.webp) How to Enable IIS [Internet Information Services] in Windows 11?
How to Enable IIS [Internet Information Services] in Windows 11? How to Enable Simple TCP/IP Services in Windows 11?
 Enable SMB 1.0 / CIFS File Sharing Support using Command Prompt & Windows PowerShell
 Enable SMB 1.0/CIFS File Sharing Support in Windows 11