Keeping the C Drive clean is crucial if you are a Windows User, but wait? Why C Drive? There are other Drives, but the C Drive is the default drive for the installation of Windows Operating Systems. You can manually change the installation path, however, the C Drive is the default path. If we keep the C Drive clean, it will improve the System Performance, Smooth Windows Updates, Reduce System Crashes, Improve App and Gaming Performance, etc, because all of these activities are related to the Windows Files and the Installed Files on the system. In this latest article, let’s check out what are the different practices on How to clean C Drive in Windows 11.
Why C Drive the default Windows Installation Drive? Interesting Facts
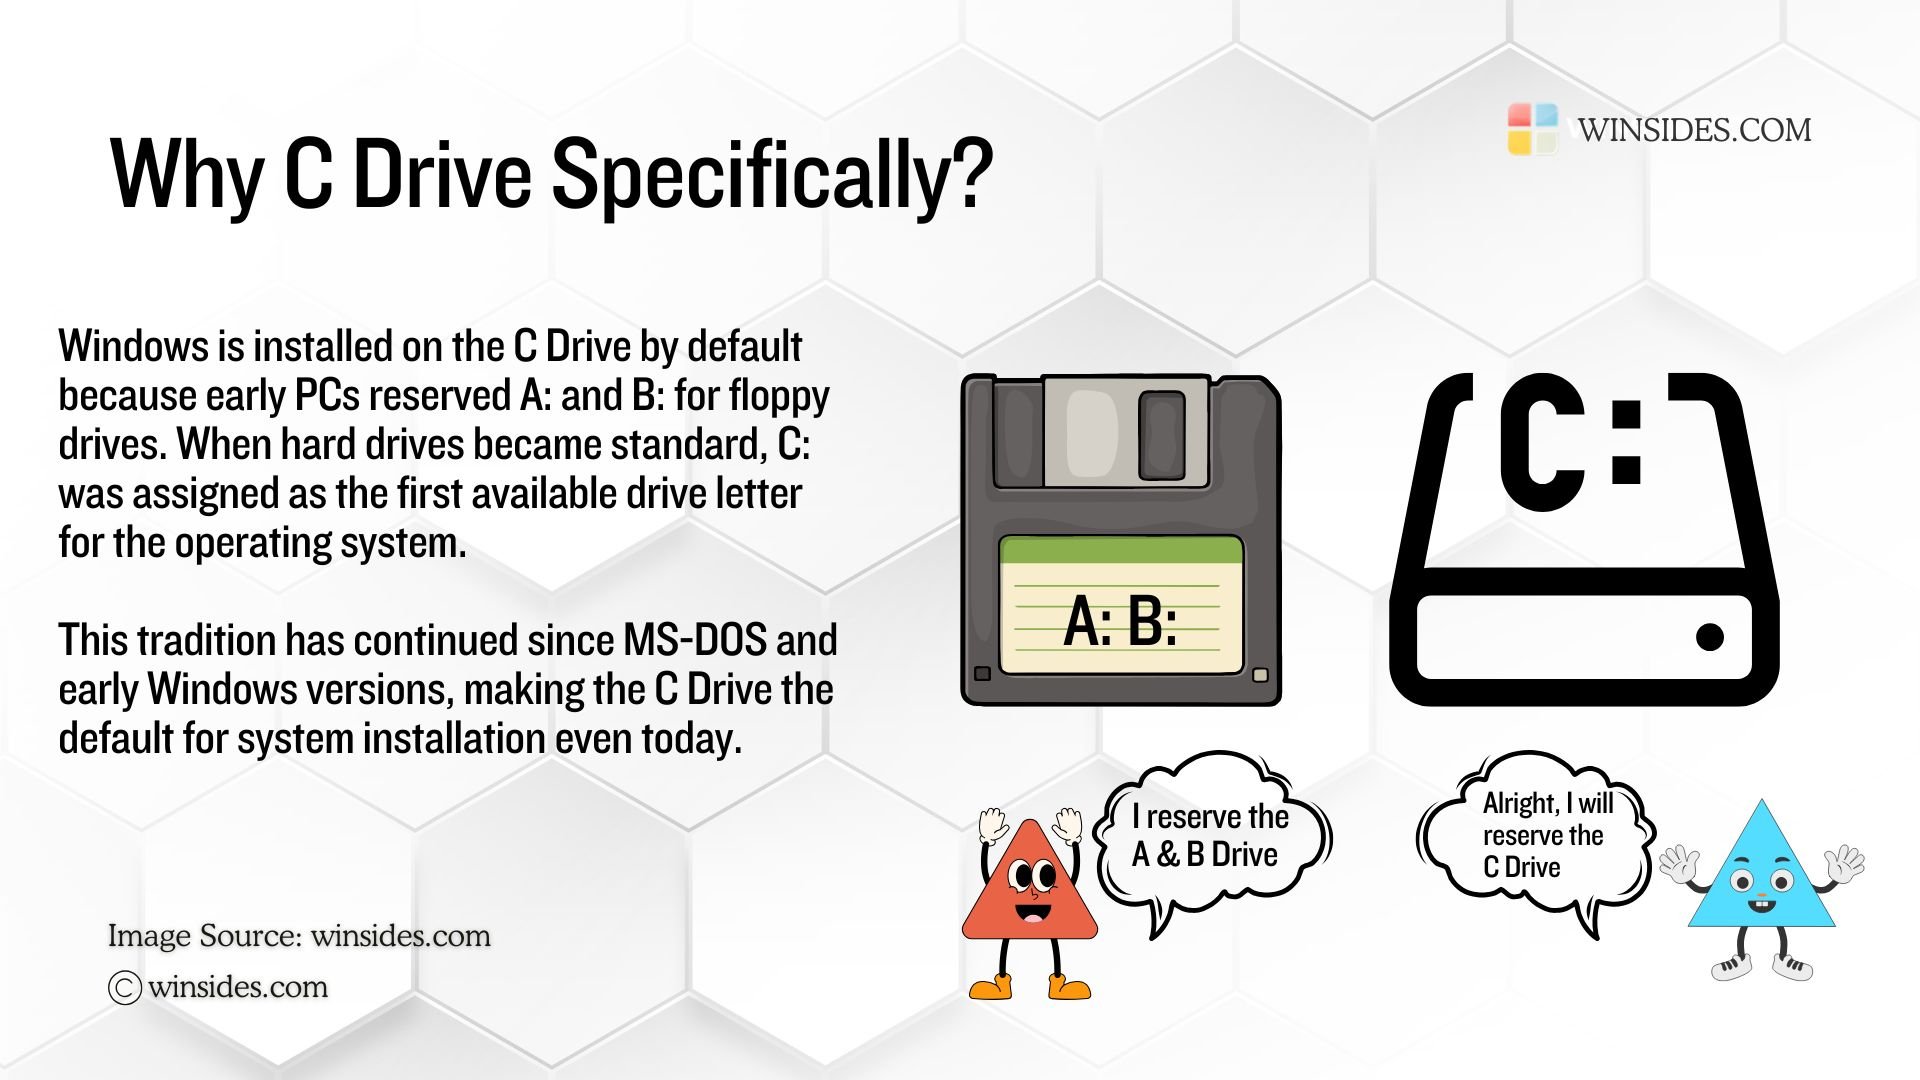
The Gen Z kids may not know about Floppy Disks, but Millennials were able to witness and use Floppy Disks. In the earlier days, when Floppy disks were dominant, A: and B: Drives were reserved for these floppy drives. Hence, during the earlier Windows Versions and MS-DOS, they reserved the C: Drive for Windows Installation, and this tradition continues to this day.
Though you can customize the Windows Installation path, it is recommended to keep the Windows Installation on the C Drive, as other software files and their installations, common file paths, etc., will follow the C Drive path. Every time, you may need to change this path manually.
How to Clean C Drive in Windows 11? 7 Best Practices
Just like how we teach our children good habit, we will have to follow several practices to keep the C Drive Clean. By that way, the system will perform well. The following are the best practices you can follow to keep your C Drive effective.
- Clear Temporary Files.
- Enable Storage Sense to automatically delete Temporary Files.
- Run scheduled Disk Cleanup.
- Move Files to other Drives.
- Keep the Desktop Clean.
- Clear Browser Cache.
- Periodically Empty the Recycle bin.
#1. Clear Temporary Files (Temp, %Temp% Folders) on Windows 11
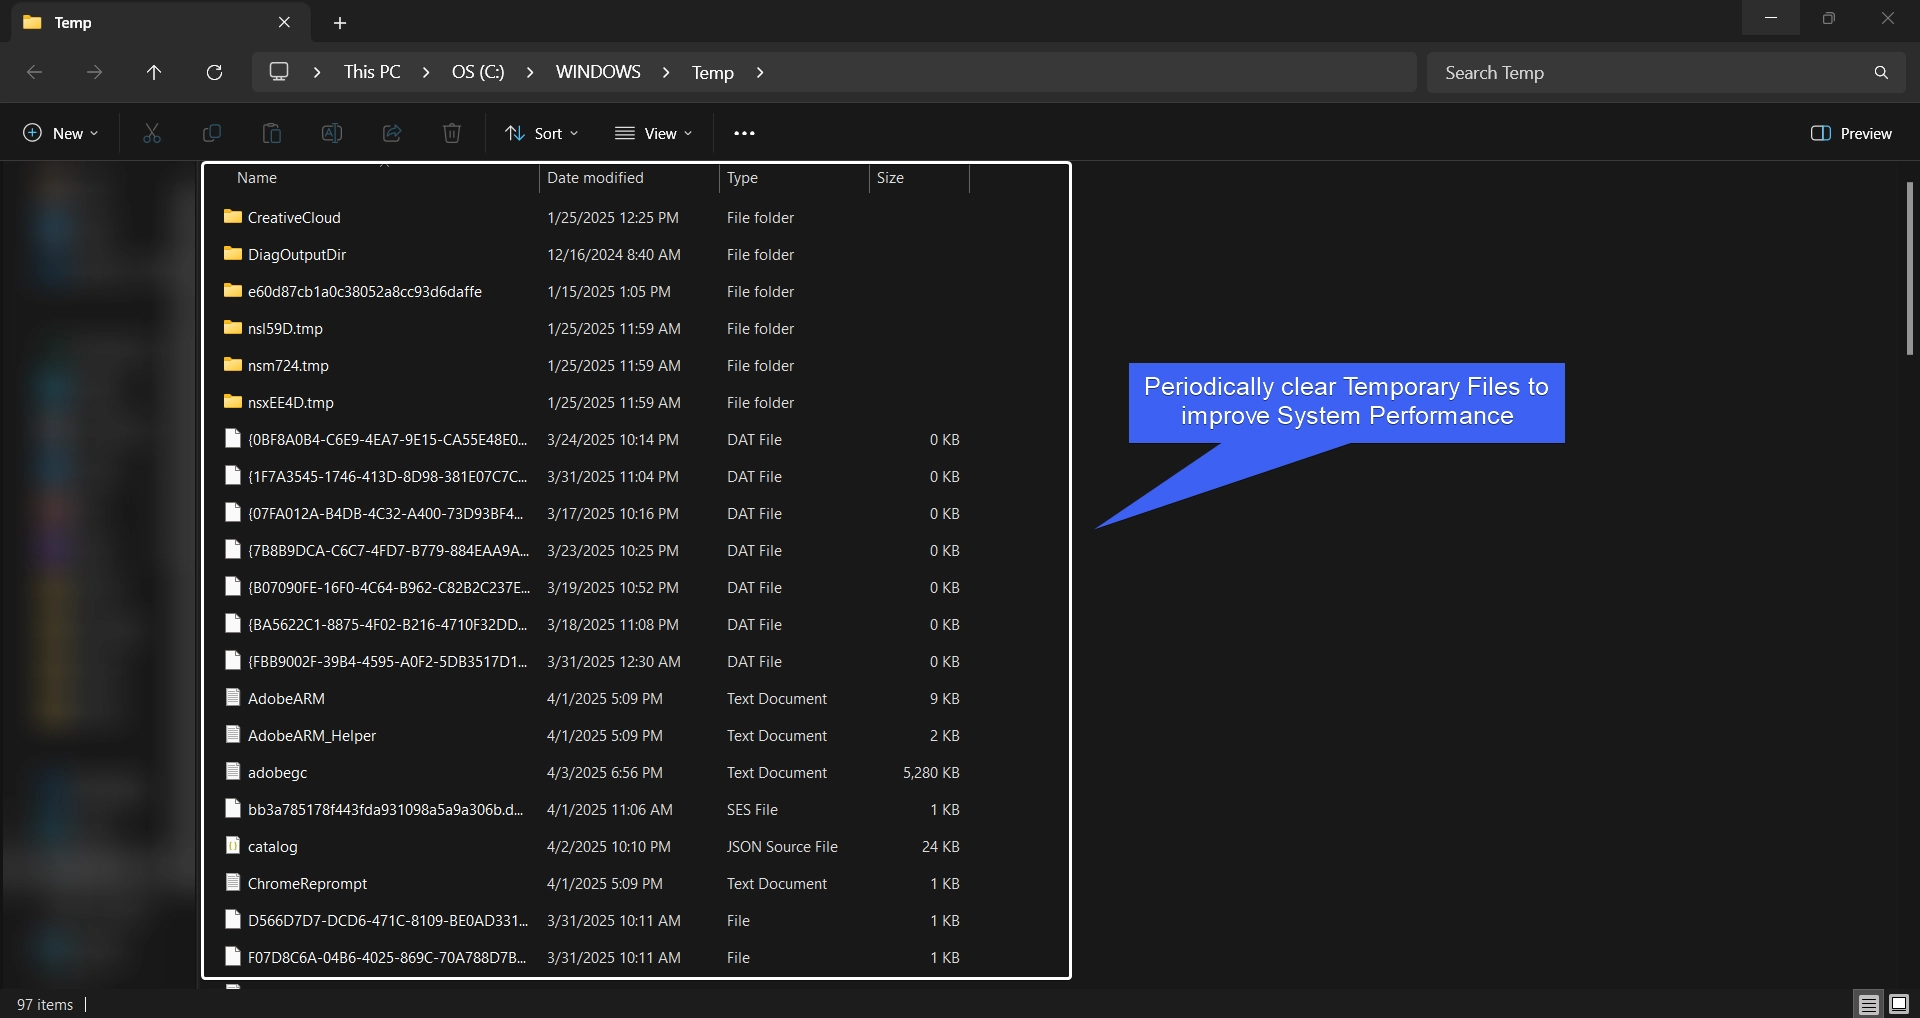
These folders are system-wide temporary folders and user-specific temporary folders that stores temporary files, Logs, Updates, etc. These files may not be needed after their use, however, they keep piling up consuming more space and background processes. It is always safe to permanently delete these files using Shift + Delete. However, if you get error saying that the file is in nice, you can Skip it. Either way, deleting these files does not do any harm to the system. Kindly check out our detailed article on How to Delete Temporary Files on Windows 11 for more information.
#2. Enable Storage Sense for Automatic Optimization & Enhancements

Storage Sense on Windows 11 is a part of Storage Management, it was first introduced as a built-in feature on Windows 10. It aims for an automatic approach with latest functionalities. When compared to the Disk Cleanup Tool, Storage Sense provides better automation, deeper integration with System Settings, and provides a more customized approach. We have a detailed article explaining about Storage Sense on Windows 11. Kindly refer to it.
#3. Run Scheduled Disk Cleanup for better performance of the OS
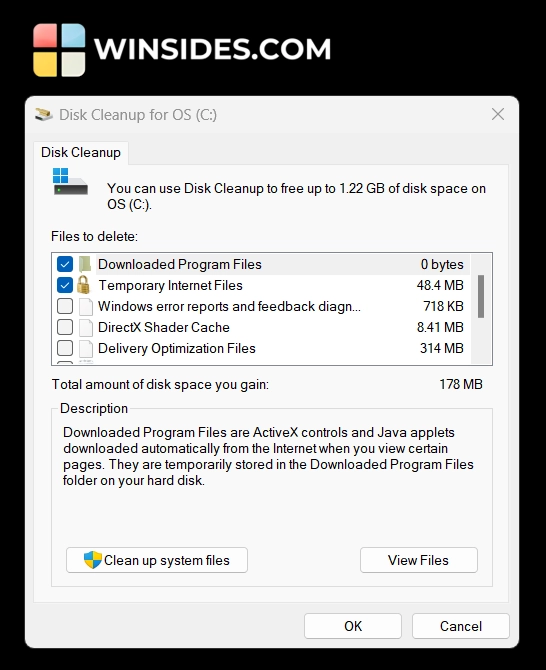
Though Storage Sense does this work for you, if you feel your system is slowing down some times, then you try manually using the Disk Cleanup Tool on Windows 11. Disk Cleanup can remove the Junk Files, Files from the previous Windows updates which are no longer required, Downloaded Program Files, Temporary Internet Files, DirectX Shader Cache, Delivery optimization files, System Files, Windows Error Reports, and Feedback Diagnostics, etc. You can clear these files using the Disk Cleanup Tool on Windows 11. While Storage Sense provides an automation, it is always good to know to handle things manually using the Disk Cleanup tool.
#4. Move Files to other Volumes
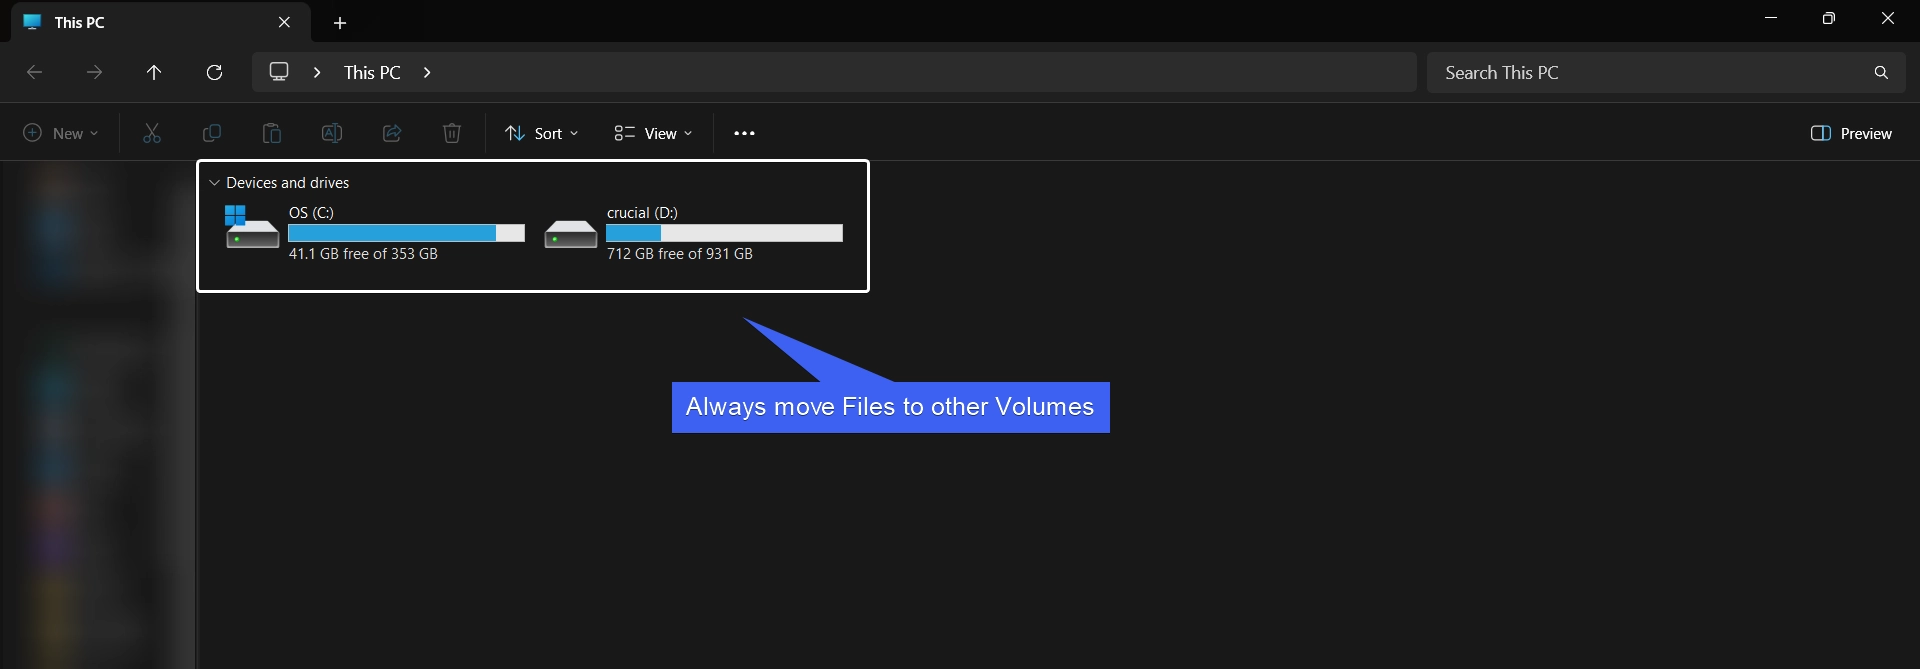
We always have a common practice of keeping Files in the Desktop. When we download files via the Browsers, they get stored in the Downloads Folder. The Pictures we save, the Documents Folder, by default, all of these files and folders are stored in the C Drive. For example, if you use Snippet Tool, and take a screenshot, by default, the Snippet tool will save the screenshot in the Screenshots Folder of the Documents which is located in the C Drive. This is just one example. From time to time, it is always advised to move these files to a different partition thereby reducing the load on the C Drive.
If you refer to the above image, I have two SSD Drives, one is for the Operating System (C Drive), and the other Crucial SSD (D Drive) is for storing my files, projects, etc.
#5. Always keep the Windows 11 Desktop Clean

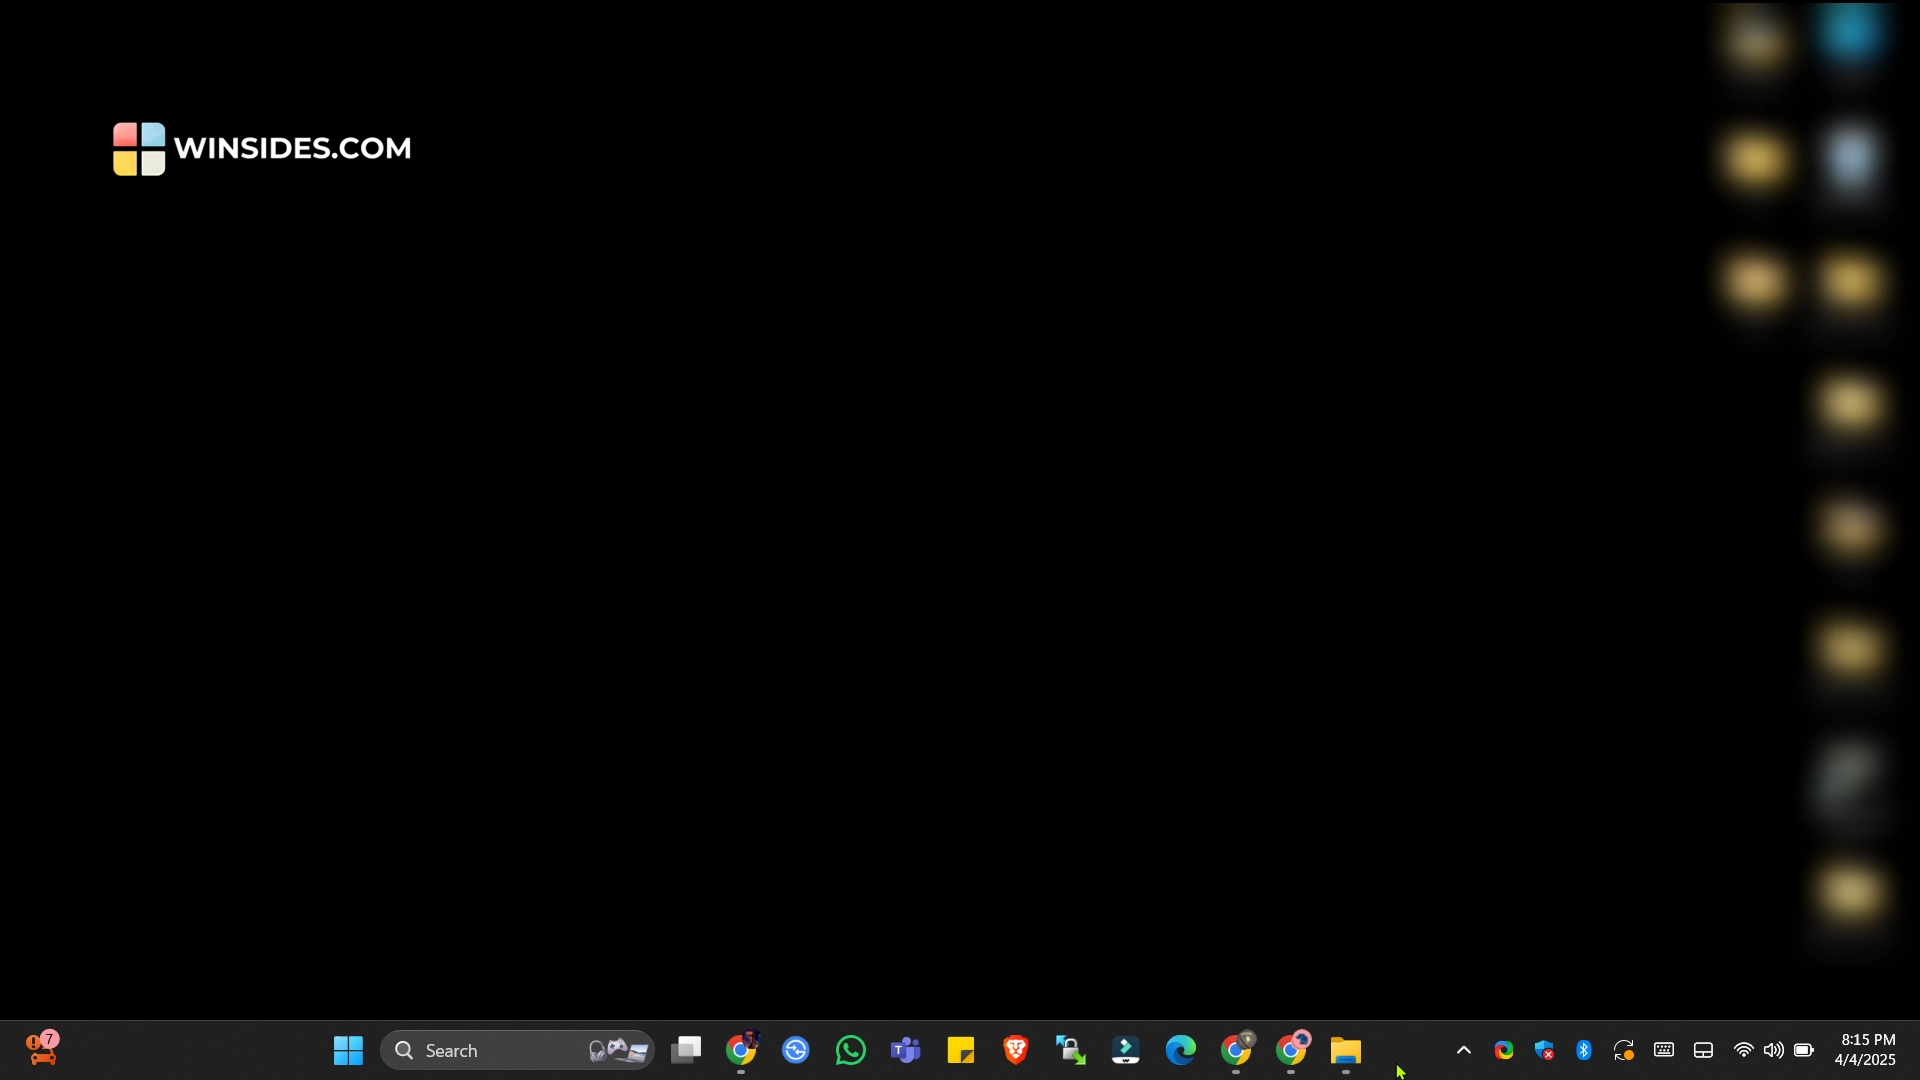
Many users keep almost all of their files and applications in the desktop. Over a course of time, this may slow down the normal functioning of the system. Some users may not know that the files stored in the Desktop are actually stored in the C Drive. Some save Heavy Multimedia Files in the Desktop, some keeps hundreds and thousands of files saved in a folder in the Desktop. None of these are recommended and they can affect the functionality to a greater extent.
The above is my friend’s Desktop and he used to keep all his files in the desktop, he said it is convenient for him to access them, but however, it is not a healthy practice. I always keep my desktop clean and minimalistic and keep only crucial items in the desktop. I move all the other files to my other SSD Drive. The following is the screenshot of my desktop.
#6. Clear your Browser Cache
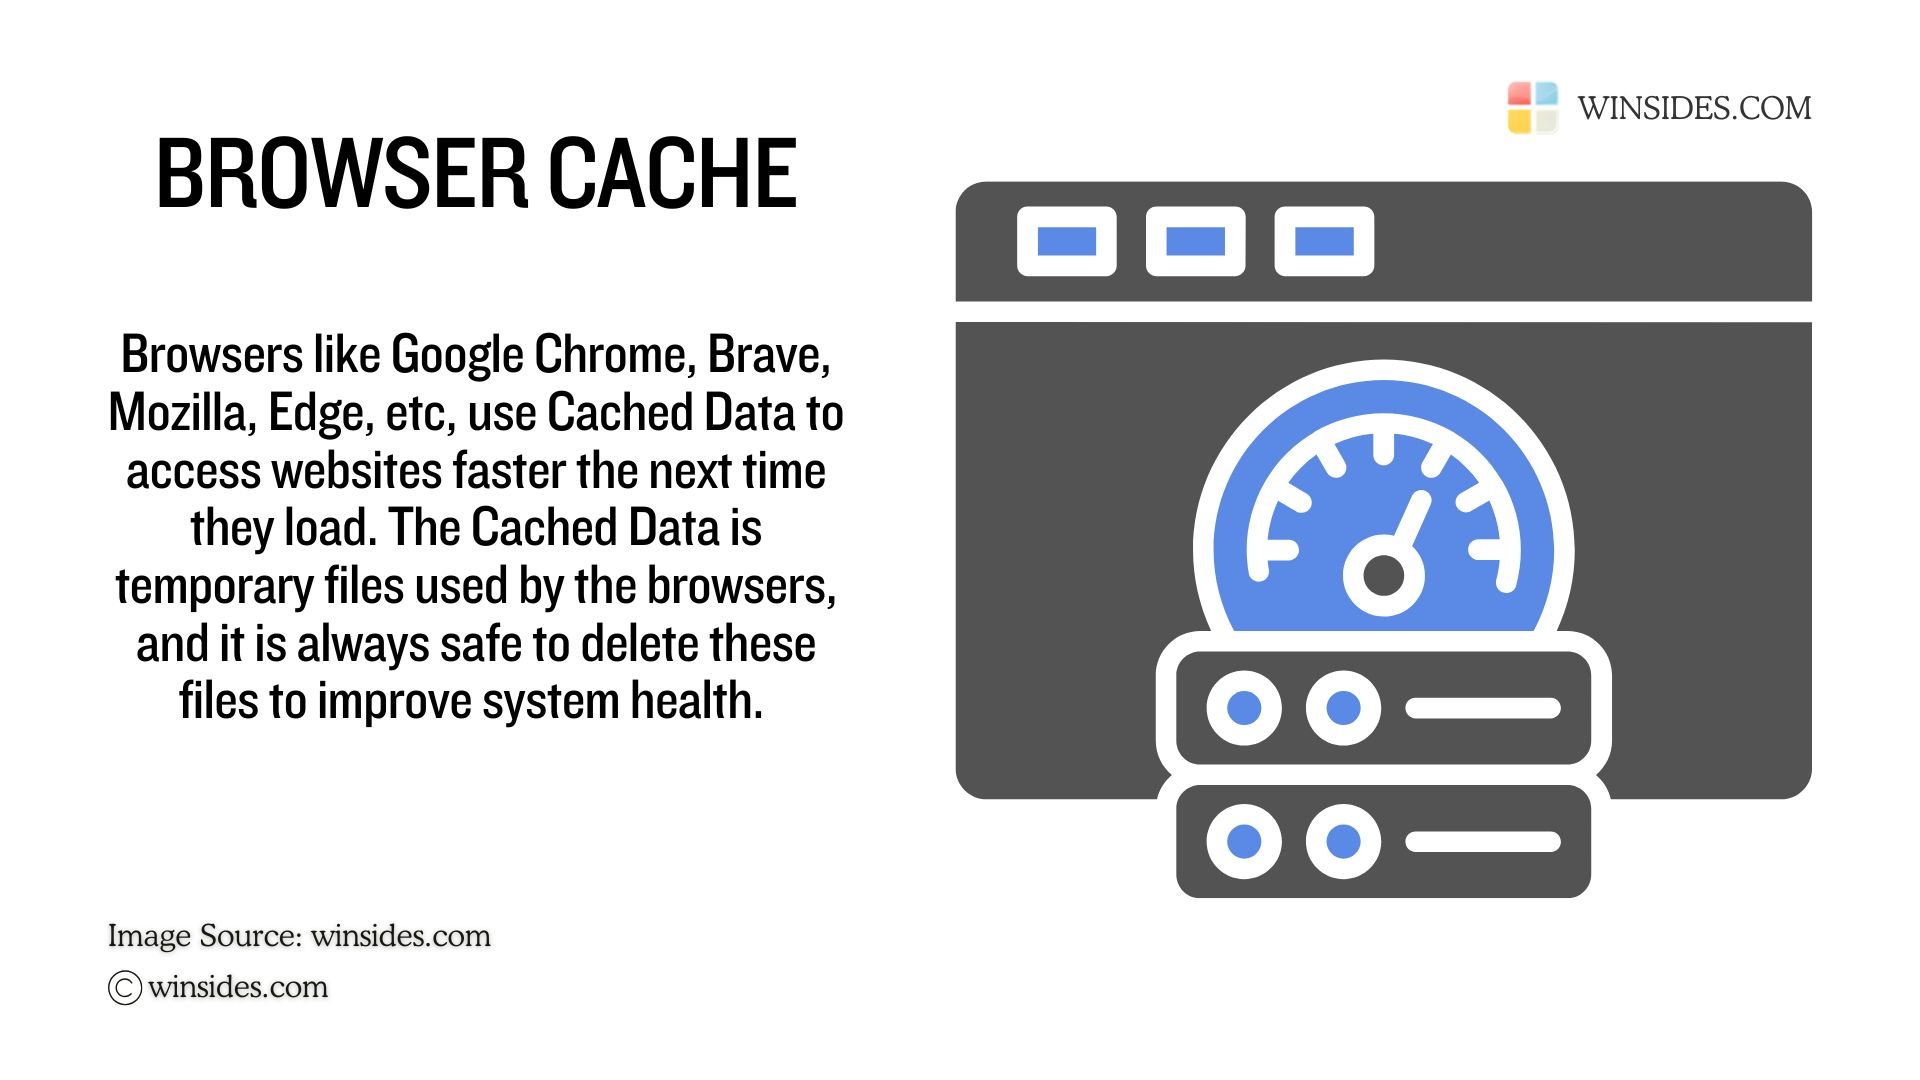
Browser like Google Chrome, Microsoft Edge, Mozilla Firefox, Brave, etc., they all save Cached data of images, files, scripts, etc., which makes it easier and faster for them to load them next time. All these Cached Data are stored in the C Drive and over time, they can slow down the system. It is advisable to clear these Cached Data from time to time to save up the C Drive. Different Browsers will have different settings to access these Cached Data. For Example, in the Google Chrome, you can find the Cached Data option under the Privacy and Security of Settings.
Don’t worry! It is always safe to delete these Cached Data. These files are temporary files and scripts used by the Browsers.
#7. Have you ever wondered where the Recycle Bin items are stored?
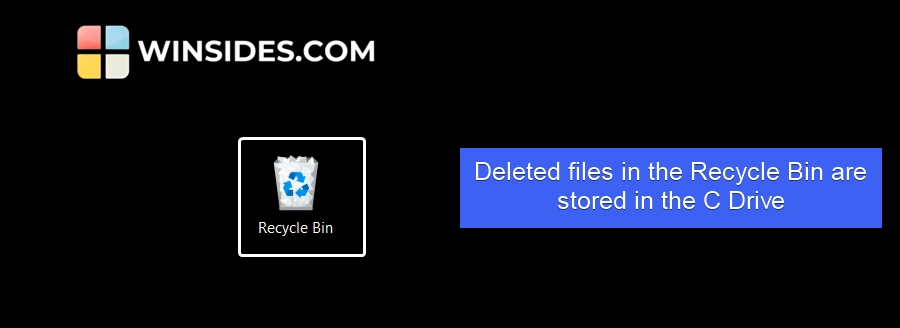
whenever we delete a file on Windows 11, they go right to the Recycle bin. Have you ever wondered where these deleted items are stored in the Recycle Bin? If you have guessed the C Drive, yes, that is correct. All the deleted files in the Recycle Bin are stored in the C Drive the Recycle bin is emptied. The more the number of files, and more the heavier files in the Recycle Bin, it will add load in the C Drive slowing down the system.
Whenever you delete a file and it goes to the Recycle Bin, if you are affirmative that you don’t need those files ever, then you can empty the Recycle Bin. This will save up the space in the C Drive.
Take Away
The above are the best practices you can follow to keep your C Drive Healthy. A Healthy C Drive means a Happy and Faster Computer! If you have any queries with our article on How to Clean C Drive in Windows 11, kindly let us know in the comments. For more interesting tips, stay tuned to Winsides.com. Healthy Computing & Happy Computing!
 How to use Microsoft iSCSI Initiator on Windows 11?
 How to Enable Game Mode on Windows 11?
 How to Check PC Specs without Logging into Windows 11?
 How to Enable HDR Video Streaming on Windows 11?