Enable Containers in Windows 11: This feature is super handy for developers and IT pros who need to test stuff, run different versions of an app, or play around with configurations without risking the stability of their main system. It’s more of a Pro, Enterprise, or Education edition kind of deal, aimed at those who need to work with virtualized environments regularly. Imagine you’re building something cool on your computer but don’t want it to mess with everything else you’ve got going on. That’s where “Containers” in Windows 11 come into play. Here in this article, we will check out the simple steps about how to enable this feature in Windows 11.
Quick Steps:
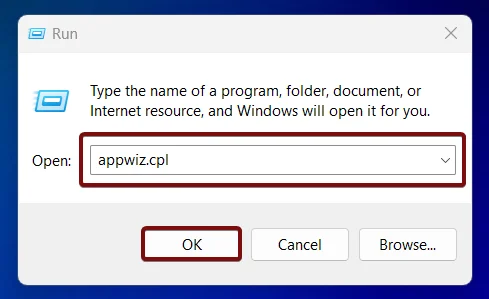
- Let’s go to the Run Command and excute the following command.
appwiz.cpl- This command will navigate us to the Programs and Features window.
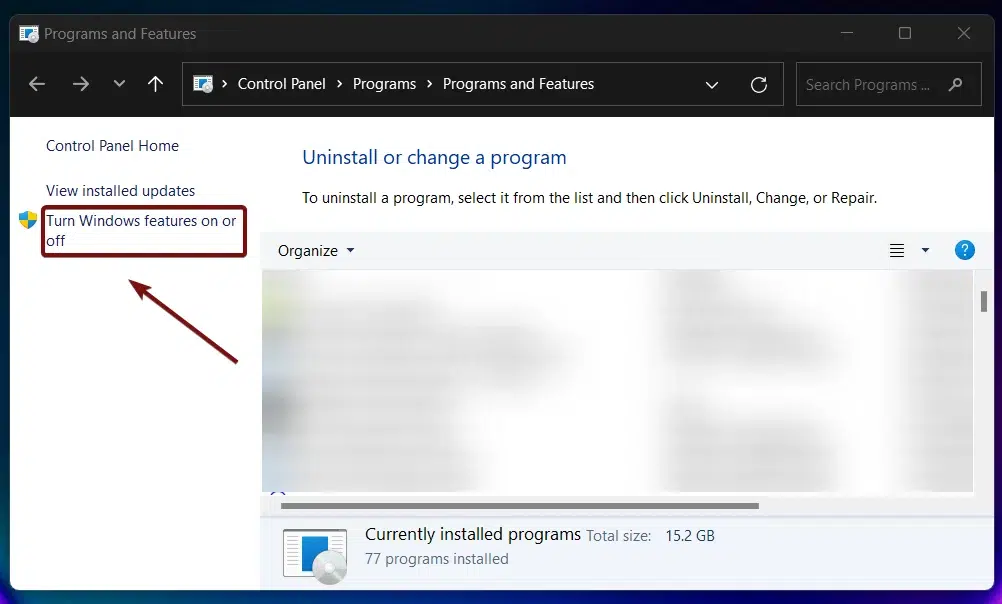
- On the Programs and Features, you can find Turn Windows Features on or off. It will be on the left pane. Click on that.
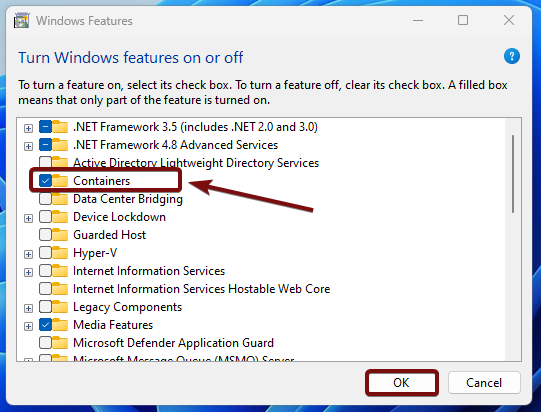
- Now, Windows Features Dialog box will pop up, and this is the place where we can access a lot of essential optional features available in Windows 11.
- From IIS to SMB, you can find a lot of optional features here. Search and locate Containers from the list of features available, usually at the top section itself.
- Click on the checkbox next to the Containers and click OK. That is it. Containers will be enabled in your Windows 11 Environment.
- This optional feature is not available in the Windows 11 Home Edition.
How do these Containers work?
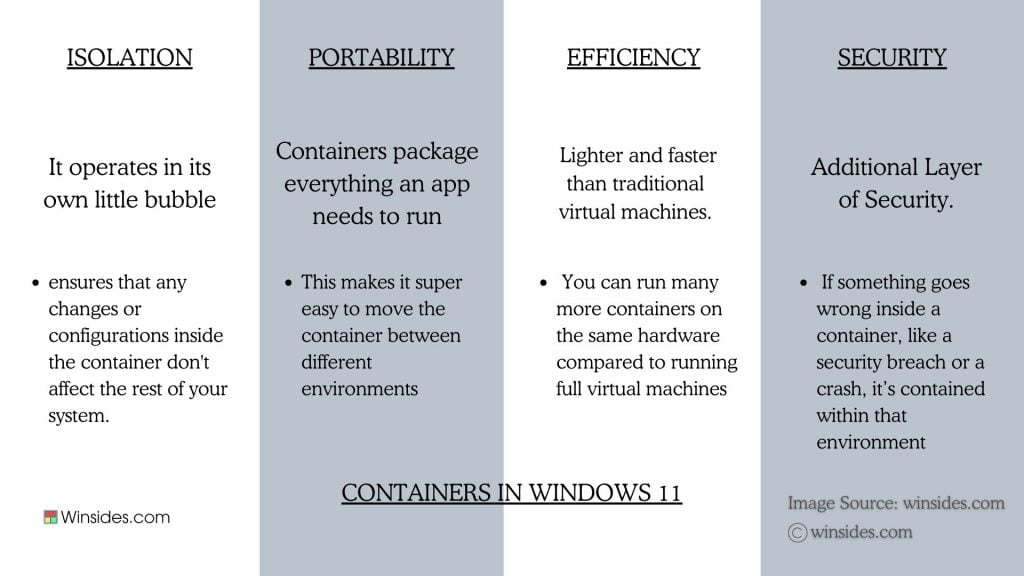
They’re like those separate pots, self-contained environments where you can run applications independently from the rest of your system. Each container has everything the application needs to run, its own files, libraries, and settings. They use the core parts of the operating system (the “kernel“) but keep everything else isolated. This makes them much lighter and faster than virtual machines, which emulate entire hardware setups.
To create and manage these containers, Windows 11 uses features like Hyper-V (for Windows Server Containers) or the Windows Subsystem for Linux (WSL), which allows running Linux-based containers directly on Windows.
Enable Containers in Windows 11 – Quick Steps:
- Open the Start menu and go to Run Command. You can also use the Win Key + R key combination. Then, execute the following in the run command.
appwiz.cpl
- The Programs and Features window will pop up now. You can find Turn Windows Features on or off on the left pane. Click on that.
- You will find Containers from the list of optional features available. Click on the checkbox next to it, and then Click OK. This process will help enable this optional feature in Windows 11. Kindly note that this feature is available only in the Professional Editions of Windows 11.
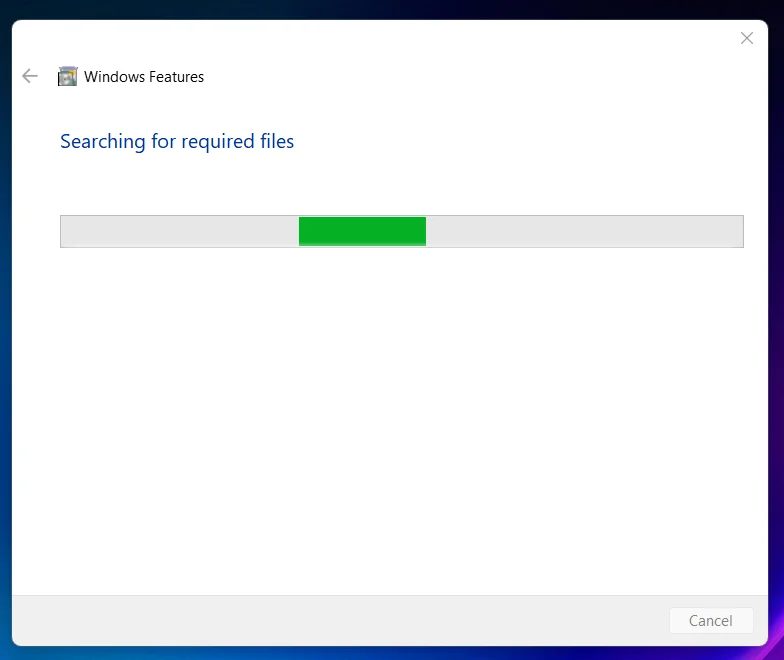
- Windows will now search for the required files.
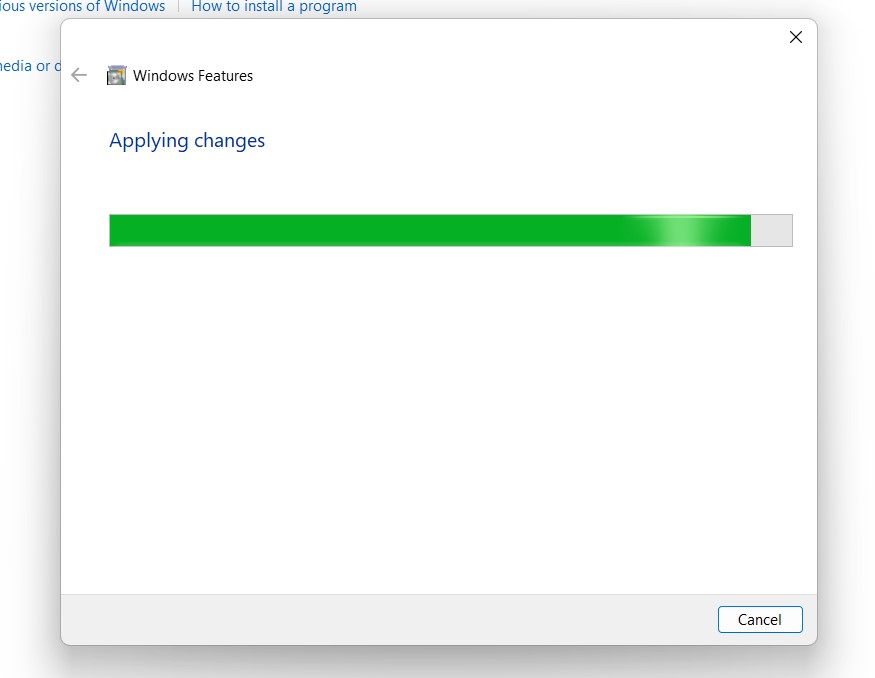
- After that, the Windows system will apply the necessary changes.
- Click Restart if you are prompted to restart or click Close accordingly. However, it is suggested that the changes be restarted right away so that they will be reflected.

- That is it. Containers feature is now enabled in Windows 11.
Real World Example:
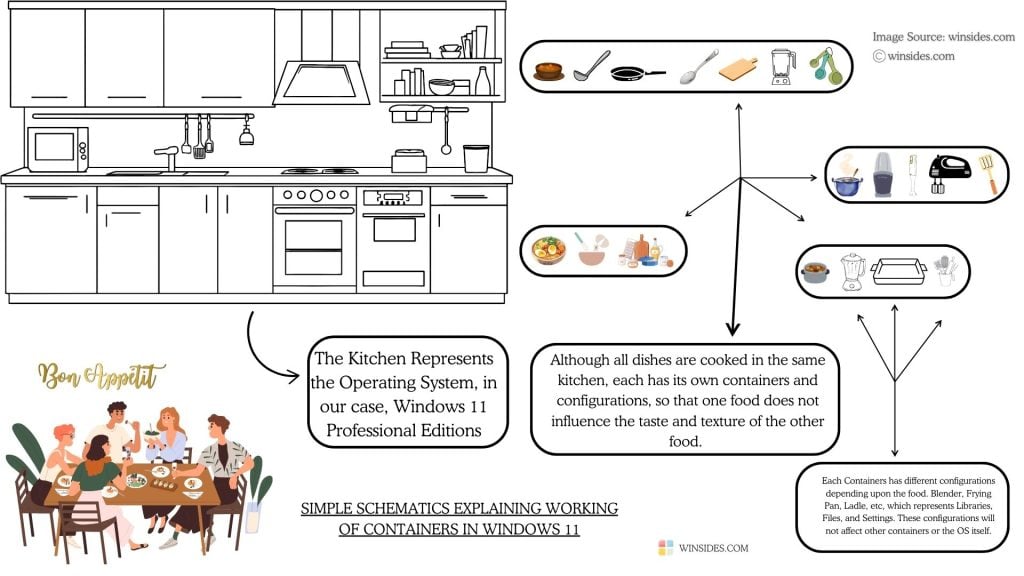
Imagine you’re hosting a big dinner party, and you want to cook multiple dishes at the same time. To keep the flavors from mixing and ensure each dish turns out perfectly, you use separate pots and pans for each recipe. In this scenario, each pot represents a “container.” The above image explains how containers, and their configurations work within the main system without influencing each other and the main system itself.
Similarly, suppose you’re developing a web application that requires specific versions of databases and programming languages. You can set up a container that includes exactly what you need, configure it once, and then share it with your team without affecting the other containers or the main system itself. Everyone can then run the application in the same environment, eliminating the classic “it works on my machine” problem.
Take away:
Containers in Windows 11 represent a significant advancement in how applications are developed, tested, and deployed. The isolated environments run alongside your main system without interference, Containers offer a flexible, efficient, and secure solution for managing complex software setups. For more interesting articles, stay tuned to winsides.com. If you have queries, do let us know in the comment section. Happy Coding! Peace out!
![How to Enable IIS [Internet Information Services] in Windows 11? 1 Enable IIS in Windows 11](https://winsides.com/wp-content/uploads/2024/01/IIS-in-Windows-11-390x220.webp) How to Enable IIS [Internet Information Services] in Windows 11?
How to Enable IIS [Internet Information Services] in Windows 11? How to Enable Simple TCP/IP Services in Windows 11?
 Enable SMB 1.0 / CIFS File Sharing Support using Command Prompt & Windows PowerShell
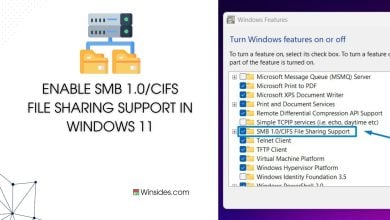 Enable SMB 1.0/CIFS File Sharing Support in Windows 11