TCP Activation in Windows 11 refers to the capability provided by Windows Process Activation Service (WAS) to activate Windows Communication Foundation (WCF) services over TCP/IP protocol. WAS is a component of Windows that manages the activation and lifetime of WCF services and other application components. When a WCF service is configured for TCP Activation, it means that the service can be hosted and accessed using the TCP/IP protocol improving the Latency and efficient communication. Let’s check out how to Enable TCP Activation in Windows 11.
- Click on the Start Menu and open the Control Panel.
- Switch the Control Panel view to Category.
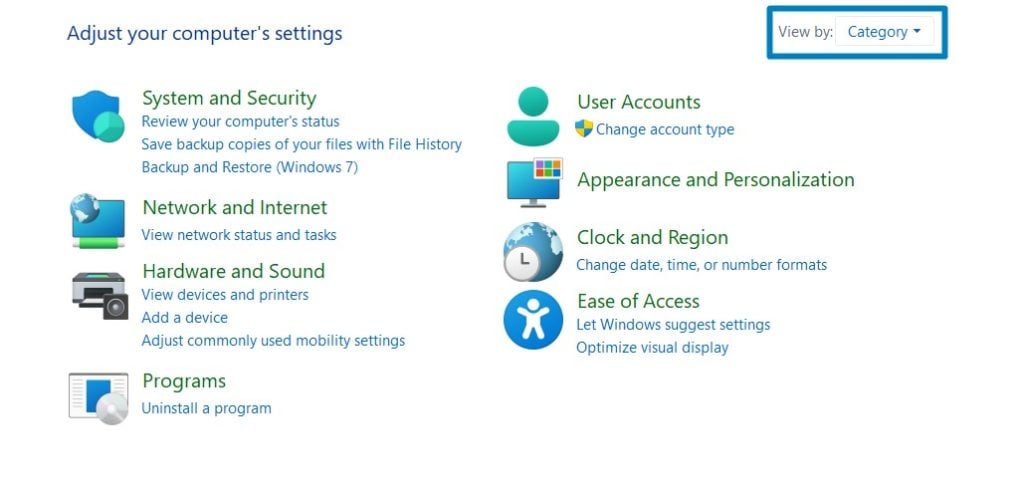
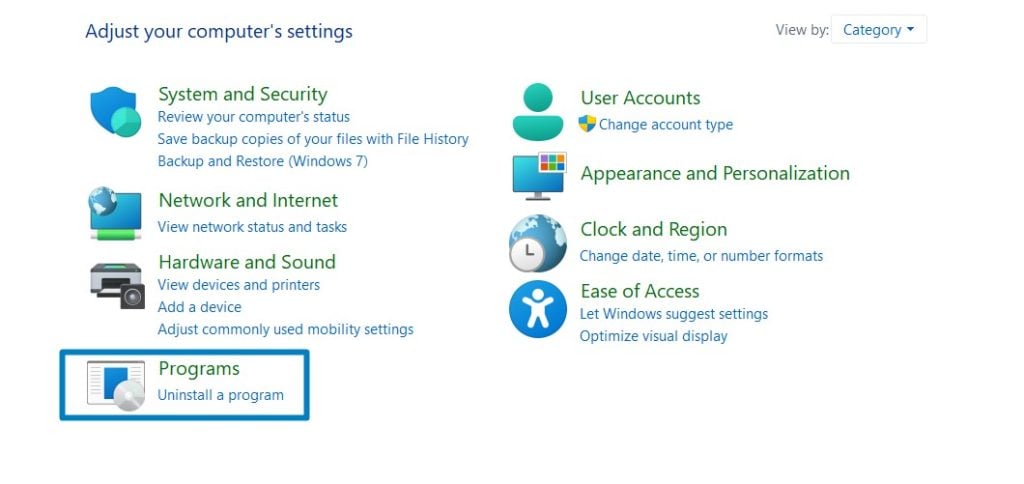
Category View - Now, Click on Programs.
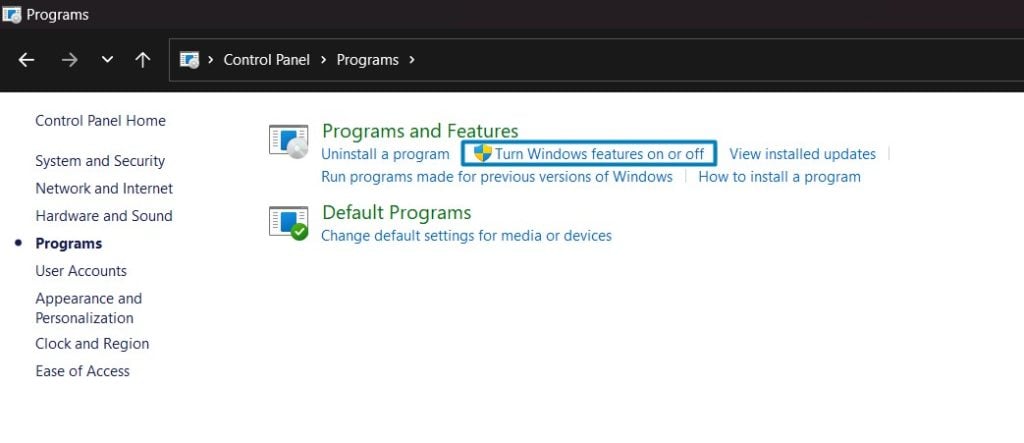
Programs - Under Programs and Features, click on Turn Windows Features on or off.
Turn Windows Features on or off - Windows Features dialog box will open now.
- Search and locate .NET Framework 4.8 Advanced Services from the list of services available. Click on the plus sign next to it to Expand it.
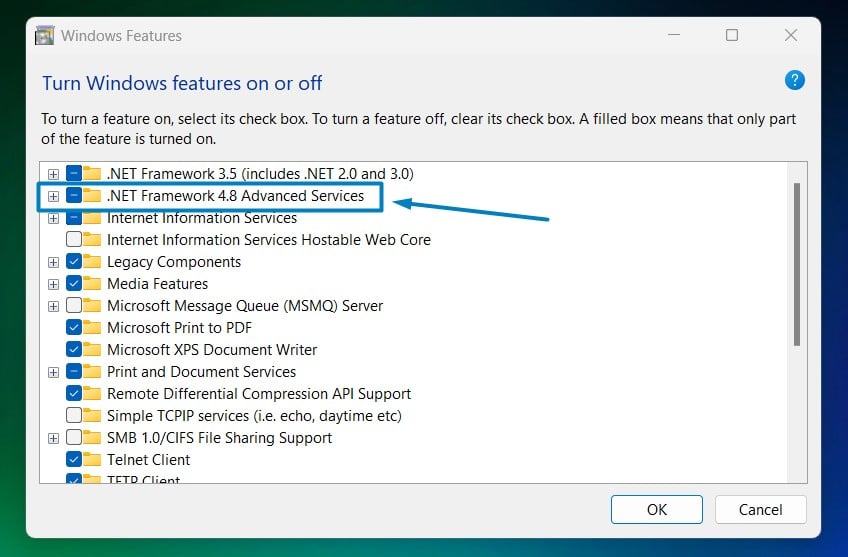
.net framework 4.8 Advanced Services - You can find WCF Services. Expand WCF Services.
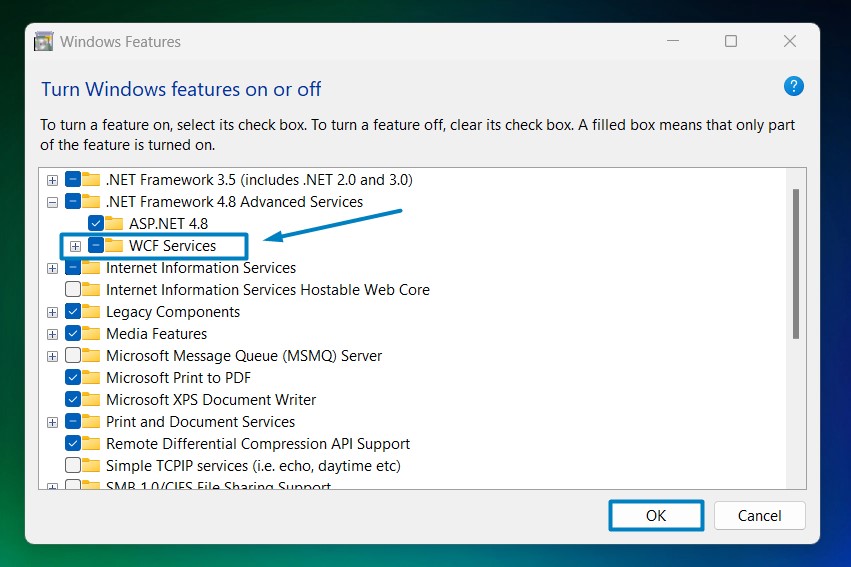
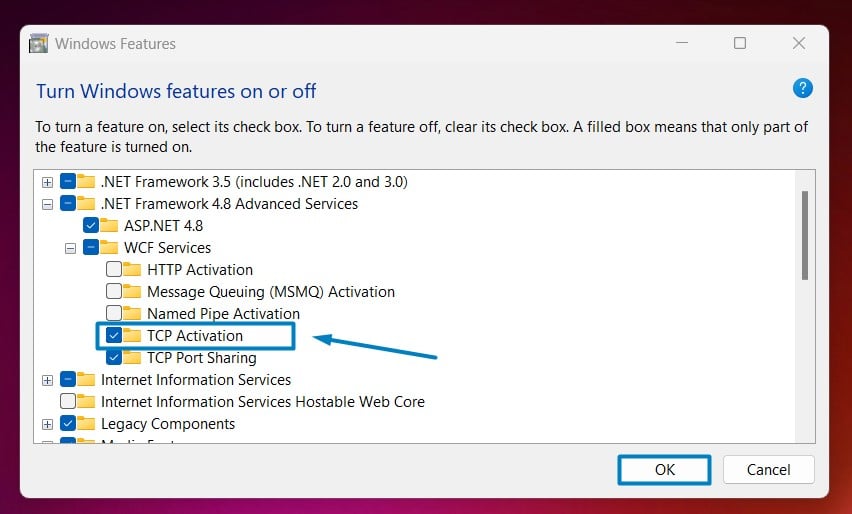
Enable WCF Services in Windows 11 - You can find TCP Activation. Click the checkbox next to it to enable TCP Activation in Windows 11.
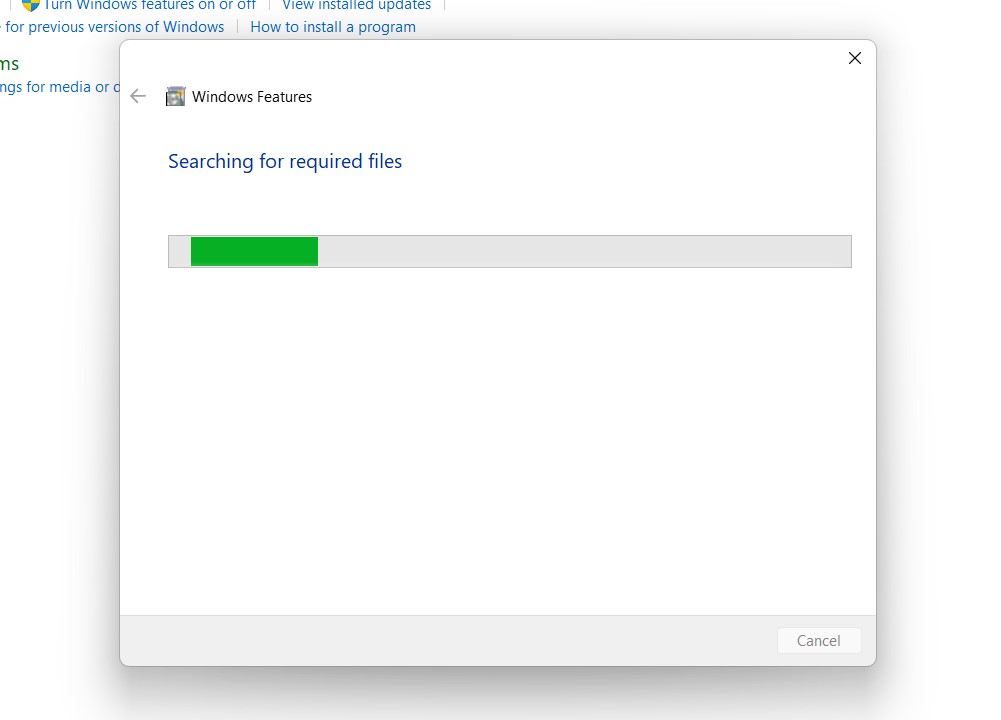
Enable TCP Activation in Windows 11 - Windows 11 will search for the required files.
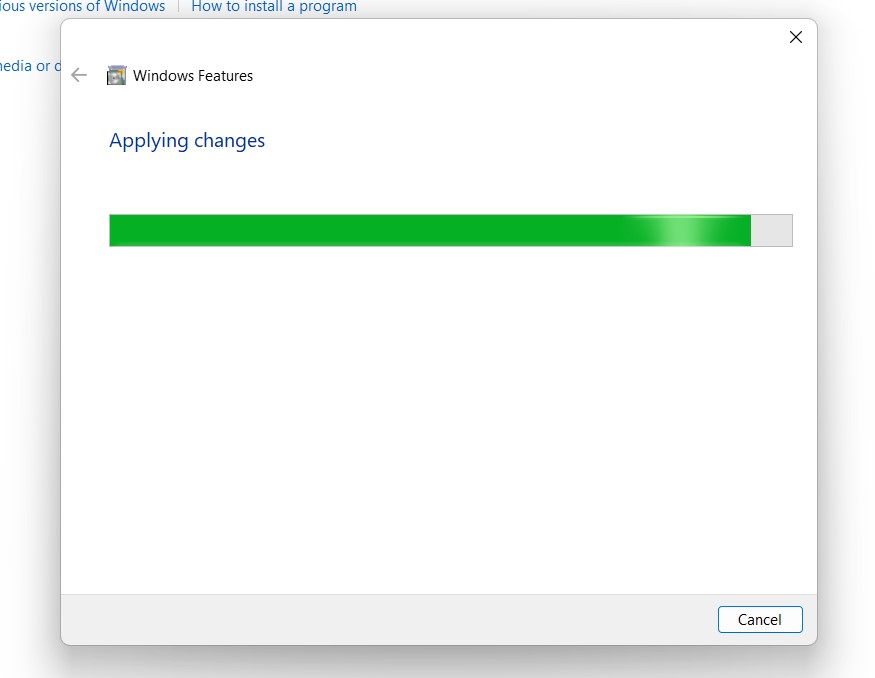
Searching for the required files - After the process, Windows will apply the necessary changes.
Applying Changes - The system will prompt for a restart. Click Close. Continue with Restart if prompted. It is recommended that changes made to the system reflect while using the environment.
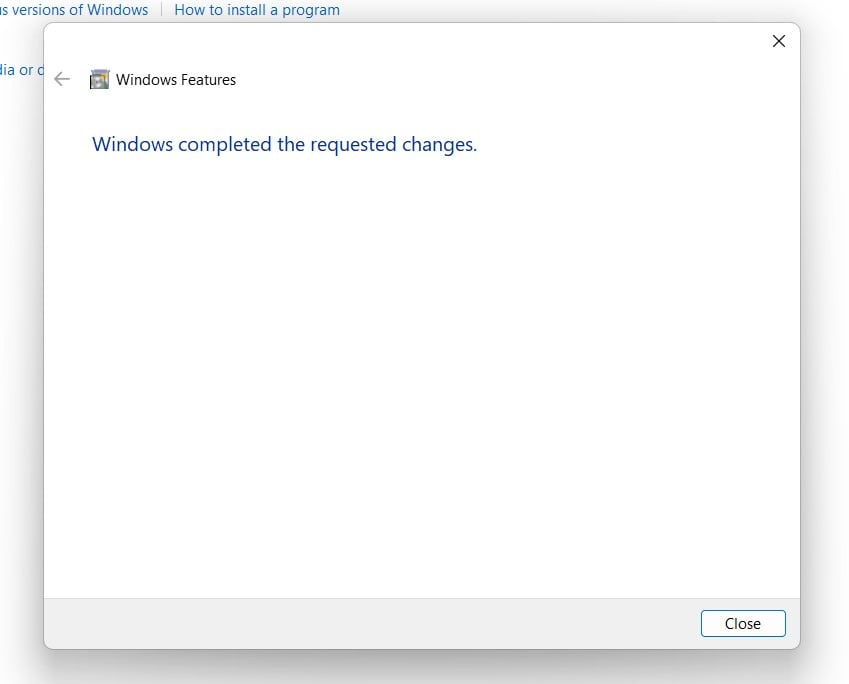
Close - TCP Activation is now enabled on your Windows 11 laptop or PC.
Take away:
Windows 11 continues to support modern development practices by providing flexible options for configuring communication protocols like TCP/IP. TCP Activation facilitates efficient and high-performance communication between applications, especially in scenarios that require low-latency and high-throughput data transfer. Happy Coding! Peace out!
![How to Enable IIS [Internet Information Services] in Windows 11? 1 Enable IIS in Windows 11](https://winsides.com/wp-content/uploads/2024/01/IIS-in-Windows-11-390x220.webp) How to Enable IIS [Internet Information Services] in Windows 11?
How to Enable IIS [Internet Information Services] in Windows 11? How to Enable Simple TCP/IP Services in Windows 11?
 Enable SMB 1.0 / CIFS File Sharing Support using Command Prompt & Windows PowerShell
 Enable SMB 1.0/CIFS File Sharing Support in Windows 11