How to Enable WebSocket Protocol in Windows 11?
IIS 10.0 and ASP.NET 4.8 support writing server that communicate over the websocket protocol.
The WebSocket protocol is a standardized communication protocol that provides full-duplex communication channels over a single TCP connection. This means that both the client and the server can send messages to each other independently and simultaneously. WebSockets are particularly useful for applications that require real-time updates, such as chat applications, live sports scores, online gaming, and more.
In Windows 11, the WebSocket protocol is integrated into the Internet Information Services (IIS) to support web applications that need this type of communication. It allows for efficient data exchange and reduces the overhead of multiple HTTP requests, enhancing the performance and responsiveness of web applications. This article navigates through the steps of How to Enable WebSocket Protocol in Windows 11.
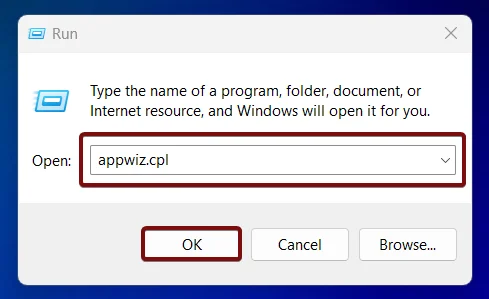
- Open Run Command and execute the following command.
appwiz.cpl
- From the left pane, click on Turn Windows Features on or off.
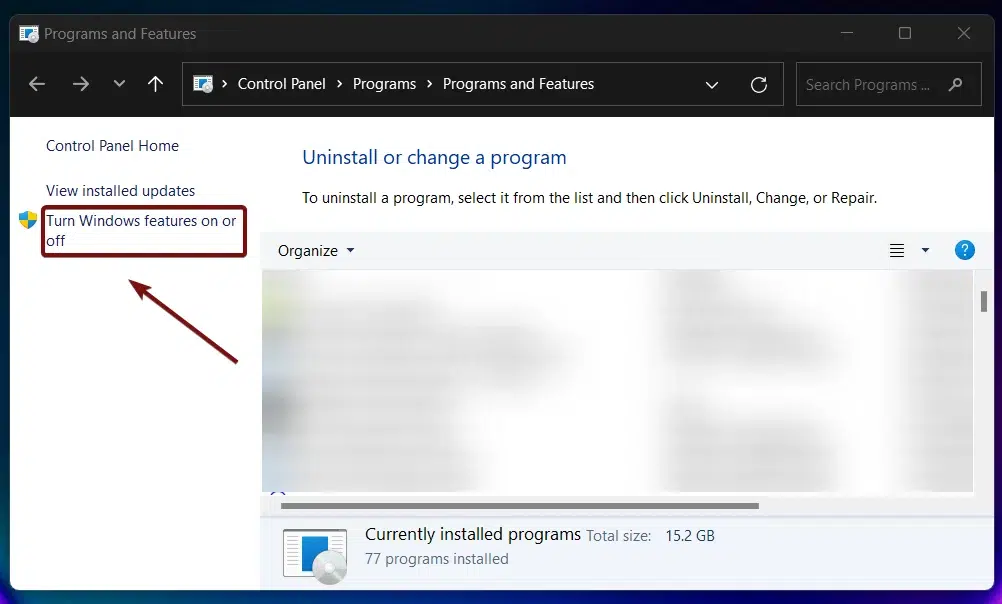
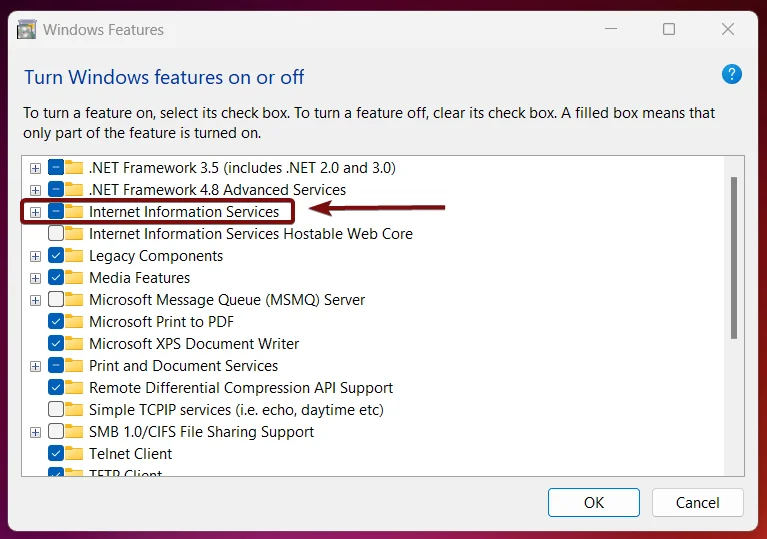
- Locate the Internet Information Services and expand it.
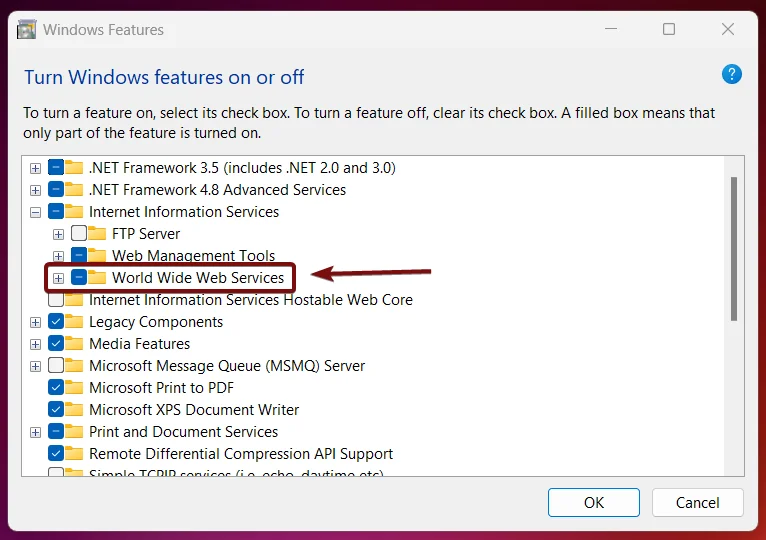
- Now, expand World Web Services.
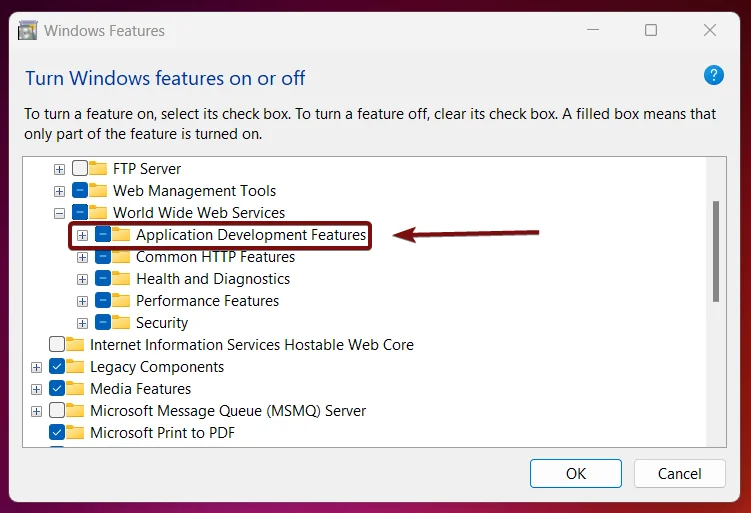
- Now, you can find Application Development Features. This option incorporates several features related to application developments such as .NET Extensibility 3.5, ASP.NET 4.8, ISAPI Filters, CGI, and more. Expand it.
- From the list of services available, locate WebSocket Protocol, click on the checkbox next to it, and click OK.
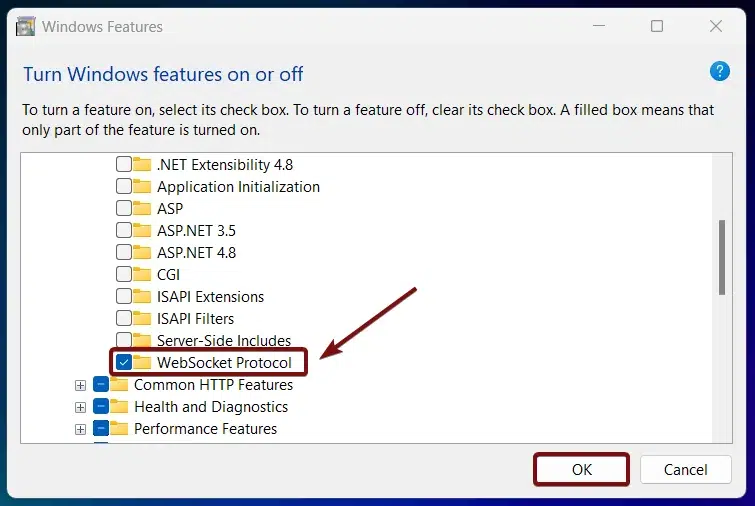
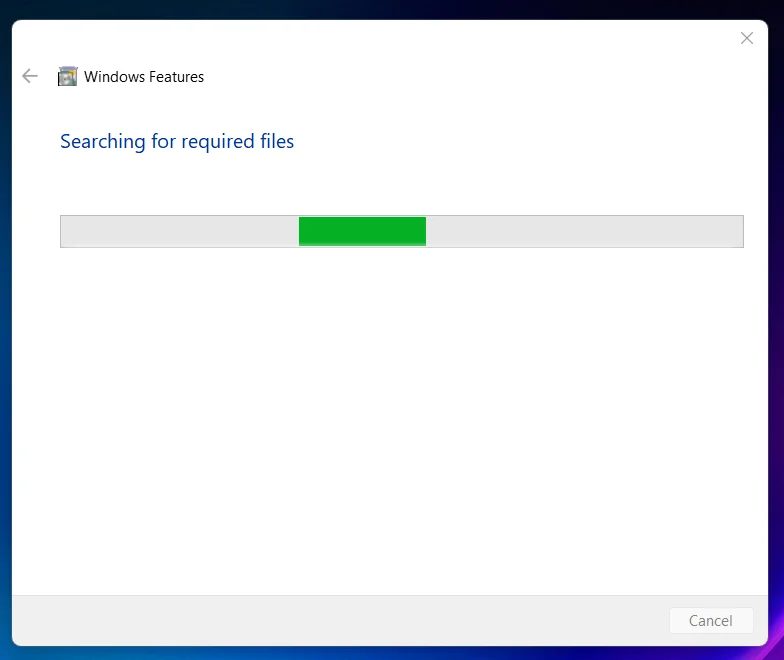
- Windows will search for the required files.
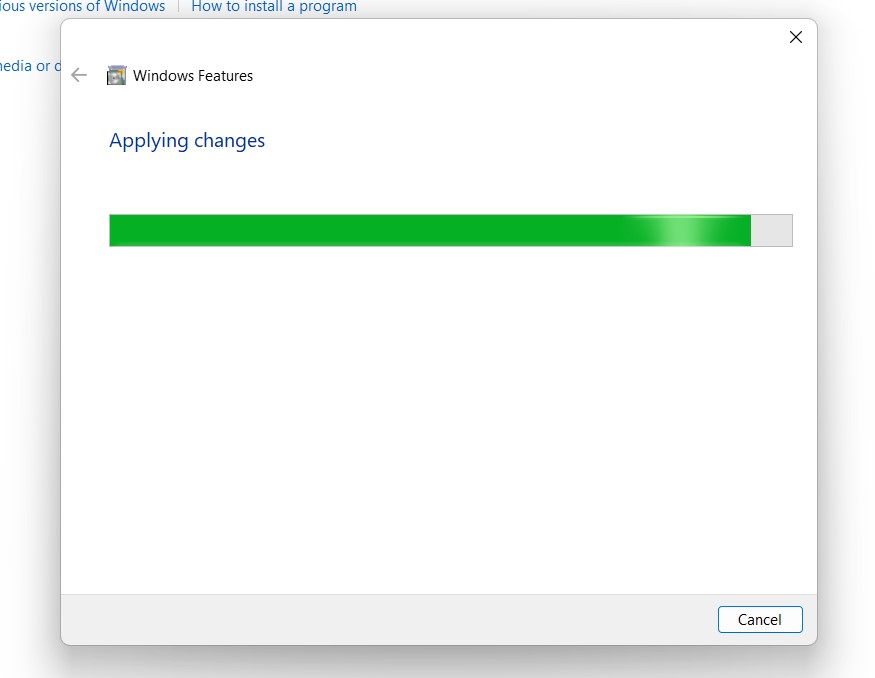
- Then, the necessary changes will be applied.
- Click Restart if you are prompted to restart or click Close accordingly. However, it is suggested that the changes be restarted right away so that they will be reflected.
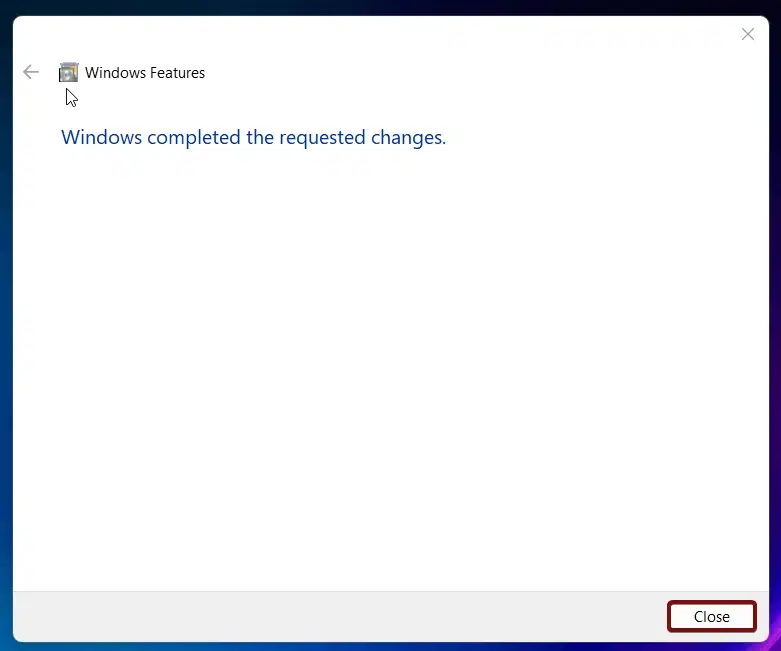
- WebSocket Protocol is now enabled in Windows 11.
Information on the Go!
SignalR is a library for ASP.NET Core that simplifies the process of adding real-time web functionality to applications. It supports WebSockets and other transports to provide a seamless real-time experience.
Take away:
By following these steps, you will enable the WebSocket protocol in Windows 11, allowing your web applications to use this efficient communication method. With WebSockets enabled, your applications can now make use of real-time data exchange, enhancing the user experience with faster and more responsive interactions. Happy Networking! Peace out!
We combine expert insights with user-friendly guidance. We thoroughly research and test everything to give you reliable and simple to understand tech guides. Please take a look at our publishing process to understand why you can trust Winsides.
