Enable Unified Write Filter in Windows 11
Unified Write Filter shortly called UWF is a Windows 11 Enterprise Editions exclusive optional Feature. This feature is also available for Windows 10 Enterprise and Windows 10 IoT Editions. However, Windows 10 is approaching its end of life, so it is highly recommended that users move to Windows 11 Editions. UWF is designed to enhance the security and integrity of the OS by protecting the file system from unwanted changes. It achieves this by intercepting and redirecting write operations to a virtual overlay, ensuring the underlying system remains unchanged. This is significantly beneficial for Kiosks, Digital Signage, Point of Sale Systems, Industrial and Embedded Systems, etc where user interactions should not alter the system’s original state as it is highly crucial. In this article, we will check out the steps of Enabling Unified Write Filter in Windows 11 Enterprise Editions. Check out: How to Enable Unbranded Boot in Windows 11?
Key Steps:
- Here in this section, we will list out the most important steps of the process that allowes users to enable UWF in Windows 11 quickly and effectively.
- UWF is a Optional Feature and hence, it can be enabled manually. To do so, we have to go to the Windows Features.
- To access Windows Features, let us use Run Command. Execute the following command.
appwiz.cpl- Programs and Features windows will open now. From the left pane, click on Turn Windows Features on or off.
- Windows Features dialog will pop up now.
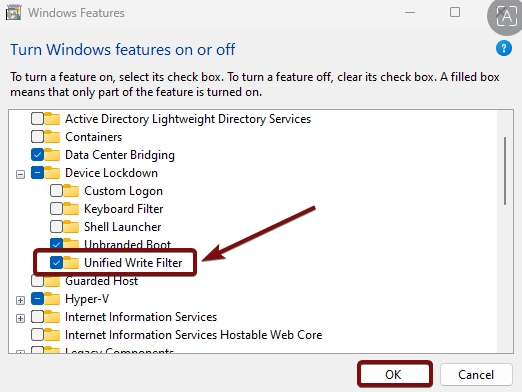
- Locate Device Lockdown and click on the plus sign next to it.
- Now, you can find Unified Write Filter. Click on the checkbox next to it and click OK.
- That is it, the system will apply the necessary changes and enable UWF in Windows 11.
- Kindly do a restart if prompted so that the changes made reflect right away.
Unified Write Filter is available only on Windows 11 Enterprise Edition. If you are a Windows 11 Home or a Pro user, then this feature will not be available or may not work properly.
What is UWF and How does it work?
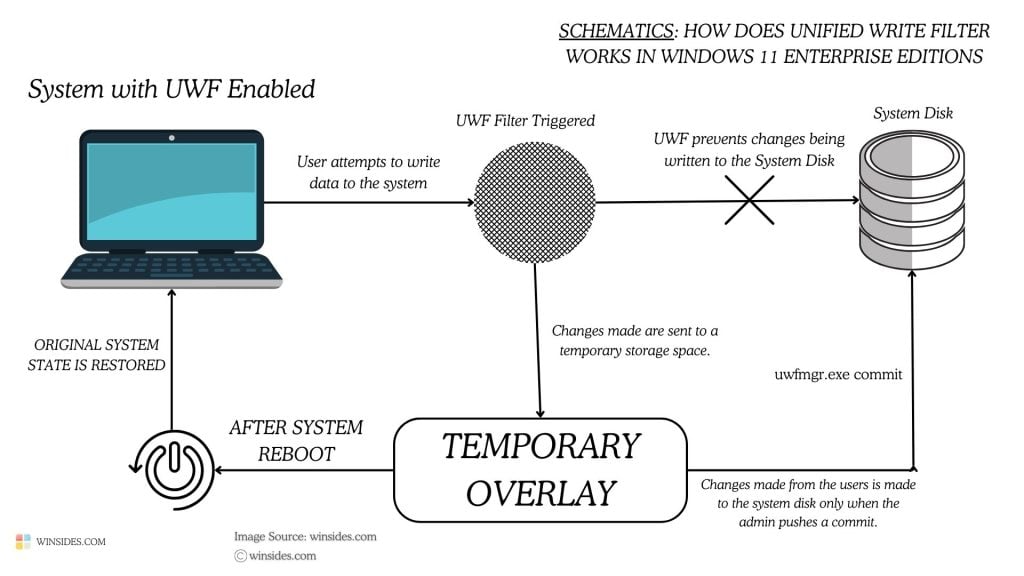
It is like a user session, however, whatever the changes made to the system during the session, once it ends, the system restores to its original state (the unaffected and the stable state). Hence, all the modifications done to the system be it an application, a user, or even malicious software are not written directly to the system disk rather these modifications are made temporary and stored overlay. Kindly refer to the above schematic for better understanding.
How to Enable Unified Write Filter in Windows 11?
The steps are simple and explained with clear images. If you have any queries, do let us know in the comment section. Let’s get started.
- There are several ways available to open Windows Feature in Windows 11. Here, we will use Run Command.
- Open Run Command Box using the key combination Win Key + R.
- On the Run, enter the following command. appwiz.cpl
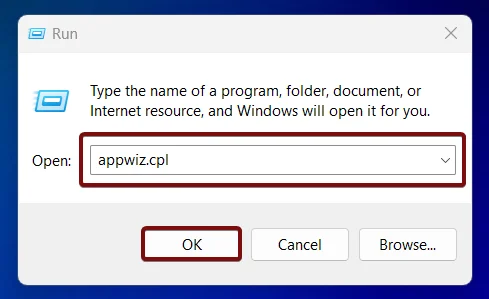
- This command will open the Programs and Features window.
- This window allows users to make changes, and uninstall Programs. On the left pane, you can find Turn Windows Features on or off. Click on that.
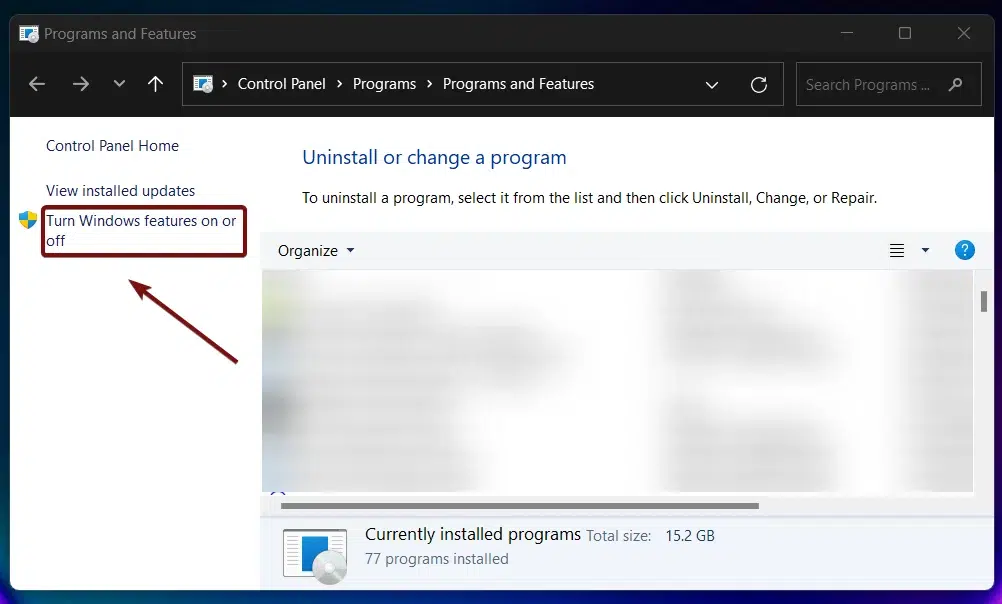
- Once you click on that, the Windows Features dialog will pop up now.
- Here you can find a whole lot of optional features. From IIS to SMB, and WSL, you can find a lot of significant optional features here.
- From the list of services, locate Device Lockdown. Click on the plus sign next to Device Lockdown to expand it.
- You can now find Unified Write Filter. That is what we are looking for. Click on the checkbox next to it and click OK.
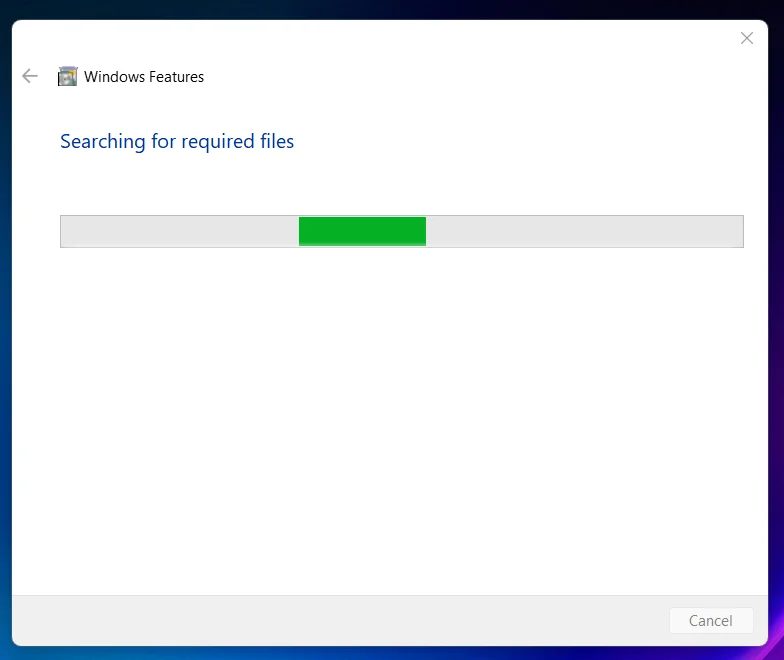
- Windows will now search for the required files.
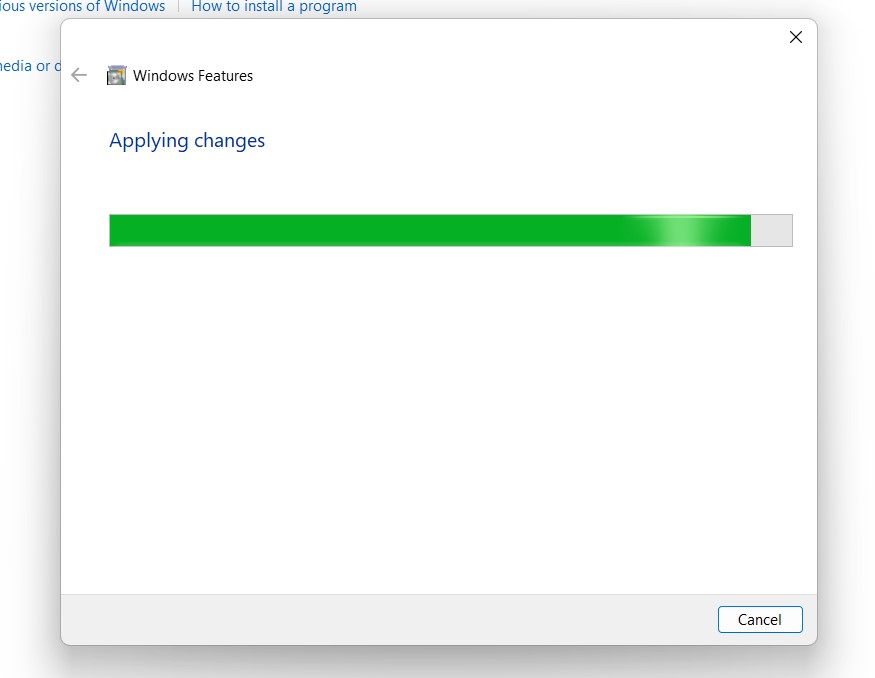
- After that, the system will apply the necessary changes, You don’t have to do anything at this point.
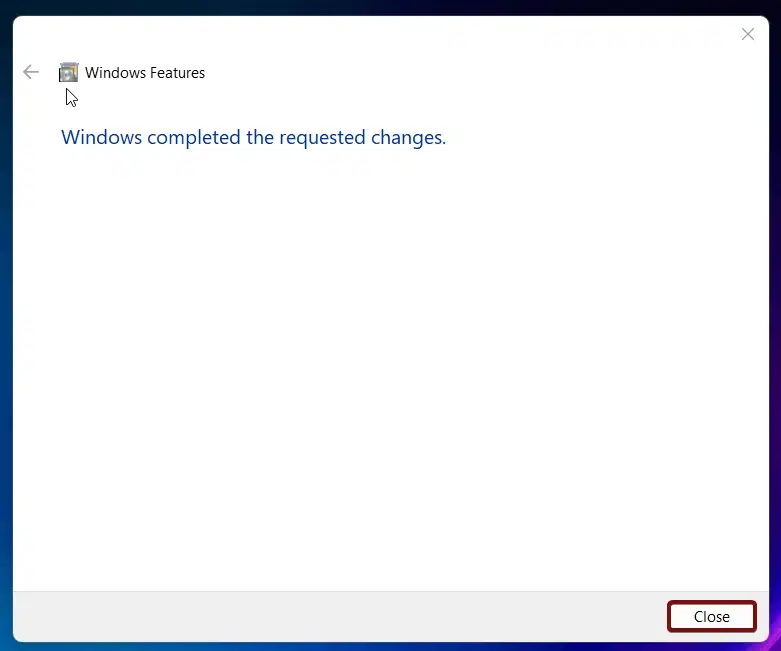
- Eventually, click on Close to Close the Window. If you are prompted for a Restart, kindly restart it right away so that the changes made to the system will reflect. It is suggested to restart the system.
- That is it, UWF is now enabled in your Windows 11 Enterprise Edition. To enable Unified Write Filter in the Windows 10 Operating system, users can follow the above steps.
Enable UWF in Windows 11 using PowerShell – Alternate way:
We can also use the Command Line Interface of the command prompt to enable UWF and configure it in Windows 11 Enterprise or IoT editions.
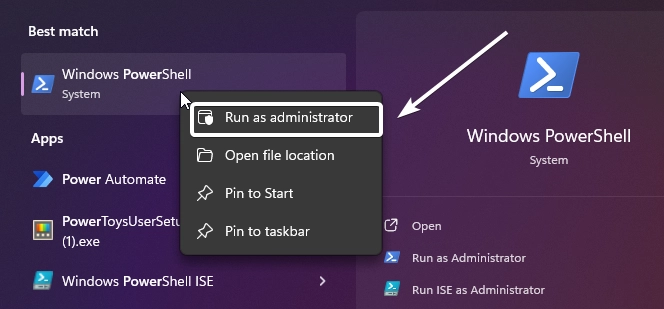
- Open PowerShell and run it as Administrator.
- Execute the following command in the PowerShell. This command will enable UWF Management Clients.
Enable-WindowsOptionalFeature -Online -FeatureName UWF-Management-Clients

- In the next step, we will enable UWF Protection.
uwfmgr.exe /enable
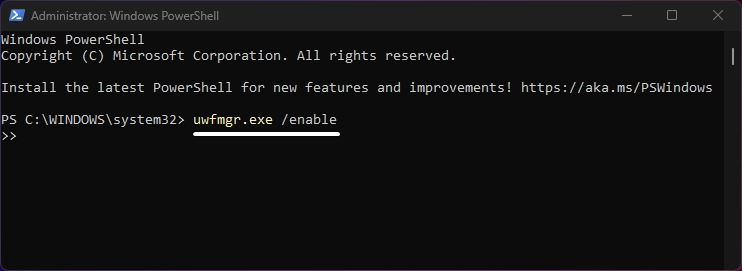
- Once you enable the UWF Manager, you will be prompted to specify where the overlay will be stored. Please specify it accordingly.
- You can add exclusions using the following command.
uwfmgr.exe file add-exclusion<path>
After configuring all the options, the admin can commit the changes, and restart the system. The commit command typically looks like uwfmgr.exe commit
Key Features of Unified Write Filter:
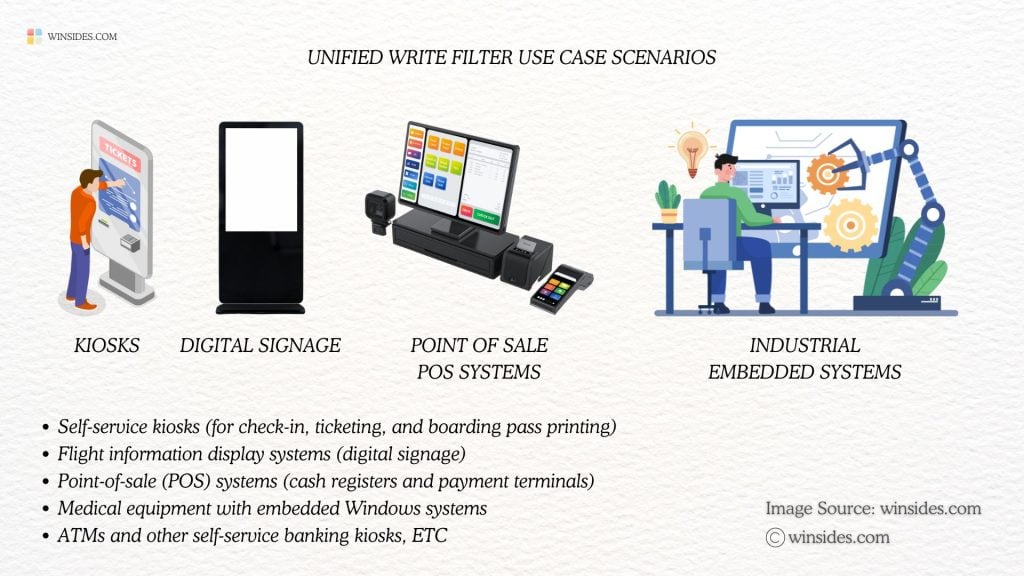
- The primary goal of UWF is to protect the operating system from unwanted or accidental changes by redirecting all write operations to a temporary overlay. This means any changes made to files, system settings, registry entries, or even software installations don’t affect the underlying OS permanently.
- Admins can create exceptions for certain files, folders, or applications where writes should be allowed. For example, you may want to let user documents or specific log files persist after reboot. This makes UWF highly customizable allowing administrators to fine-tune the system.
- UWF integrates seamlessly with a wide range of Windows features, applications, and services. It’s compatible with many third-party software tools and doesn’t interfere with the typical functionality of Windows. For example, UWF can coexist with device management tools like Microsoft Intune or System Center Configuration Manager (SCCM), ensuring that IT teams can efficiently monitor and update systems.
Information on the Go!
The broad compatibility ensures that UWF can be used in various deployment scenarios from educational institutions to industrial control systems without breaking core functionalities or applications.
Take away:
By Enabling Unified Write Filter in Windows 11 Enterprise Editions, administrators can reduce downtime, ensure system stability, and create a more secure, reliable operating environment. If you are satisfied with our article, kindly provide us with a review. For more interesting articles, stay tuned to winsides.com. Happy Computing! Peace out!
We combine expert insights with user-friendly guidance. We thoroughly research and test everything to give you reliable and simple to understand tech guides. Please take a look at our publishing process to understand why you can trust Winsides.
