Enable HTTP Redirection Service in IIS, Windows 11
Redirect client requests to a specific destination
HTTP Redirection Service in IIS: Ever found yourself clicking on a link only to be met with a “404 Page Not Found” error? Enter the HTTP Redirection Service in Internet Information Services (IIS) on Windows 11—the unsung hero of web management. In the ever-evolving world of online content, ensuring that users effortlessly land on the right page is crucial. This guide digs into the nuts and bolts of the HTTP Redirection Service, breaking down how it simplifies the complex task of redirecting web traffic. From optimizing user experience to boosting your site’s search engine rankings, we’ll uncover how this nifty feature in IIS on Windows 11 is your ticket to seamlessly guiding visitors and enhancing your online footprint. Learn more: Enable HTTP Errors Services IIS in Windows 11
Read This: Enable Http Errors Service Iis In Windows 11
How to Enable HTTP Redirection in IIS – Windows 11?
Ready to transform the way your web server directs traffic? Let’s dive into the world of HTTP Redirection and make navigating your website a breeze.
- Click on the Start Menu and open the Control Panel.
- Switch the Control Panel view to Category.
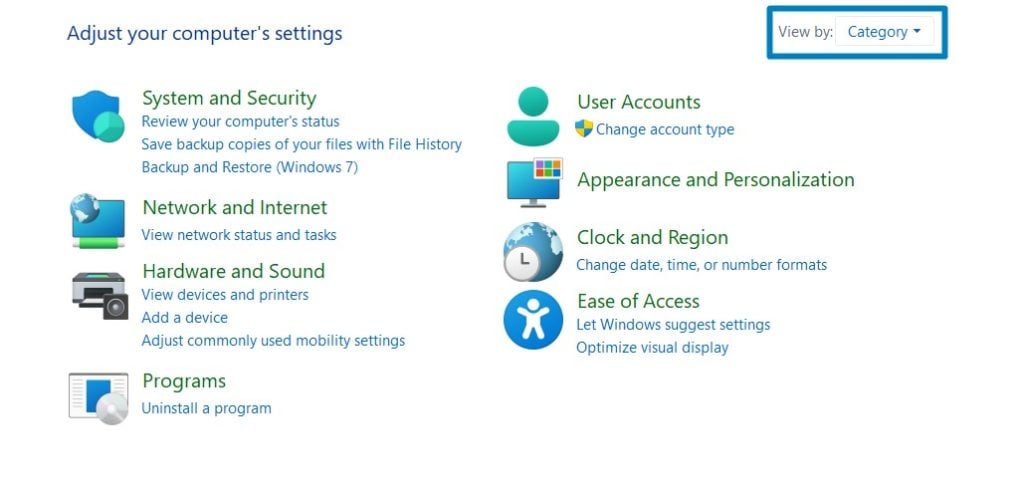
Category View - Now, Click on Programs.
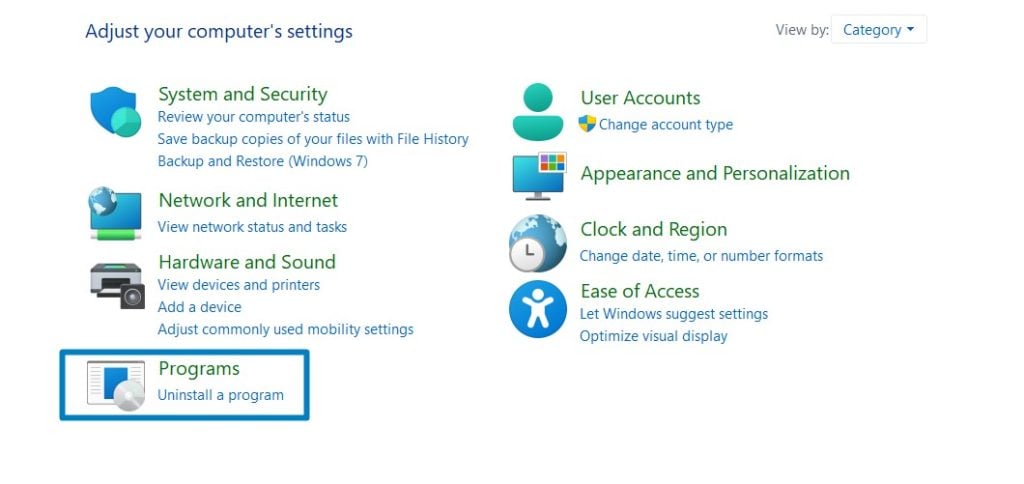
Programs - Under Programs and Features, click on Turn Windows Features on or off.
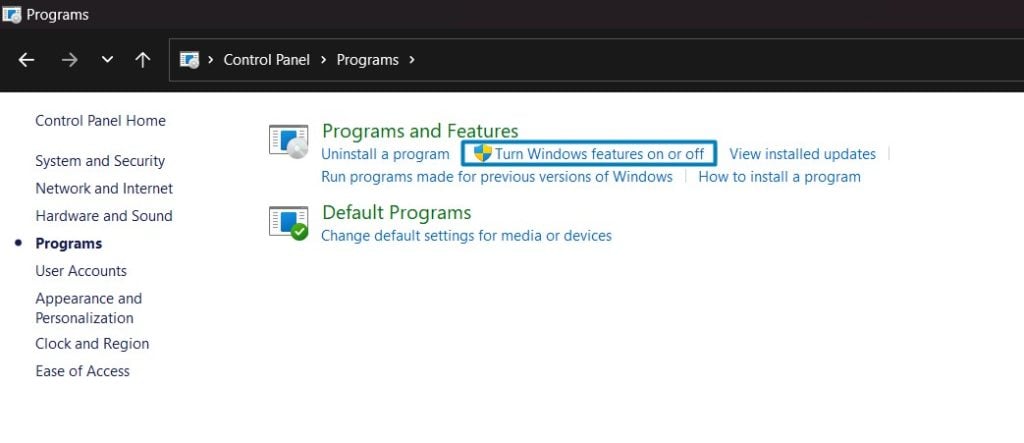
Turn Windows Features on or off - Windows Features dialog box will open now.
- From the list of services available, search and locate Internet Information Services.
- Click on the checkbox next to the Internet Information Services and then click on OK.
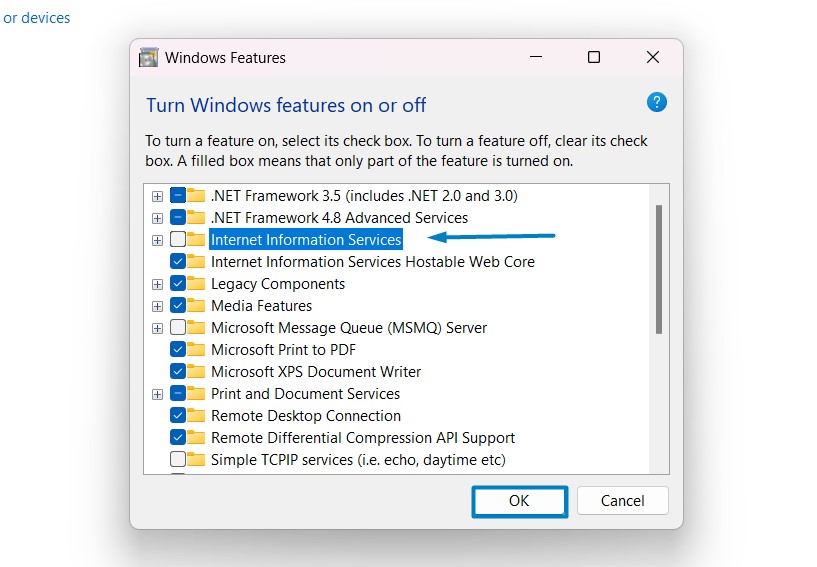
Turn on Internet Information Services - Click the plus sign (+) next to the Internet Information Services to expand the list.
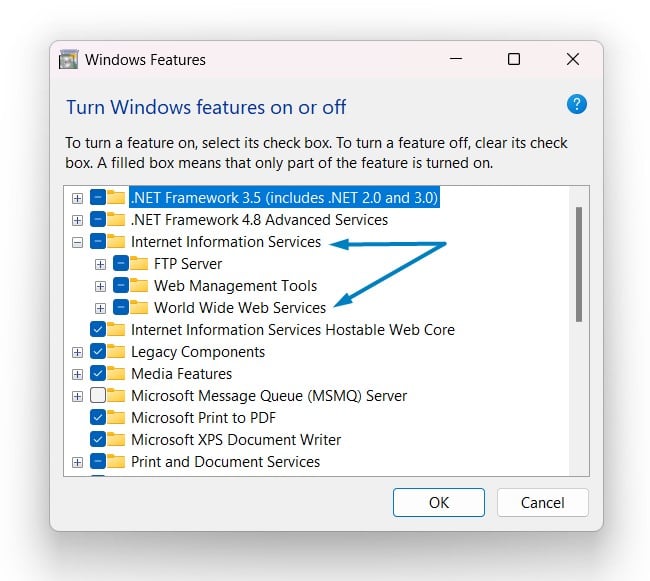
World Wide Web Services IIS - Now, expand World Wide Web Services, and expand Common HTTP Features.
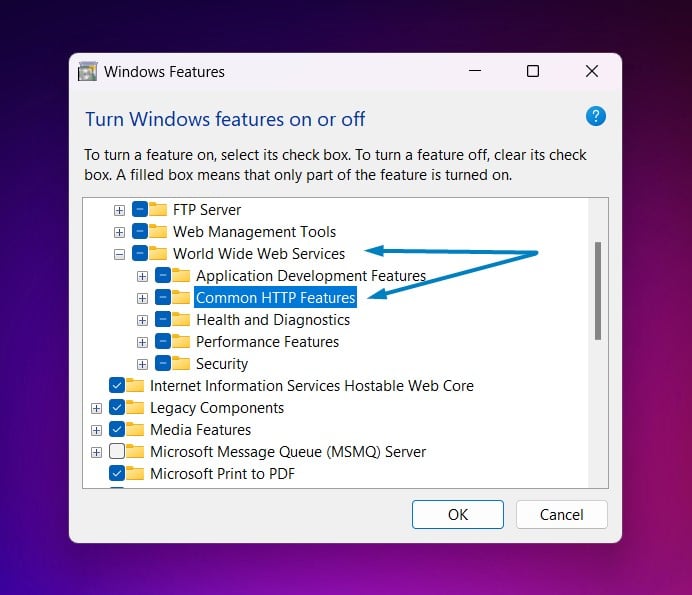
Common HTTP Features - Click on the checkbox next to HTTP Redirection, and click OK
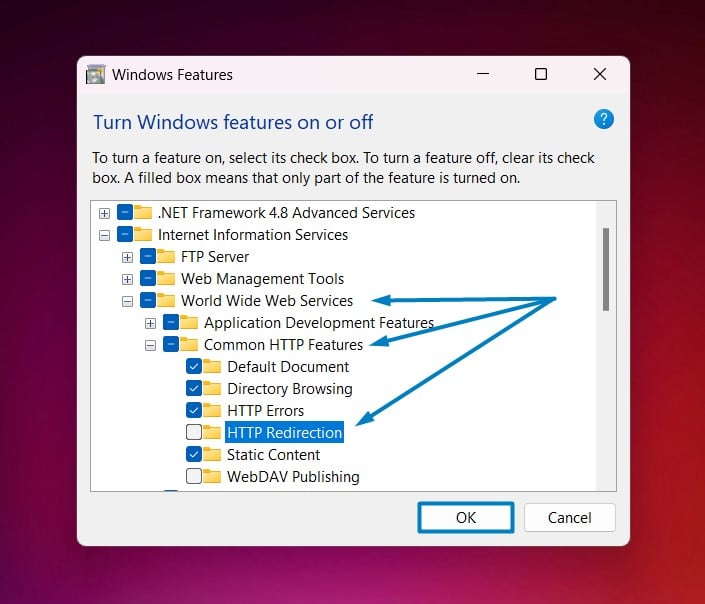
Enable HTTP Redirection in IIS .
- Windows 11 will search for the required files.
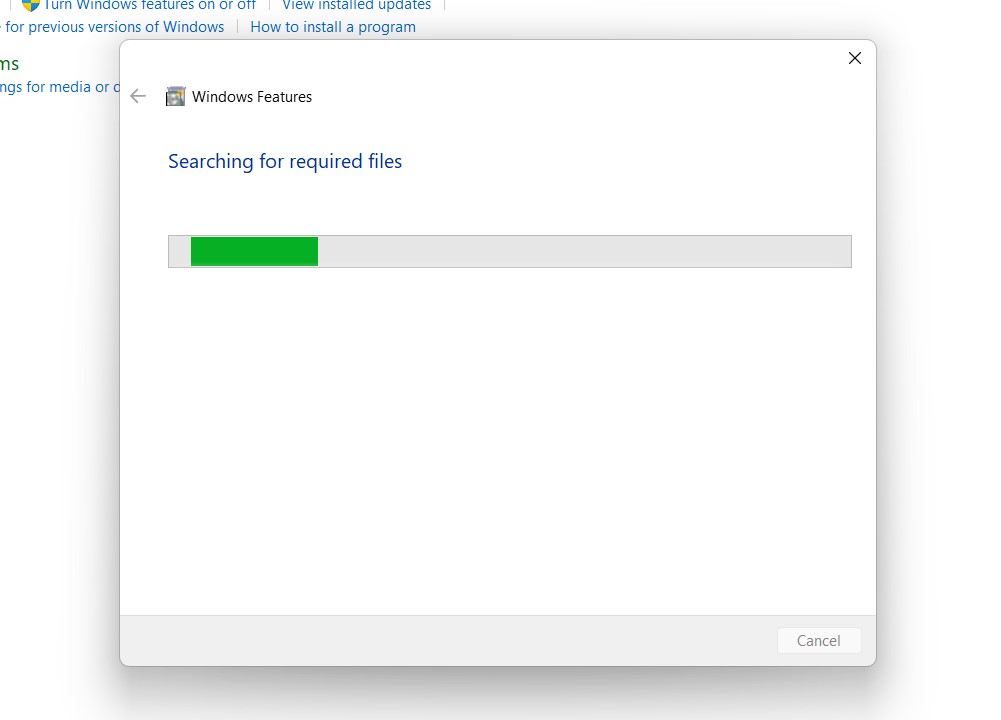
Searching for the required files - After the process, Windows will apply the necessary changes.
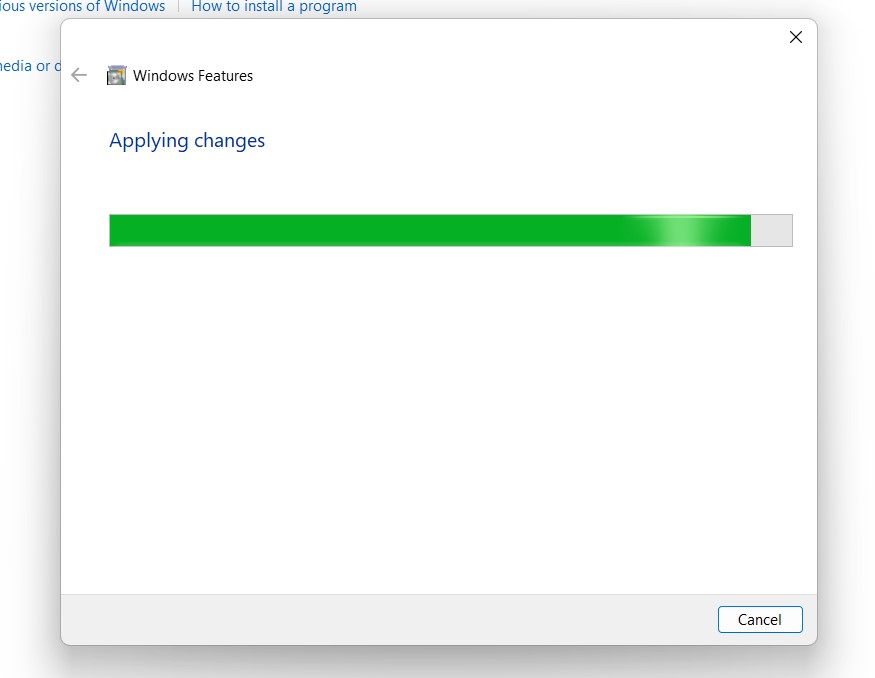
Applying Changes - The system will prompt for a restart. Continue with Restart now. It is recommended that changes made to the system reflect while using the environment. Click Close.
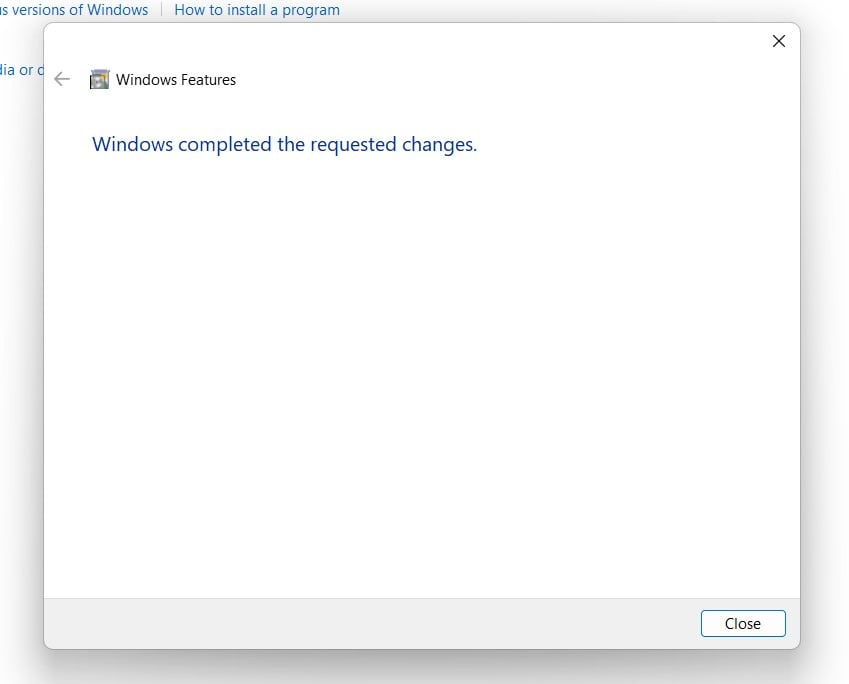
Close - That is it, HTTP Redirection Service in IIS(Internet Information Services) is now enabled on your Windows 11 laptop or PC. Enjoy Seamless Connectivity.
The HTTP Redirection Service in IIS isn’t just about guiding users; it’s a silent SEO ally. By strategically redirecting outdated or broken links to relevant pages, this service aids search engines in understanding site structure, contributing to improved user experience and a higher search engine ranking. It’s a small tweak with big impacts on your website’s online visibility and performance.
Take Away:
The HTTP Redirection Service in IIS on Windows 11 emerges not only as a traffic director but as a powerful ally in enhancing user experience and boosting search engine visibility. By seamlessly managing URL redirections, this service streamlines website navigation, ensuring that users effortlessly find what they’re looking for. Visit our Homepage for more interesting articles. Happy Coding! Peace out!
Related Articles:
- Enable Microsoft XPS Document Writer using CMD & PowerShell
- How to Configure Touchpad Gestures on Windows 11?
- How to Auto Hide Taskbar on Windows 11?
We combine expert insights with user-friendly guidance. We thoroughly research and test everything to give you reliable and simple to understand tech guides. Please take a look at our publishing process to understand why you can trust Winsides.
