How to Enable Virtual Machine Platform in Windows 11?
Enable Platform support for Virtual Machines
Enable Virtual Machine Platform in Windows 11: The Virtual Machine Platform is a key feature in Windows 11, enabling users to run virtualized instances with ease and efficiency. Enabling this platform unlocks a wide range of capabilities, including support for running Linux distributions and other virtualized environments seamlessly within Windows 11. In this guide, we’ll walk you through the straightforward steps to enable the Virtual Machine Platform on your Windows 11 system, empowering you to explore new possibilities and enhance your computing experience. Looking for How to Enable WSL in Windows 11?
Related: Virtual Machine Platform Using Cmd & Powershell
Turn on the Virtual Machine Platform in Windows 11:
- Click on the Start Menu and open the Control Panel.
- Switch the Control Panel view to Category.
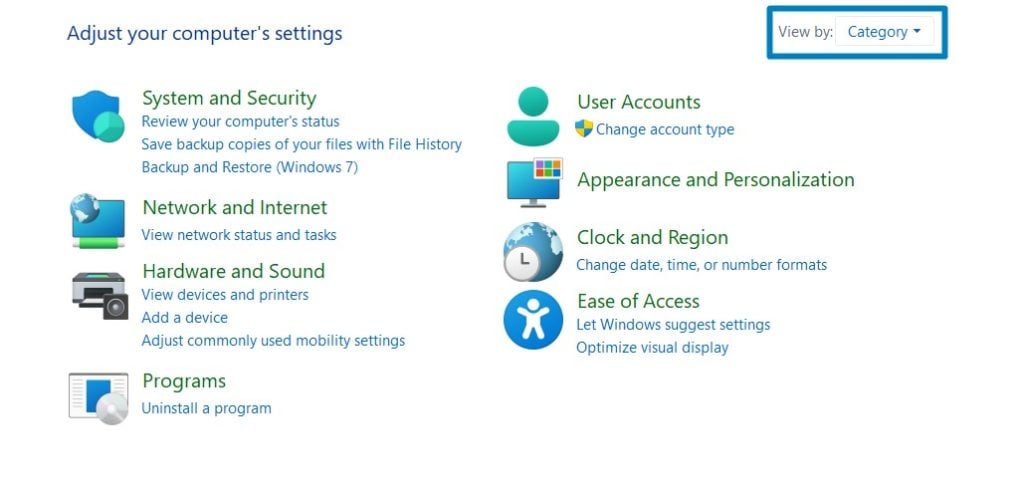
Category View - Now, Click on Programs.
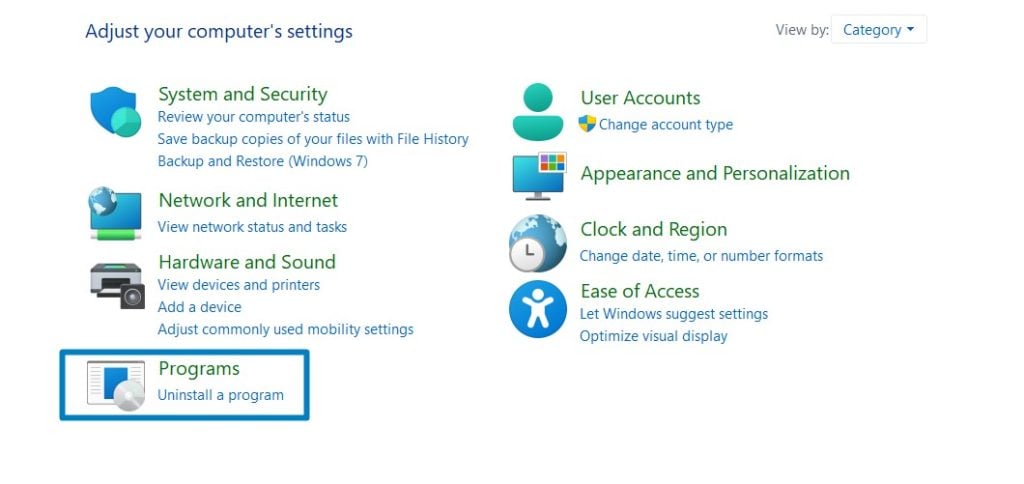
Programs - Under Programs and Features, click on Turn Windows Features on or off.
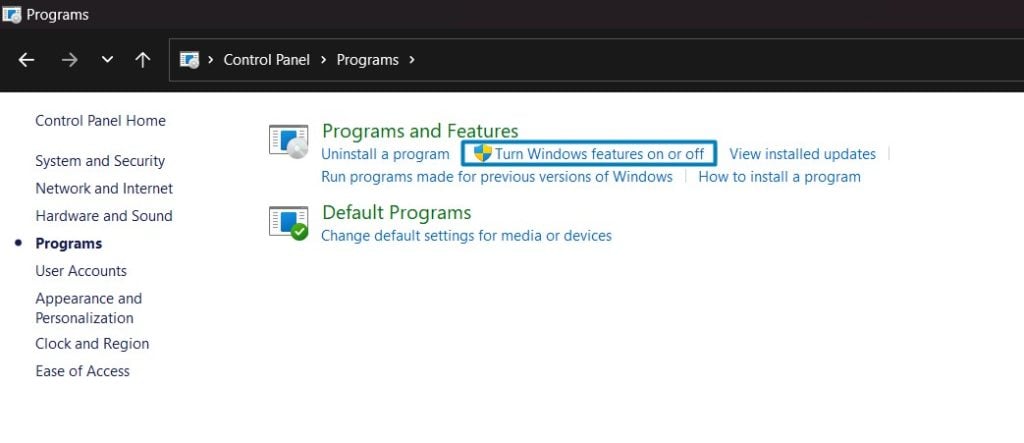
Turn Windows Features on or off - Windows Features dialog box will open now.
- Search and locate the Virtual Machine Platform from the list of services available.
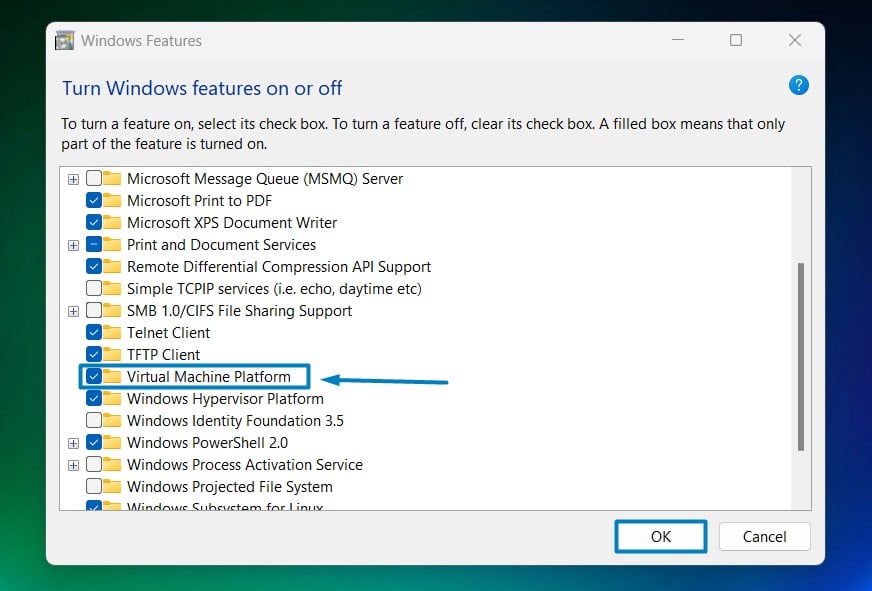
Enable Virtual Machine Platform in Windows 11 - Click on the checkbox next to it and then click on OK.
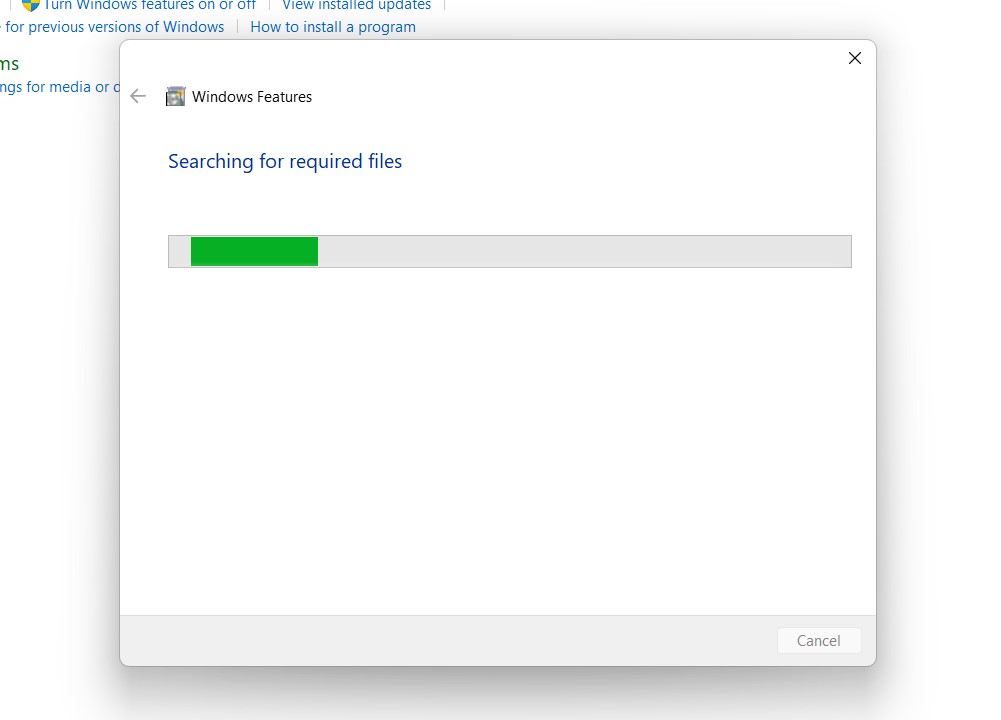
- Windows 11 will search for the required files.
Searching for the required files - After the process, Windows will apply the necessary changes.
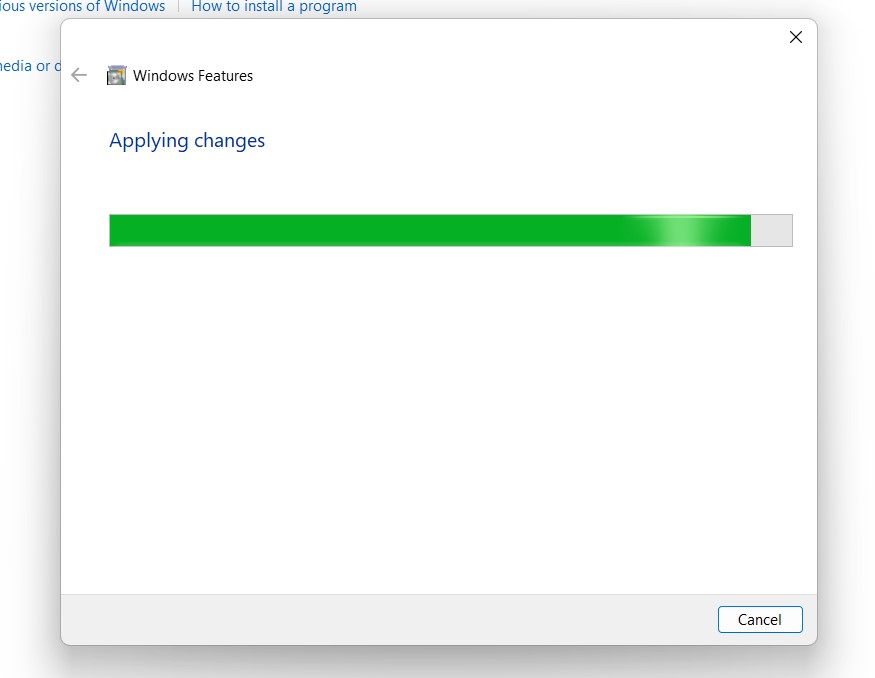
Applying Changes - The system will prompt for a restart. Click Close. Continue with Restart if prompted. It is recommended that changes made to the system reflect while using the environment.
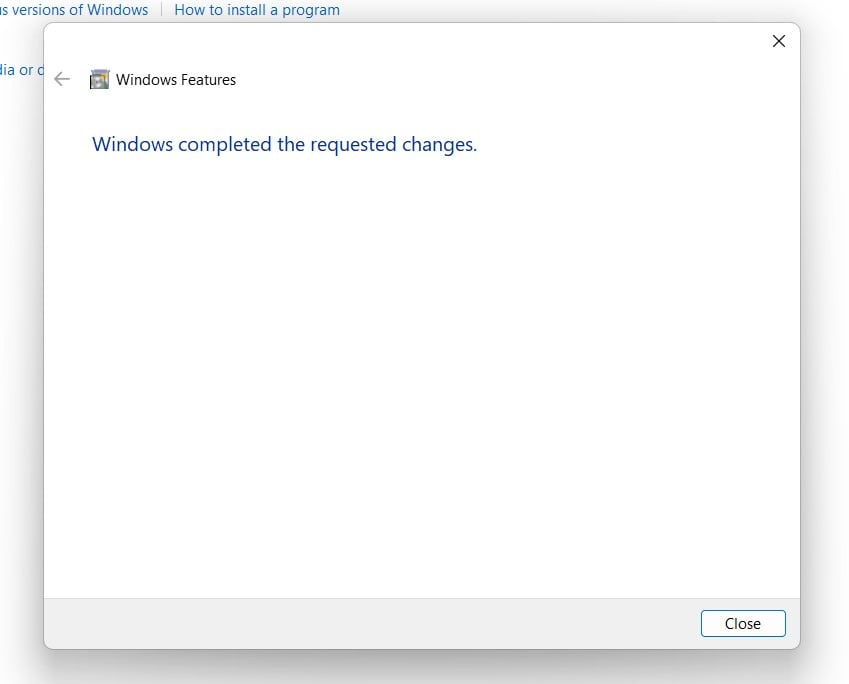
Close - That is it, Virtual Machine Platform is now enabled on your Windows 11 laptop or PC. Enjoy Seamless Connectivity.
The Virtual Machine Platform in Windows 11 provides a streamlined and integrated solution for running virtual machines. It leverages the underlying hypervisor infrastructure to deliver enhanced performance and compatibility, allowing users to create and manage virtualized environments with ease.
Check System Requirements:
Before enabling the Virtual Machine Platform, ensure that your system meets the necessary requirements for virtualization.
- Verify that virtualization support is enabled in your system’s BIOS/UEFI settings.
- Ensure that your system is running a compatible version of Windows 11, as the Virtual Machine Platform may not be available in all editions or builds.
Take away:
Enabling the Virtual Machine Platform in Windows 11 opens up a world of possibilities for users, allowing them to run virtualized instances seamlessly within their Windows environment. By following the steps outlined in this guide, you can ensure compatibility with virtualization technologies and unlock new opportunities for development, testing, and productivity. Happy Coding! Peace out!
Related Articles:
- How to Auto Hide Taskbar on Windows 11?
- What is servicehost.exe on Windows 11?
- GTA 6 Release Date is set to on May 26, 2026
We combine expert insights with user-friendly guidance. We thoroughly research and test everything to give you reliable and simple to understand tech guides. Please take a look at our publishing process to understand why you can trust Winsides.

