How to Enable Services for NFS in Windows 11?
Network File System (NFS) is a distributed file system protocol that allows users to access files over a network as if they were on their local storage. Originating from the UNIX world, NFS facilitates effective file sharing between systems, making it an essential tool for networked environments, especially in mixed-OS settings. It allows Windows 11 systems to interact with NFS shares provided by Unix or Linux Servers. Windows 11 can act as both an NFS client (accessing NFS shares) and an NFS server (hosting NFS shares). This article will explain how to enable services for NFS (Administrative tools) in Windows 11. Check out: Enable WSL 2 in Windows 11
See Also: Enable Simple Tcp/ip Services In Windows 11
Table of Contents
Key Steps:
- Open Run Command and enter the followin command.
appwiz.cpl- Click on Turn Windows Features on or off.
- Locate Services for NFS and Enable it.
What is an NFS Share?
An NFS share is a directory or a folder on a server that has been configured to be accessible over a network using the NFS protocol. NFS was developed by Sun Microsystems and has become a standard protocol for file sharing in UNIX and Linux environments. The protocol allows a system to share directories and files with others over a network, enabling users to access and manage files as if they were on their local machines.
Turn on Services for NFS in Windows 11 – Simple Steps:
- Open Run Command and execute the following command.
appwiz.cpl
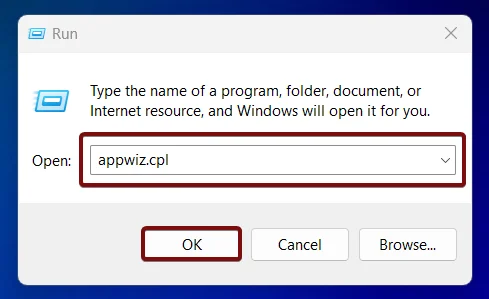
- From the left pane, click on Turn Windows Features on or off.
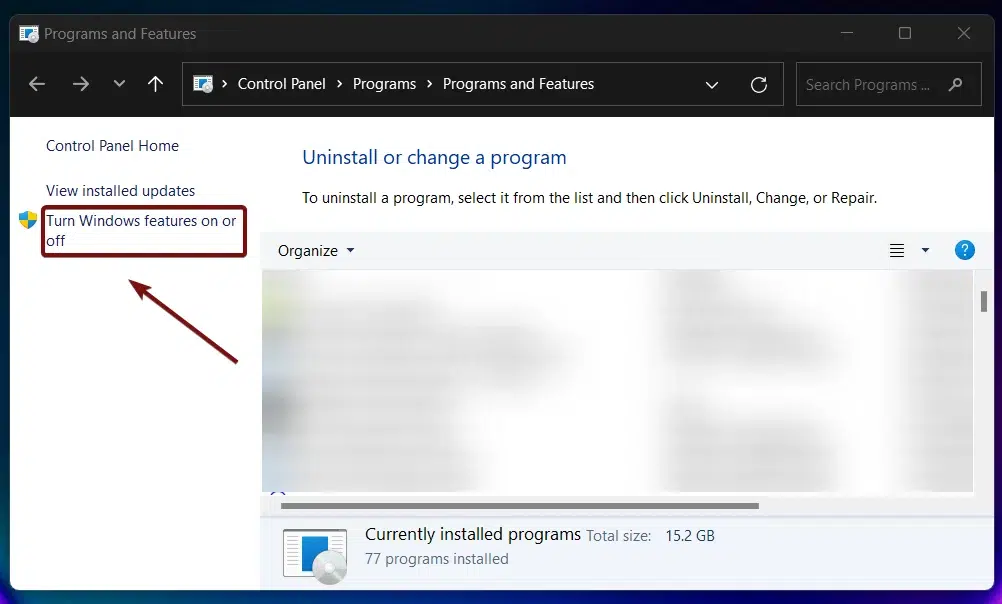
- Locate the Services for NFS and click on the checkbox next to it. Finally, click OK.
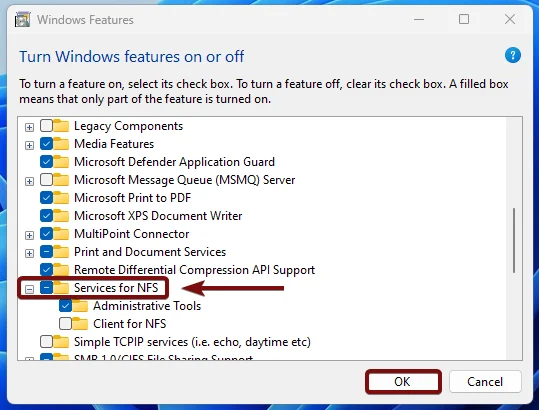
- Windows will search for the required files.
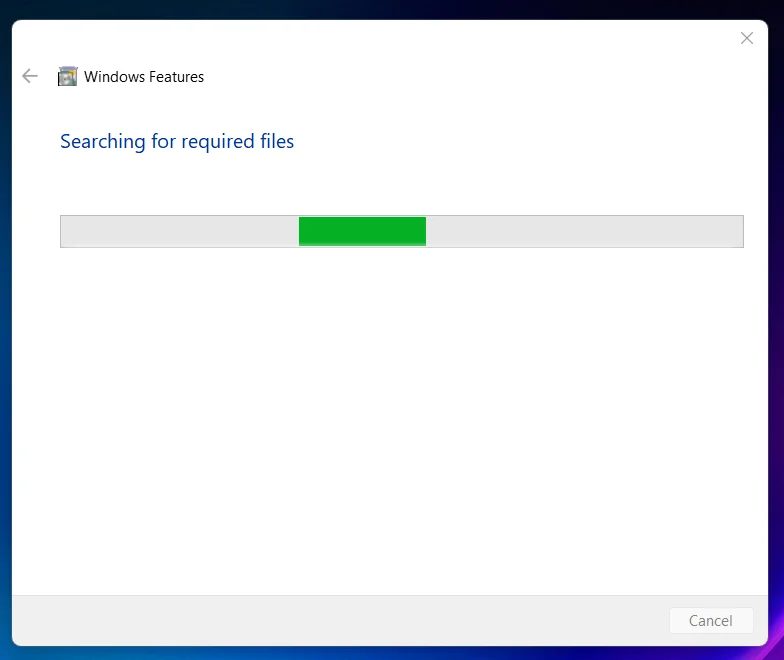
- Then, the necessary changes will be applied.
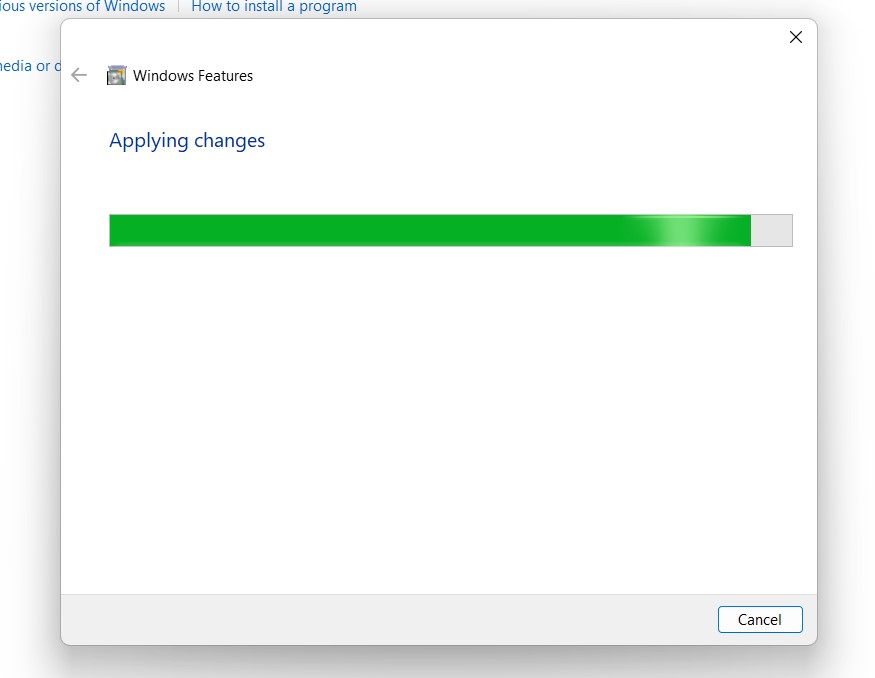
- Click Restart if you are prompted to restart or click Close accordingly. However, it is suggested that the changes be restarted right away so that they will be reflected.

- This process will enable Services for NFS particularly Administrative Tools of NFS in Windows 11.
NFS Services offers security features such as Kerberos authentication to ensure secure file access.
Video Walkthrough for How to Enable Services for NFS on Windows 11
Services for NFS availability on various Windows Editions
| Windows Editions | Availability |
| Windows 11 Home | No |
| Windows 11 Professional | Yes |
| Windows 11 Education | Yes |
| Windows 11 Enterprise | Yes |
| Windows 11 Pro Education | Yes |
| Windows 11 SE | No |
| Windows 11 IoT Enterprise | Yes |
How does NFS Share work?
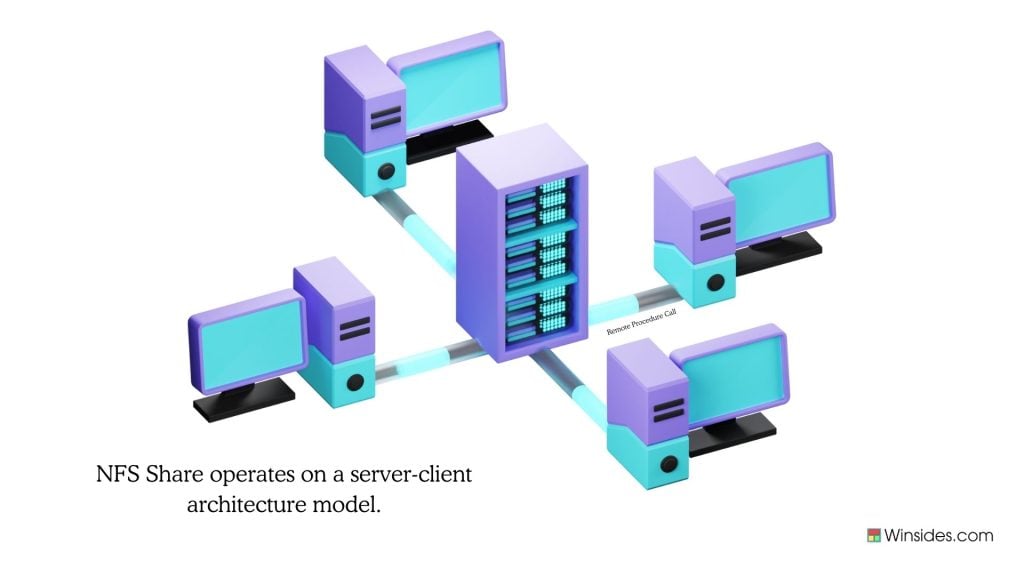
NFS operates on a server-client architecture model and the process of connecting to an NFS share from a client system is known as mounting. Once mounted, the shared directory appears as a local directory on the client system, allowing users to interact with it using standard file operations. It uses RPC (Remote Procedure Call) to facilitate communication between the client and server. The protocol supports various versions, with NFSv4 being the latest version.
Take away:
By enabling NFS Services in Windows 11 professional editions, you can easily access and share files in mixed OS environments like Windows and Unix/Linux environments securely and efficiently. For more interesting articles, visit our Homepage. Safe File Sharing! Peace out!
Recommended: Enable Client For Nfs In Windows 11
Related Articles:
- How to Auto Hide Taskbar on Windows 11?
- What is servicehost.exe on Windows 11?
- GTA 6 Release Date is set to on May 26, 2026
We combine expert insights with user-friendly guidance. We thoroughly research and test everything to give you reliable and simple to understand tech guides. Please take a look at our publishing process to understand why you can trust Winsides.
