How to Enable Client for NFS in Windows 11?
It acts as a bridge, enabling Windows to interact with NFS shares on Unix/Linux servers.
The Client for NFS (Network File System) in Windows 11 is a feature that allows Windows systems to access files on Unix-based or Linux-based NFS servers as if they were local files. NFS is a network file-sharing protocol commonly used in Unix and Linux environments, enabling impeccable file-sharing and access across different operating systems. Users can map network drives to NFS shares using standard Windows tools, such as File Explorer or the command prompt. This feature is not enabled by default in Windows 11 Professional Editions. This article will walk through how to Enable Client for NFS in Windows 11 using simple steps. Check out: How do I Enable Services for NFS in Windows 11?
Key Steps:
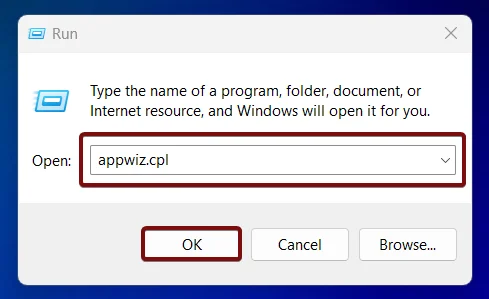
- Go to Windows Features using appwiz.cpl in the Run Command.
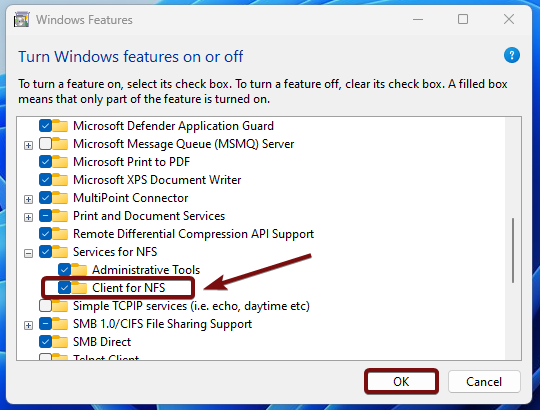
- In the Windows Features Dialog box, locate Services for NFS and Expand the node.
- You can find “Client for NFS” there. Click on the checkbox next it and click OK.
- Windows 11 will now eanble Client for NFS optional Feature.
Role of Client for NFS in Windows 11:
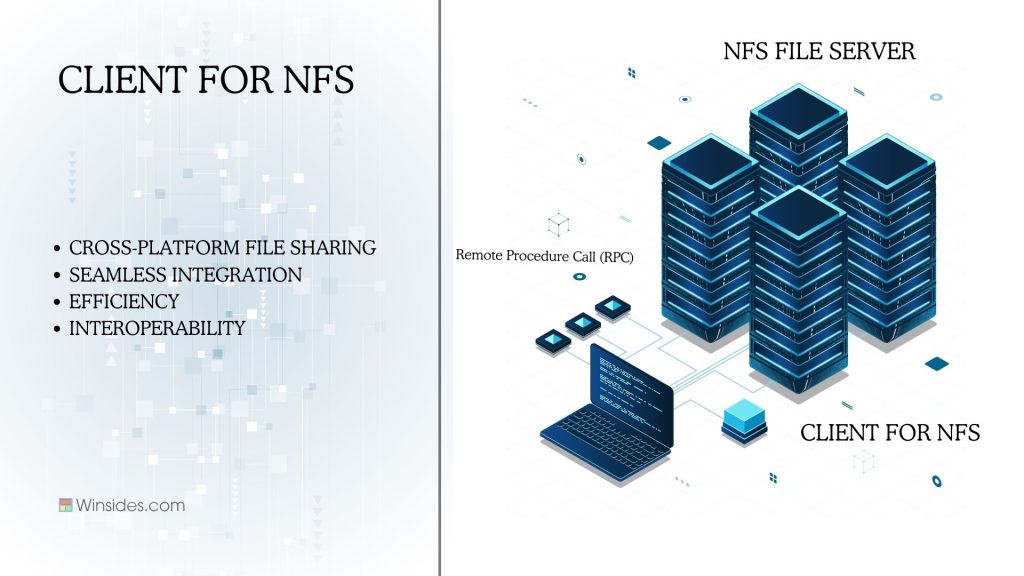
While NFS is a common feature in Unix and Linux systems, Windows systems traditionally use different file-sharing protocols like SMB (Server Message Block). However, in environments where both Windows and Unix/Linux systems are used, Windows users often need to access NFS shares. This is where the Client for NFS comes into play. It is a feature in Windows 11 that allows a Windows system to connect to and access files on an NFS server.
How does NFS Share work?
NFS shares work by creating a transparent and smooth way for computers to share and access files over a network, using a server-client architecture model. By mounting a remote directory onto their local file system, clients can interact with files stored on the NFS server as if they were local, allowing for efficient file sharing and collaboration in networked environments.
Information on the Go!
Client for NFS Feature is not availble in the Home Edition as Microsoft typically reserves certain advanced features for the Professional, Enterprise, and Education editions.
Turn on Client for NFS optional feature in Windows 11:
- The first step of this process is to open Run Command and execute the following command.
appwiz.cpl
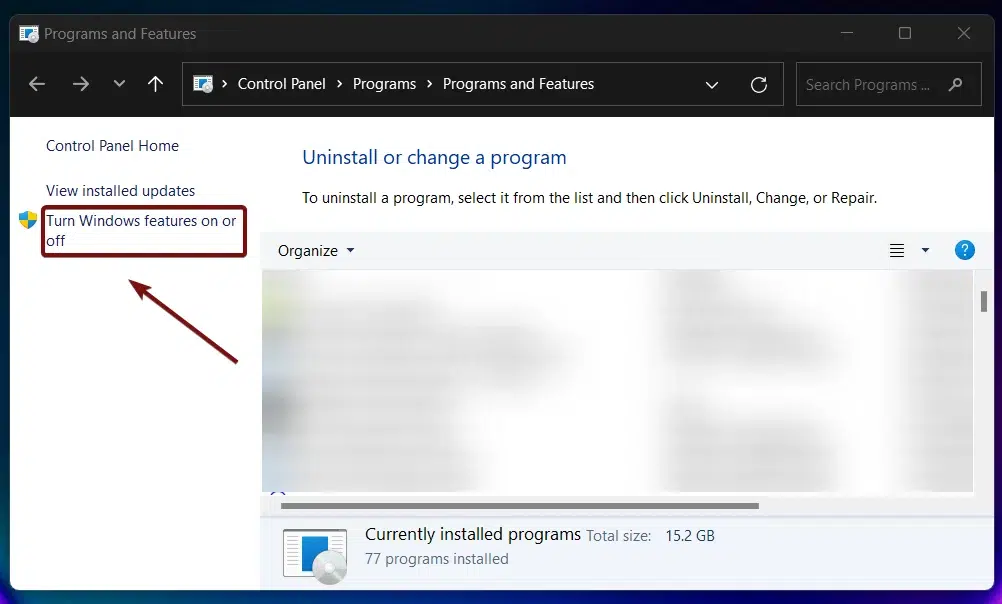
- Programs and Features windows will open now. You can find Windows Features on or off in the left pane.
- Windows Features Dialog box will pop up now. From the list of services available, locate the Services for NFS and click on the plus sign next to it to expand the node.
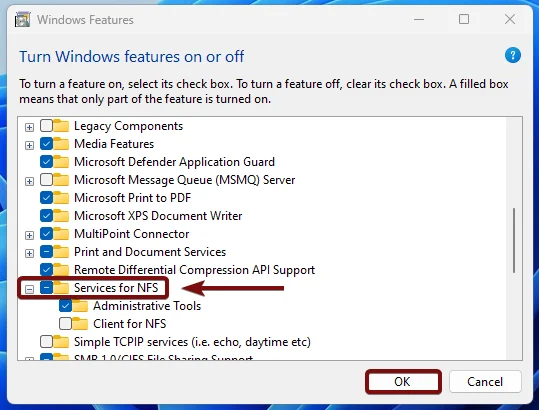
- You can now find the Client for NFS feature there. Click on the checkbox next to it and click OK.
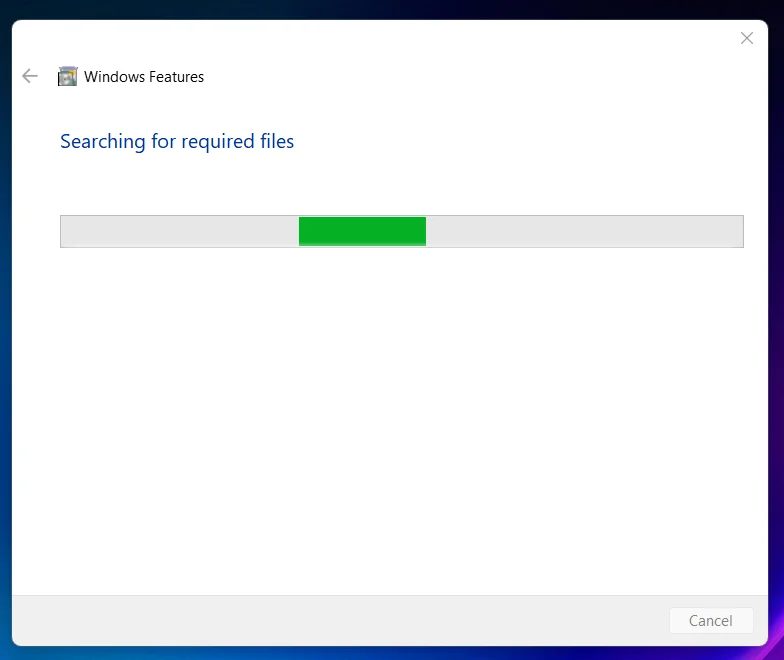
- Windows will search for the required files.
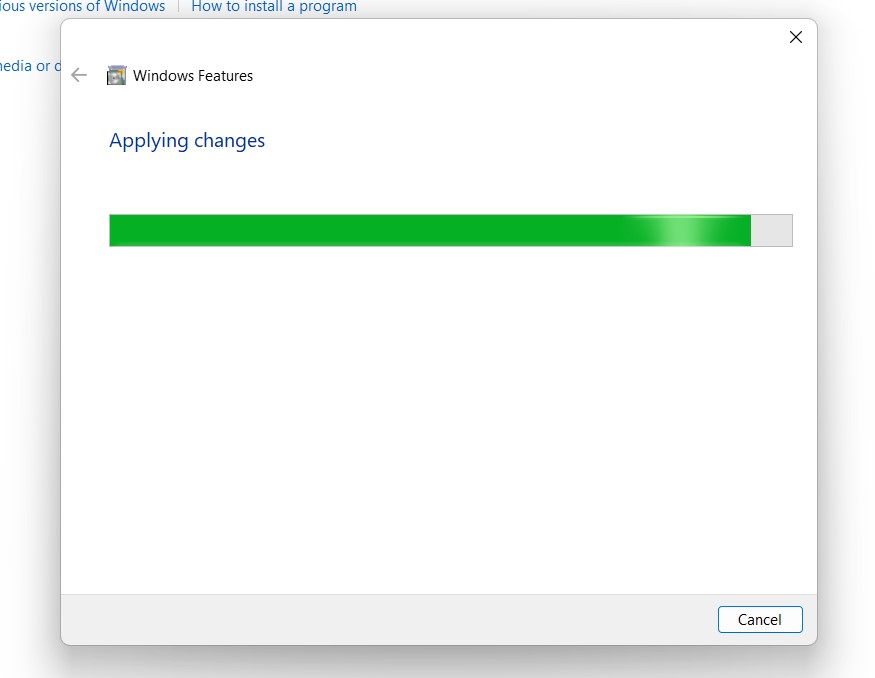
- After that, the Windows system will apply the necessary changes.
- Click Restart if you are prompted to restart or click Close accordingly. However, it is suggested that the changes be restarted right away so that they will be reflected.

- That is it. Client for NFS Feature is now enabled in your Windows 11 Professional Edition.
By supporting NFS versions 2 and 3, the Client for NFS in Windows 11 ensures compatibility with a wide range of NFS servers and include security features like Kerberos authentication and encrypted communication.
Take away:
In summary, NFS shares are a key component of file sharing in Unix and Linux systems, and the Client for NFS in Windows 11 enables Windows users for seamless access. This feature is particularly valuable in mixed OS environments, where it fosters better collaboration and efficiency by allowing Windows systems to work smoothly with Unix/Linux servers. For more interesting articles, stay updated with winsides.com. Happy Computing! Peace out!
We combine expert insights with user-friendly guidance. We thoroughly research and test everything to give you reliable and simple to understand tech guides. Please take a look at our publishing process to understand why you can trust Winsides.


There is no “Services for NFS” option in “Windows Features”. I am guessing I need a different version of Windows.
OS Name Microsoft Windows 11 Home
Version 10.0.22621 Build 22621
Hey Brian,
Thank you for contacting winsides.com.
As mentioned in the article, this Windows Feature is available only on Windows 11 Professional Editions such as Pro, Enterprise, and Education.
Unfortunately, it is not available in Windows 11 Home Edition, irrespective of the Version and Build. These features, like NFS, are targeted at professional environments where robust network file sharing is essential. For NFS functionality, you can either upgrade to Windows 11 Pro or use third-party NFS clients.
Steps to Upgrade to Windows 11 Pro and Enable Services for NFS:
1. Open Settings
– Press `Windows + I` to open the Settings app.
2. Go to Activation Settings
– In the left sidebar, select System.
– Scroll down and click on Activation.
3. Upgrade to Windows 11 Pro
– In the Activation menu, you’ll see an option to upgrade to **Windows 11 Pro**.
– Click on the **Go to the Store** button to purchase and install the upgrade.
4. Install the Services for NFS
– Once you’ve upgraded, you can enable “Services for NFS” by following these steps:
– Go to Control Panel > Programs and Features > Turn Windows features on or off
– Scroll down to find Services for NFS and check the box to install it.
If you have any queries, kindly let us know.
Thank you
Vigneshwaran Vijayakumar
WinSides.com, Reddit