Enable Windows Subsystem for Linux (WSL 2) using Command Prompt & PowerShell
It brings Linux compatibility to Windows offering a powerful development environment
Enable WSL 2 using CMD & PowerShell: If you running Windows 11, to run a different environment like a Linux Distro, usually one will have to depend on third-party applications like VirtualBox, etc. However, Windows offers Native applications like Hypervisor Platform which supports Virtual Environment. Additionally, Windows provides Windows Subsystem for Linux, a feature that allows user to download and install Linux Distributions like Ubuntu hassle-free on the Windows OS itself. This latest article will guide you through the steps on How to Enable WSL 2 (Windows Subsystem for Linux) on Windows 11 using the Command Prompt and Windows PowerShell (CLI Method). We also have covered an article that explains How to enable WSL 2 using Windows Features (GUI Method). Let’s get started.
Table of Contents
Windows Subsystem for Linux (WSL 2) availability on various Windows Editions
| Windows Editions | Availability |
| Windows Servers | Yes |
| Windows 11 Home | Yes |
| Windows 11 Professional | Yes |
| Windows 11 Education | Yes |
| Windows 11 Enterprise | Yes |
| Windows 11 Pro Education | Yes |
| Windows 11 SE | No |
| Windows 11 IoT Enterprise | No |
Easy way to Enable WSL 2 via the Command Prompt (CMD)
This section will provide the step by step explanation on How to Enable this feature using the CMD.
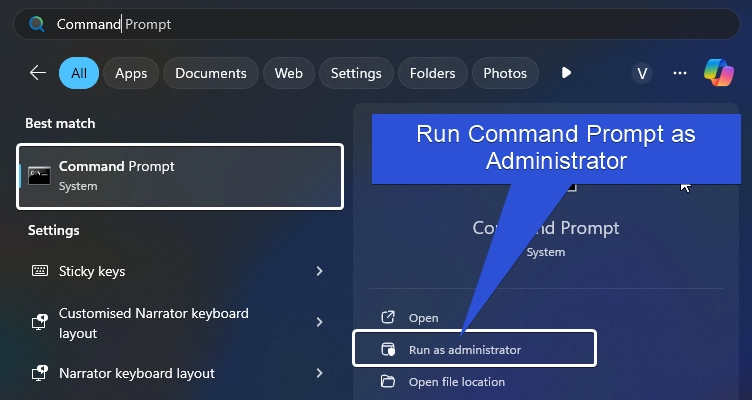
- Go to the Start menu, alternatively, you can use the shortcut Win Key + S. Search for Command Prompt. Make sure to Run the Command Prompt as Administrator. User Account Control will prompt for your confirmation. Click Yes to continue.
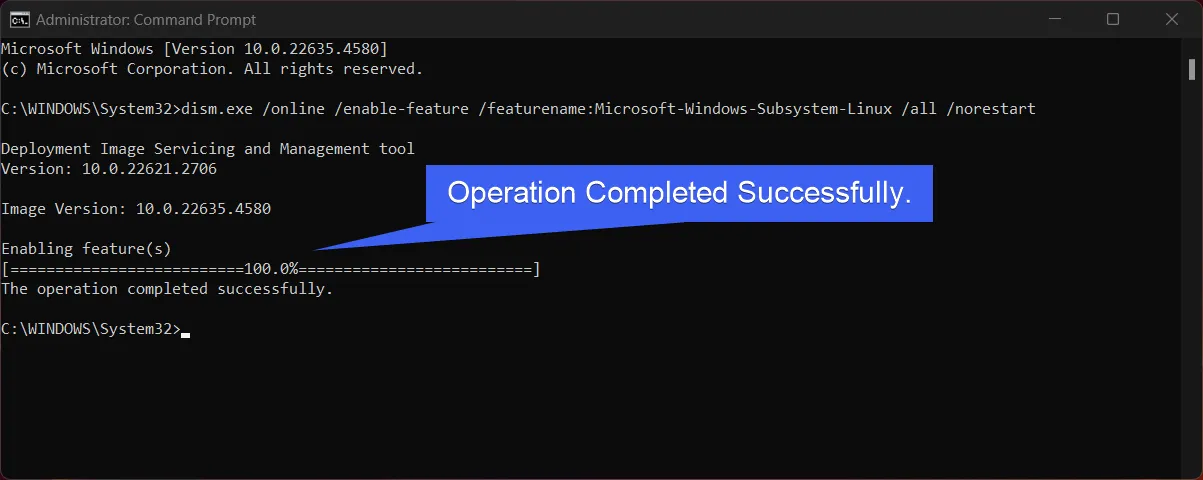
- You can now paste the following command in the CMD and then click Enter.
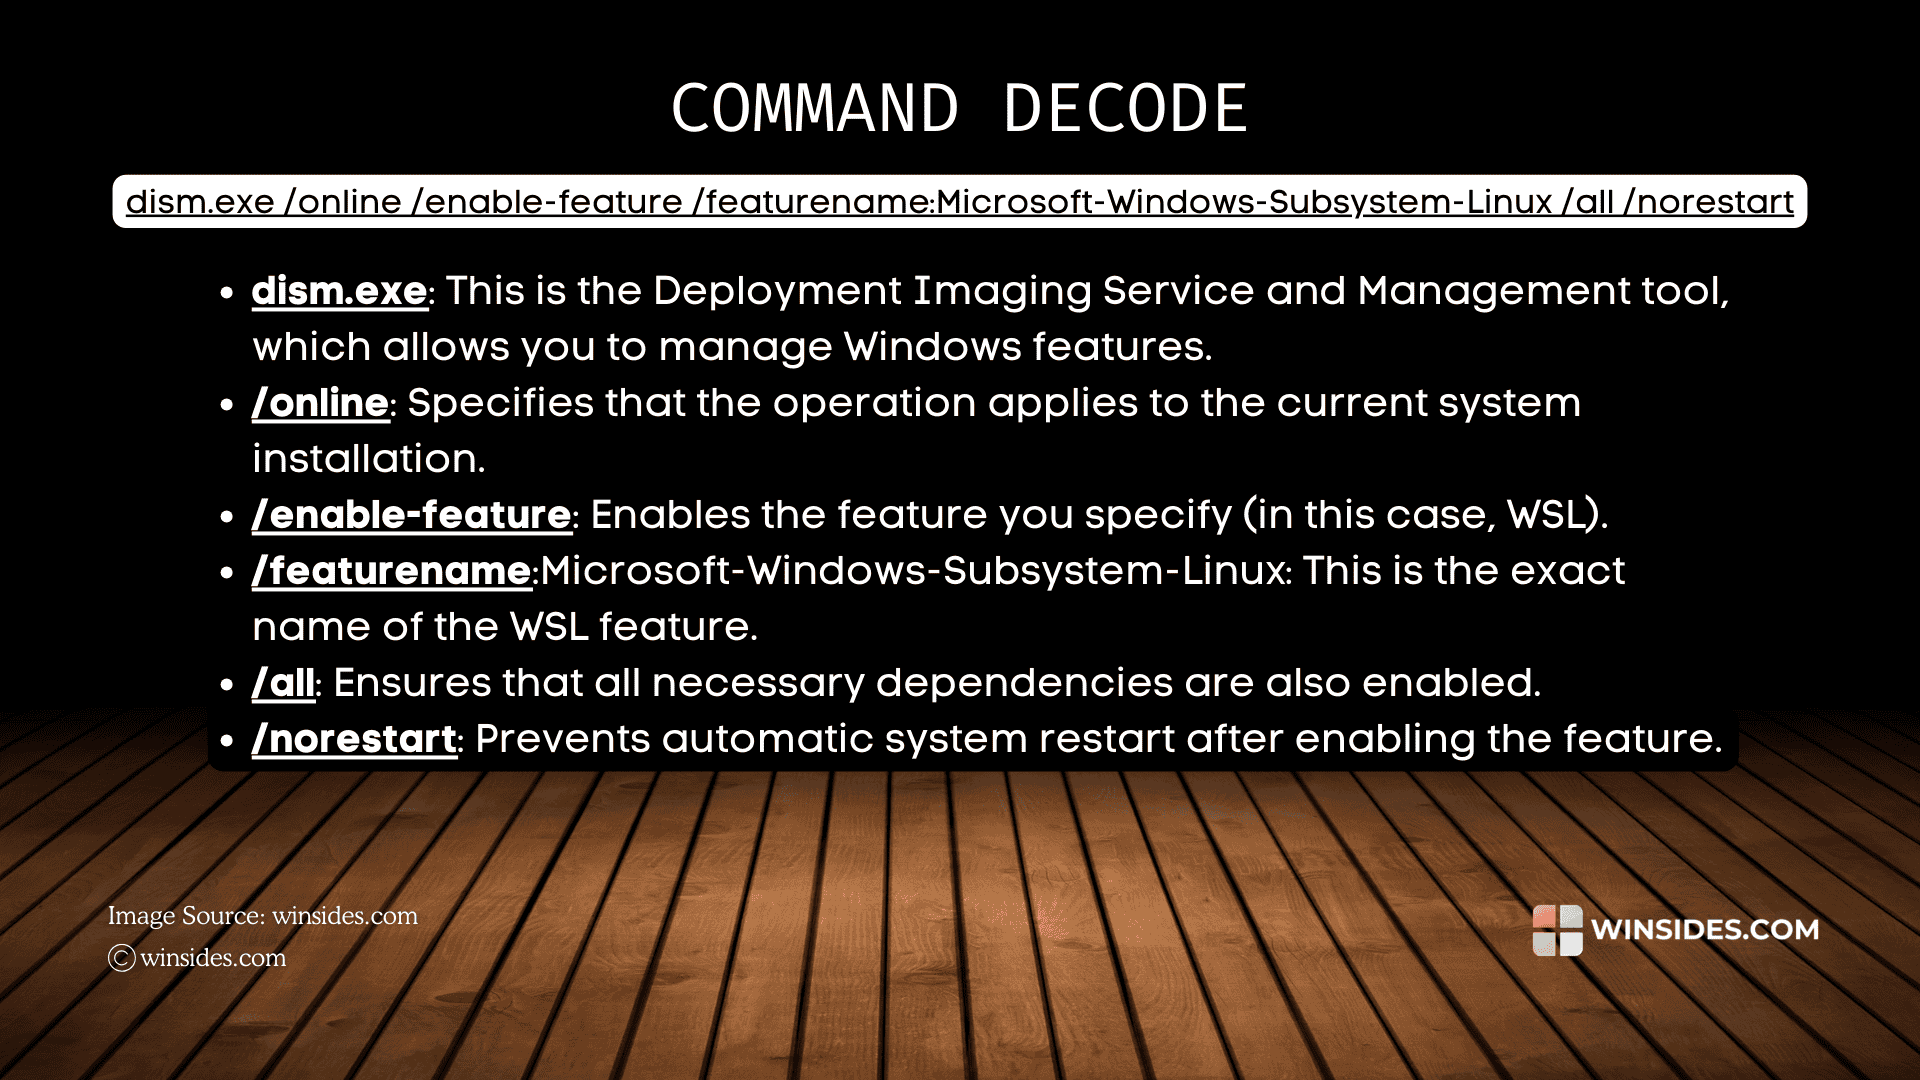
dism.exe /online /enable-feature /featurename:Microsoft-Windows-Subsystem-Linux /all /norestart
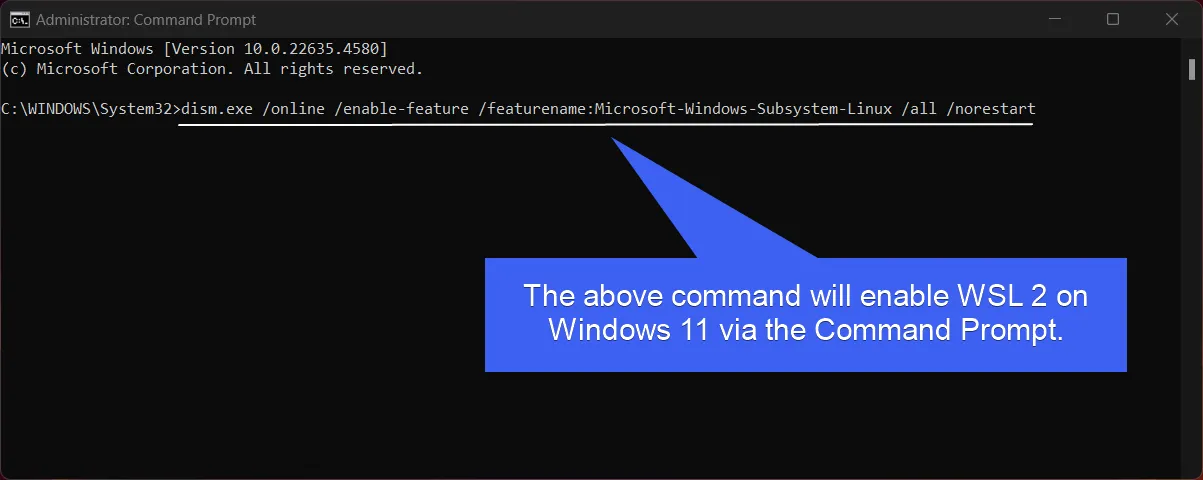
- The above command will enable Windows Subsystem for Linux 2 and also will make that the System does not restart on its own during the process.
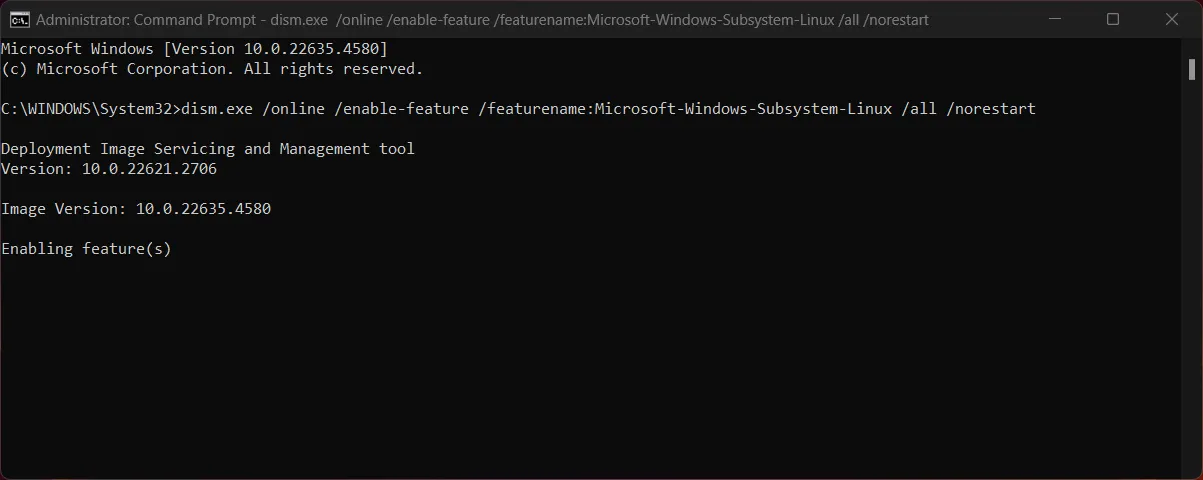
- When you get the message “The Operation Completed Successfully“, then WSL 2 is now enabled.
- The Virtual Machine Platform is a crucial component required for running WSL 2 on Windows 11. It provides the underlying virtualization layer needed to run Linux distributions in a more efficient and isolated environment.
- To Enable Virtual Machine Platform via the Command Prompt, kindly execute the following command in the CMD.
dism.exe /online /enable-feature /featurename:VirtualMachinePlatform /all /norestart
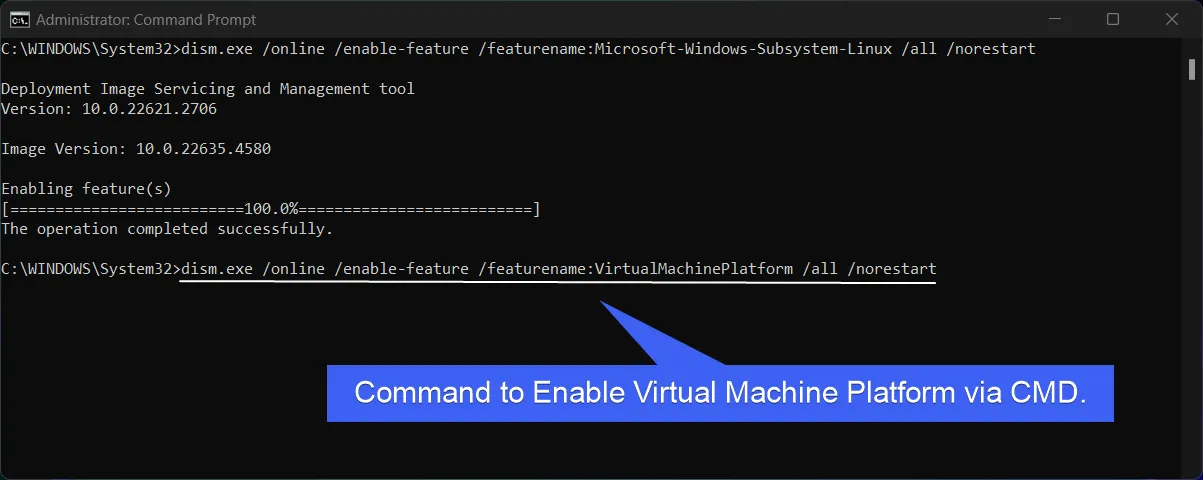
- The system will now enable this feature on Windows 11. Kindly wait for the “The operation completed successfully” message.
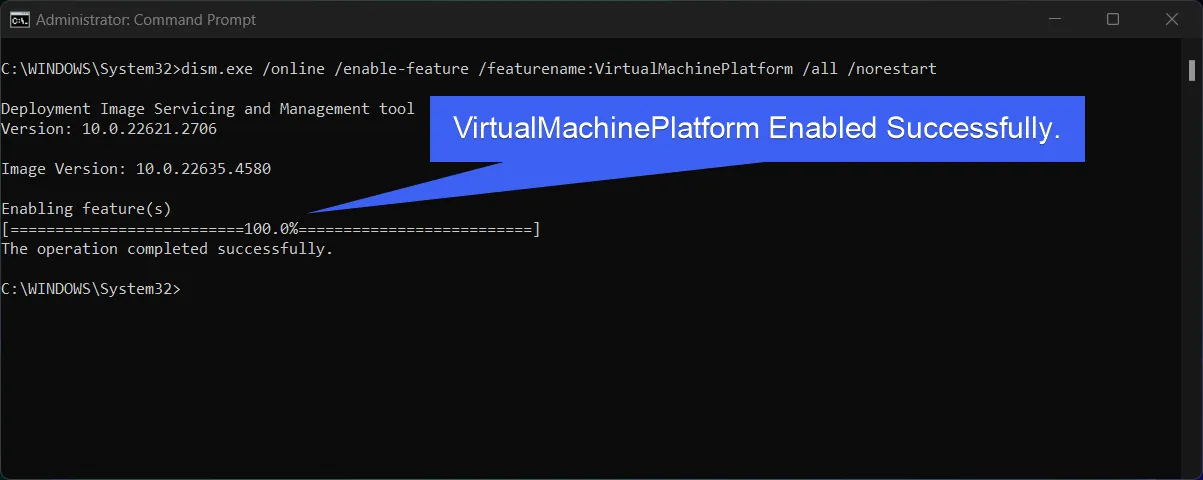
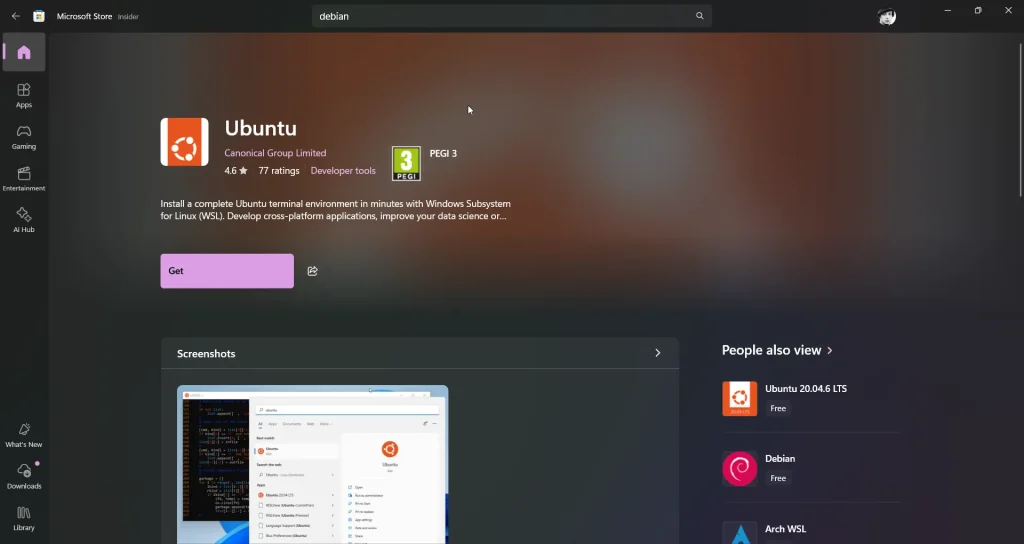
- It is highly recommended to do a restart after this process. You can then install your desired Linux Distribution from the Microsoft Store as a WSL App.
Decoding WSL 2 CMD Command
Quick Way to Enable WSL 2 (Windows Subsystem for Linux 2) using Windows PowerShell
In this section, we will check out How to Enable Windows Subsystem for Linux 2 via the Windows PowerShell.
- Open Windows PowerShell using the Start menu, and Run Windows PowerShell as Administrator.
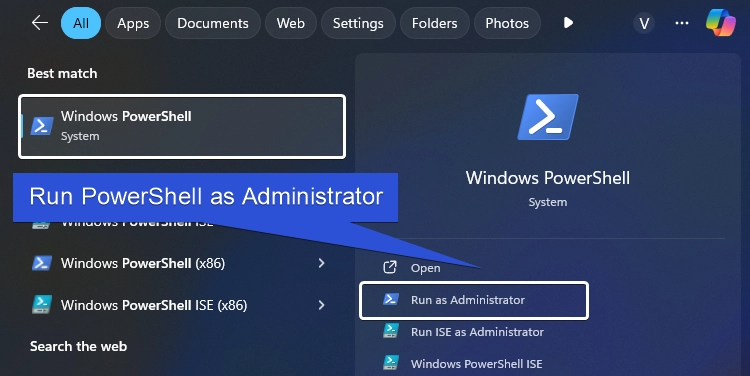
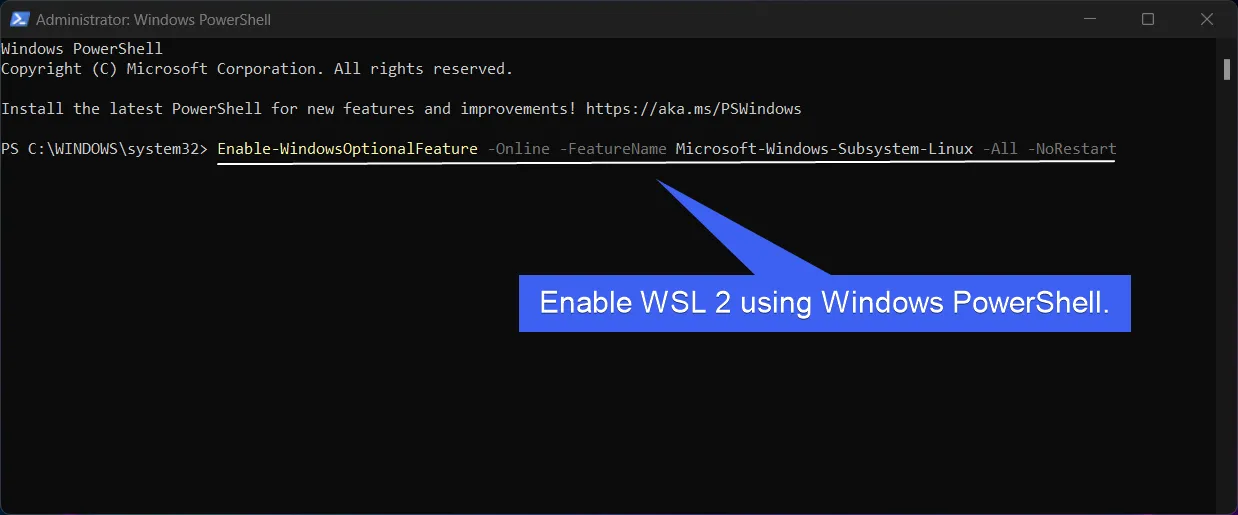
- In the PowerShell, enter the following command.
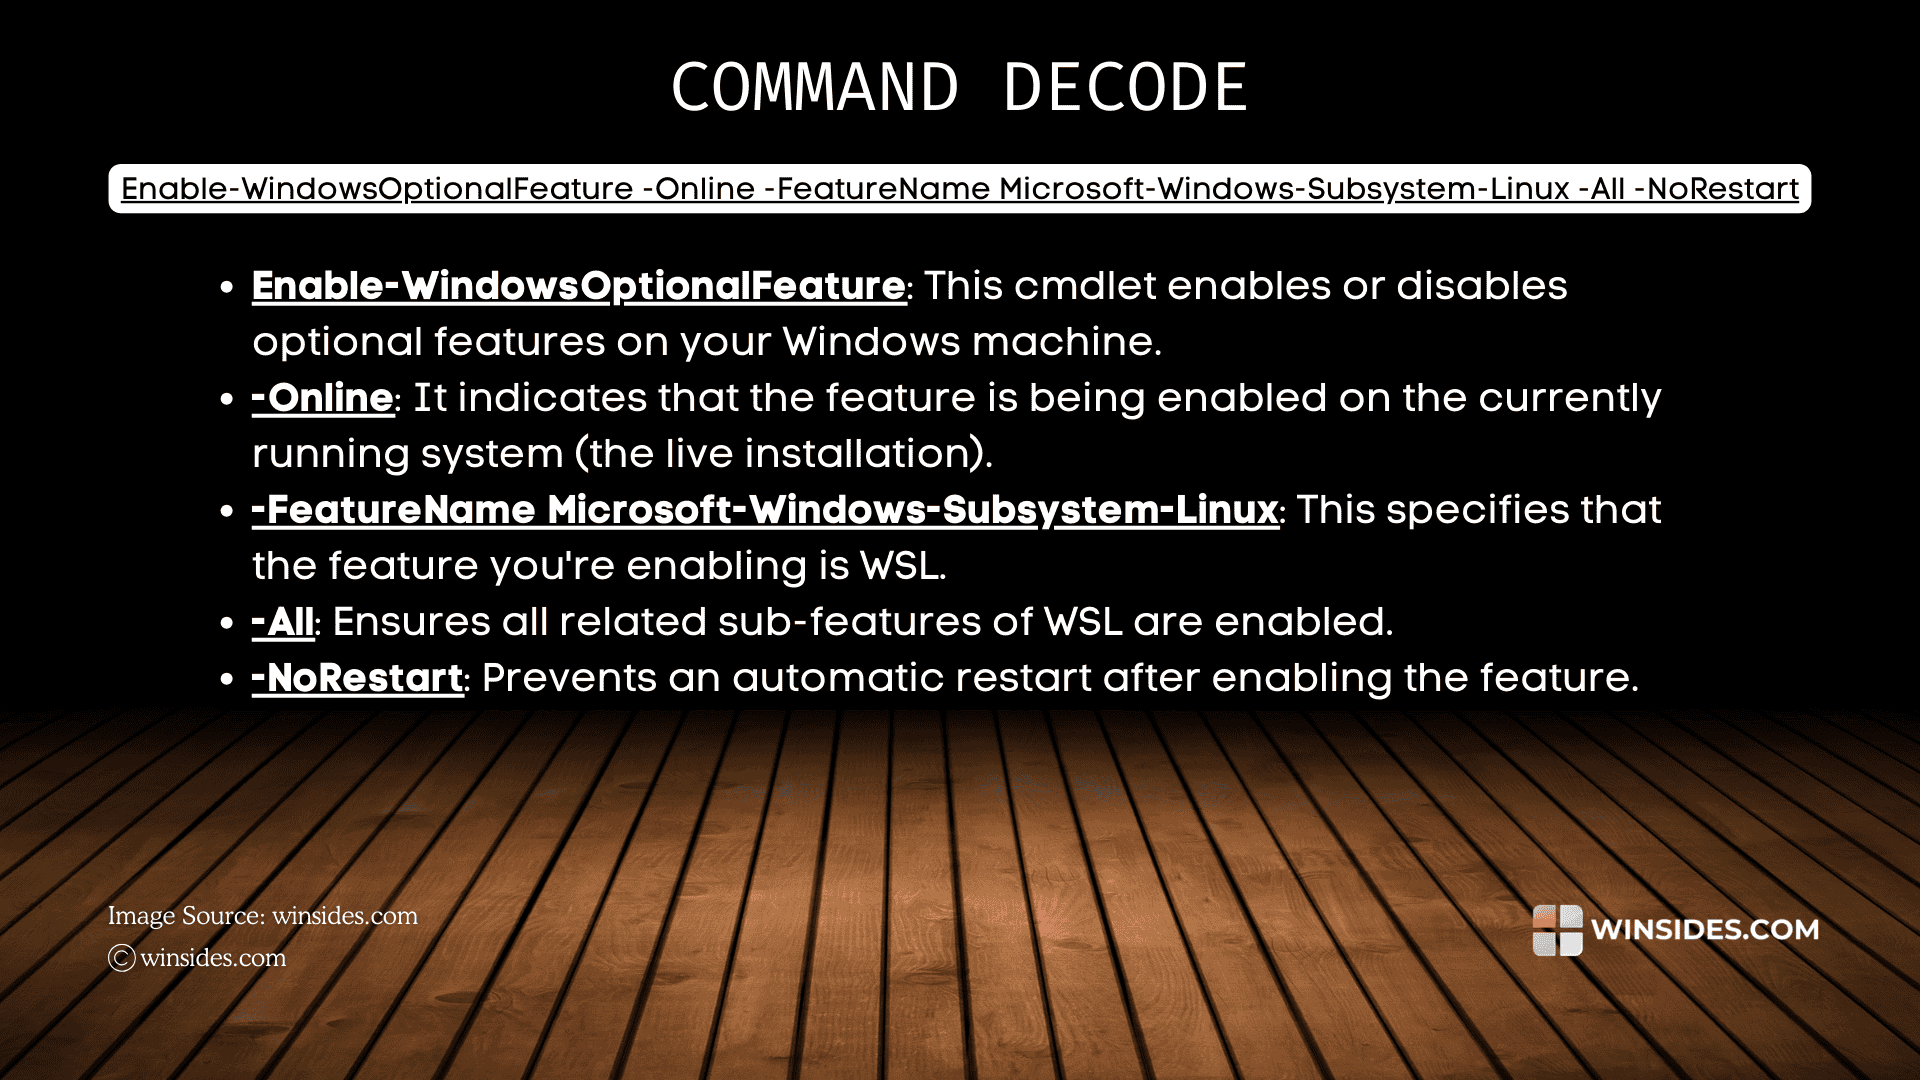
Enable-WindowsOptionalFeature -Online -FeatureName Microsoft-Windows-Subsystem-Linux -All -NoRestart
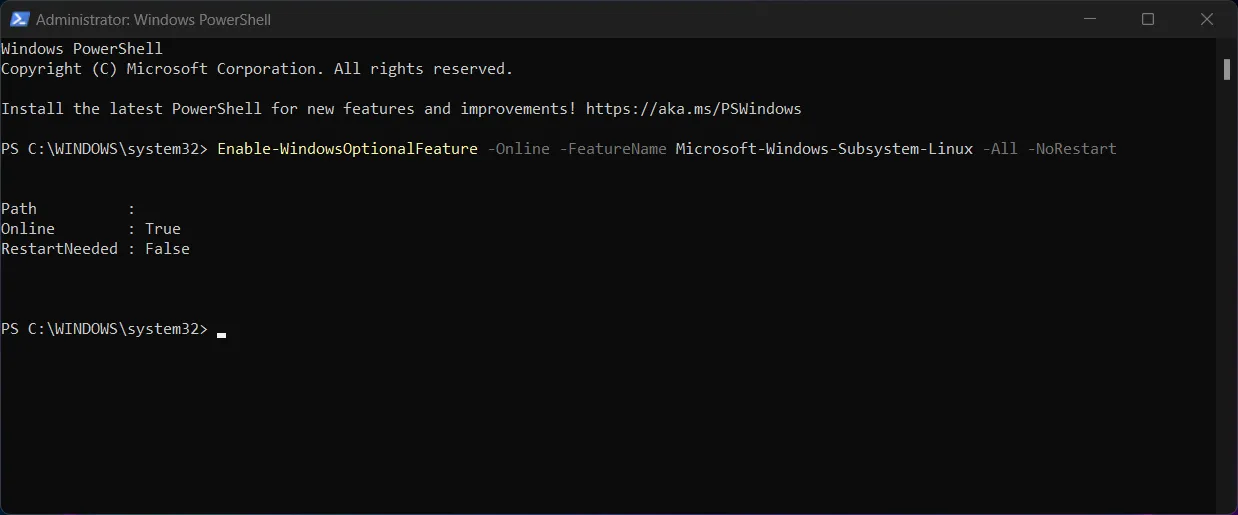
- The system will now enable Windows Subsystem for Linux. The Online status “True” indicates that the WSL 2 is now enabled. As we are using NoRestart tag, the system will not restart automatically.
- Next, enter the command to enable Virtual Machine Platform.
Enable-WindowsOptionalFeature -Online -FeatureName VirtualMachinePlatform -All -NoRestart
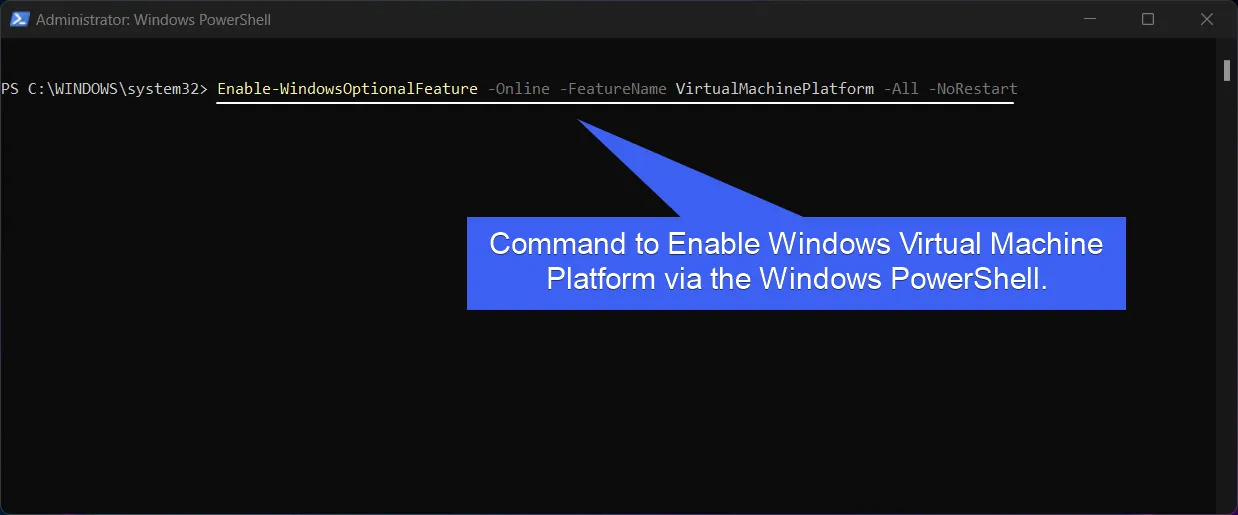
- The system will enable Virtual Machine Platform now.
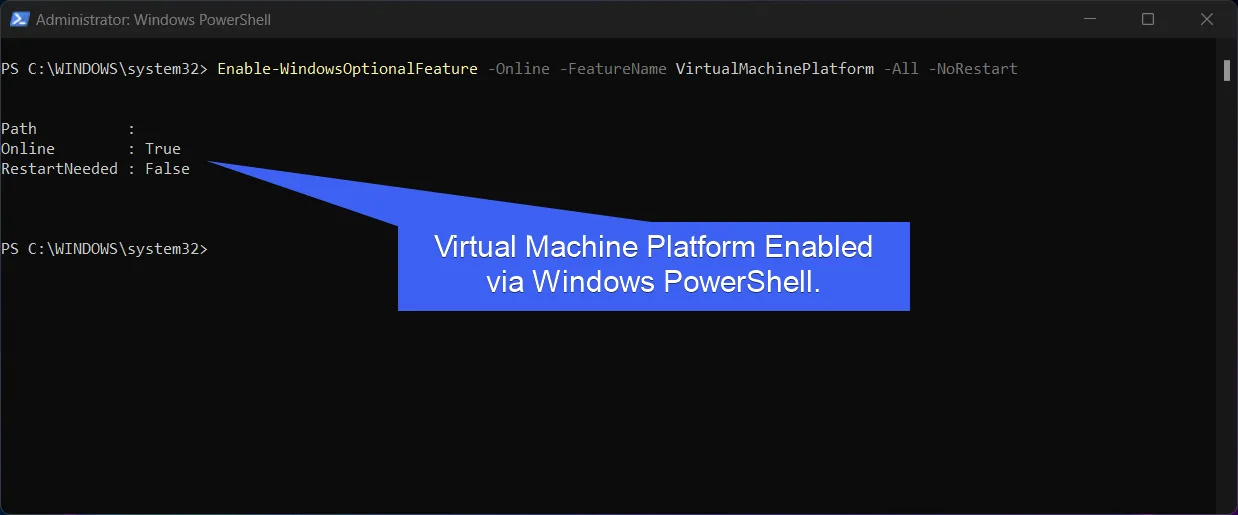
- Kindly Restart your System. You can now install your favorite Linux Distro using WSL App.
Information on the Go!
If you want to use WSL 2 which offers a full Linux kernel and better performance, you can use the following command in the PowerShell.
wsl --set-default-version 2
Let’s Decode WSL2 Enable PowerShell Command
Video Walkthrough to Enable WSL 2 on Windows 11 using Command Prompt and Windows PowerShell
Take away
With WSL 2 enabled on Windows 11, you can execute Linux commands, use the package managers like APT, and YUM and even run Linux applications directly in Windows without the need for virtualization software like VirtualBox or VMware. Additionally, setting WSL 2 as the default version ensures that you get the most optimized performance from your Linux distributions on Windows environment. If you have any queries, kindly let us know in the comment section. For more interesting articles, stay tuned to Winsides.com. Happy Computing! Peace out!
We combine expert insights with user-friendly guidance. We thoroughly research and test everything to give you reliable and simple to understand tech guides. Please take a look at our publishing process to understand why you can trust Winsides.
