

Introduction to Machine Check Exception (MCE) on Windows 11
Encountering a Blue Screen of Death (BSOD) on your Windows 11 system is rarely a pleasant experience. Among the various types of critical errors that can halt your workflow, the Machine Check Exception on Windows 11 stands out as particularly concerning. This error, often displayed as a “WHEA_UNCORRECTABLE_ERROR” or a similar stop code, signifies a fundamental hardware malfunction that the operating system cannot recover from. For additional context, see Bug Check 0x9C: MACHINE_CHECK_EXCEPTION, Intel Machine Check Architecture, and AMD Machine Check Exception Support.
Unlike some software-related crashes, a Machine Check Exception points directly to an issue at the core of your computer’s physical components. It indicates that the CPU has detected an unrecoverable hardware error, which could range from a faulty processor to unstable memory or even an ailing power supply. Understanding the nature of this error is the first step towards diagnosing and ultimately resolving it.
This comprehensive guide will walk you through the intricate details of the Machine Check Exception on Windows 11. We’ll explore its common causes, provide a systematic approach to diagnosis, and offer a wide array of practical, actionable solutions. Our goal is to empower you to tackle this critical error, restoring stability and reliability to your Windows 11 environment.
Table of contents
Key Takeaways for Resolving MCE Errors
Before diving into the detailed troubleshooting steps, here are the most crucial points and immediate actions to consider when faced with a Machine Check Exception on Windows 11:
- Identify the Stop Code: Note down the exact error message or stop code displayed on the blue screen, such as WHEA_UNCORRECTABLE_ERROR, as this provides vital clues.
- Check Event Viewer: The Windows Event Viewer is your primary tool for finding detailed logs about the MCE, including specific hardware IDs or error types.
- Update Drivers and Windows: Outdated or corrupted drivers, especially for graphics and chipset, are frequent culprits. Ensure your system and all drivers are fully updated.
- Inspect Hardware: Perform a basic visual inspection of your internal components. Look for loose cables, dust buildup, or signs of overheating.
- Test Memory: Faulty RAM is a common cause. Use Windows Memory Diagnostic or a third-party tool to check your memory modules.
- Revert Overclocks: If you’ve overclocked your CPU or GPU, return to default settings immediately. Overclocking instability is a major trigger for MCE.
- Consider Power Supply: An insufficient or failing power supply unit (PSU) can lead to system instability and MCEs.
Understanding Machine Check Exception (MCE)
The Machine Check Exception (MCE) is a specific type of hardware error that signals a critical failure within the CPU itself or one of its directly connected components. It’s not a generic software bug, but rather an indication that the processor has detected an irreparable issue that prevents it from continuing normal operations. This often results in an immediate system shutdown or a Blue Screen of Death.
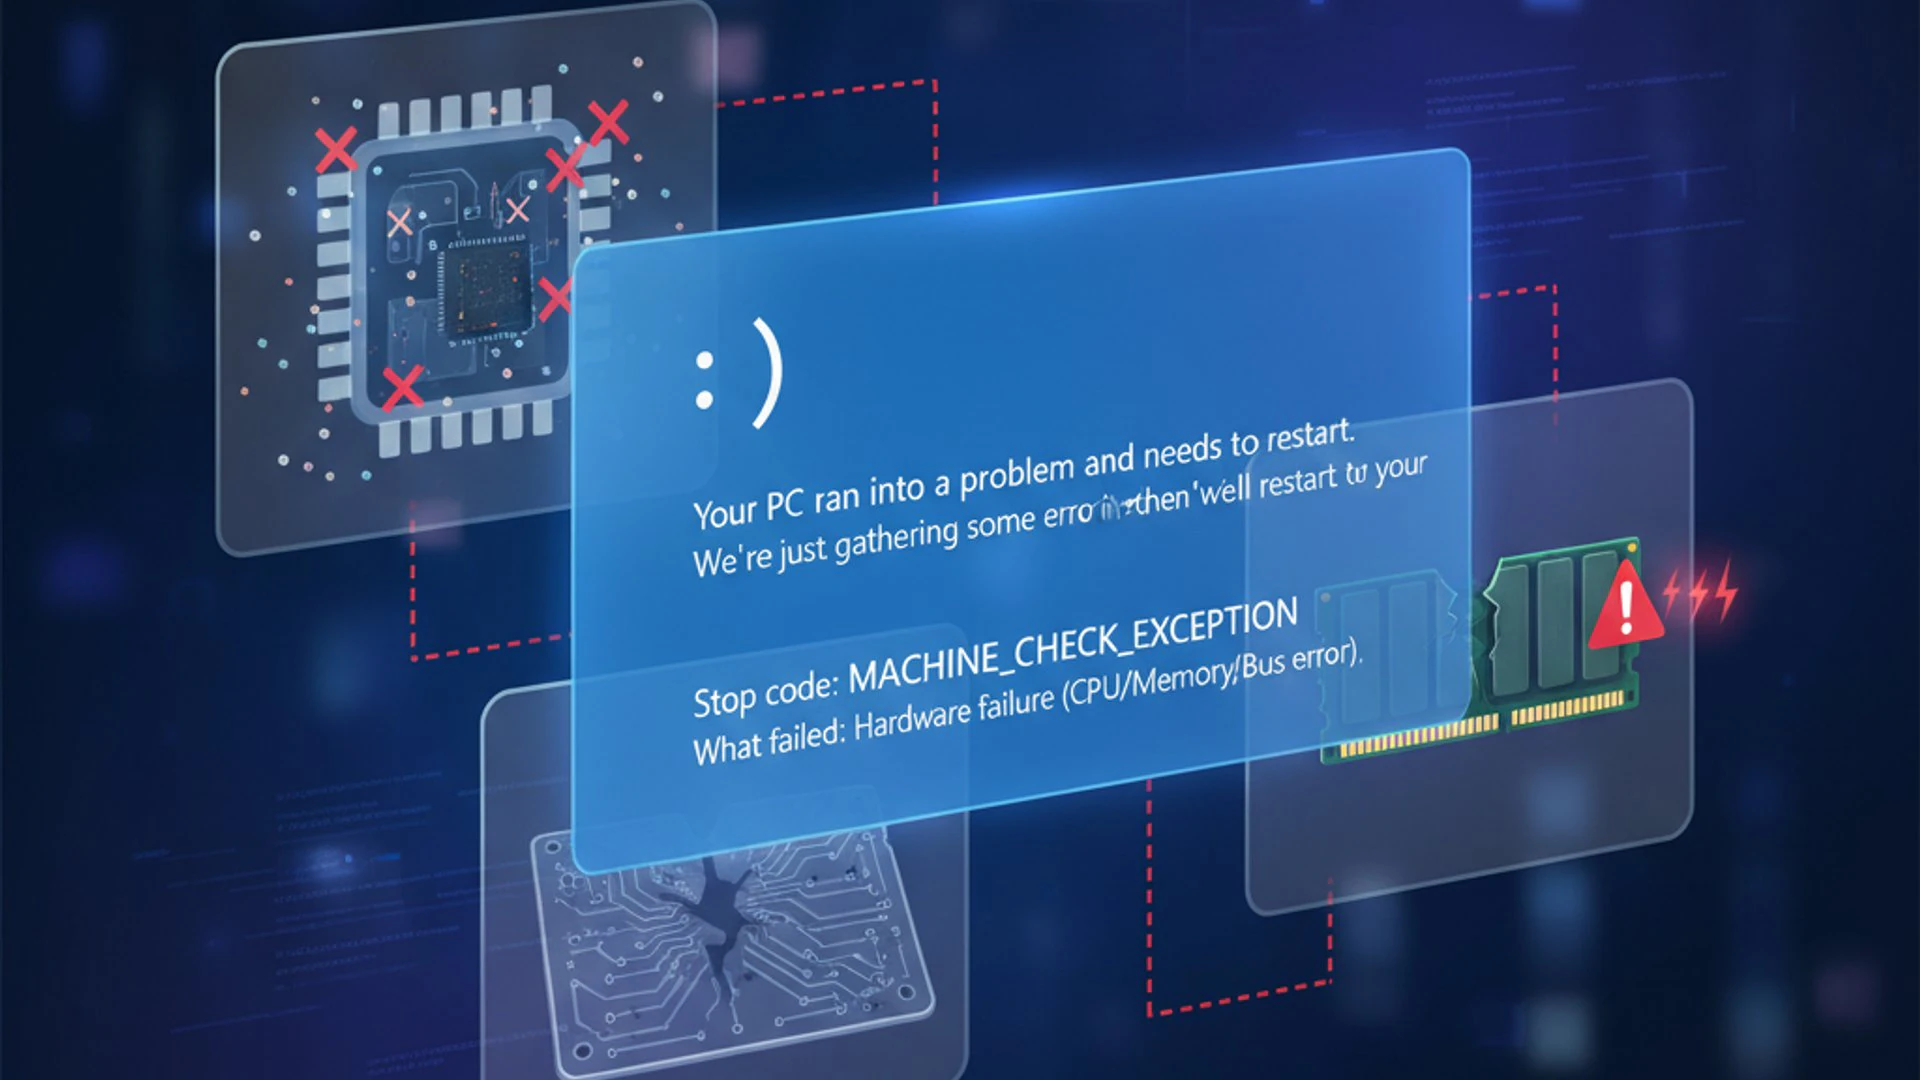
When an MCE occurs, the CPU’s internal error-checking mechanisms trigger a “machine check” event. This mechanism is designed to detect and report hardware errors, such as corrupted data paths, cache errors, or issues with internal bus communication. The operating system, in this case, Windows 11, then receives this critical notification and initiates a system halt to prevent further data corruption or hardware damage.
What is a Machine Check Exception?
A Machine Check Exception is essentially a report from your computer’s central processing unit (CPU) indicating that it has encountered a severe, unrecoverable hardware problem. This is distinct from other types of blue screen errors that might stem from software conflicts or driver issues that don’t necessarily point to a physical hardware defect.
The error code often associated with an MCE on Windows 11 is WHEA_UNCORRECTABLE_ERROR (Windows Hardware Error Architecture Uncorrectable Error). WHEA is Microsoft’s framework for handling hardware errors, and when it reports an “uncorrectable” error, it means the hardware itself has failed in a way that cannot be fixed by software.
This critical error can be triggered by a variety of hardware-level issues. It’s a direct signal from the CPU that something is fundamentally wrong with its environment or its own internal workings. Therefore, troubleshooting an MCE almost always involves investigating the physical components of your computer.
Common Causes of MCE on Windows 11
Identifying the root cause of a Machine Check Exception can be challenging due to its hardware-centric nature. However, several common culprits frequently lead to this critical error. Understanding these can significantly narrow down your diagnostic efforts.
These issues often manifest after system changes, such as installing new hardware, updating firmware, or even after prolonged periods of heavy use. Pinpointing the exact trigger is key to a successful resolution.
Hardware Malfunctions and Degradation
One of the most straightforward causes of a Machine Check Exception is a physical malfunction or degradation of a hardware component. This could be anything from a failing CPU to unstable RAM or a deteriorating motherboard.
Over time, electronic components can wear out, especially under stress from heat or power fluctuations. A failing capacitor on the motherboard, for instance, could lead to unstable power delivery to the CPU, triggering an MCE. Similarly, a stick of RAM that has developed bad sectors can cause data corruption that the CPU detects as an uncorrectable error.
Even components like the graphics card, if experiencing severe issues, can sometimes trigger an MCE if its errors propagate to the system’s main bus and are detected by the CPU. Always consider the age and usage history of your components.
Overclocking and Voltage Instability
Aggressive overclocking is a frequent cause of the Machine Check Exception on Windows 11. When you push your CPU or GPU beyond its manufacturer-specified limits, you’re essentially asking it to perform more operations per second than it’s designed for, often requiring increased voltage.
If the voltage supplied is insufficient for the increased clock speed, or if the component generates excessive heat, it can lead to instability. This instability manifests as calculation errors or data corruption within the processor, which the CPU’s internal error-checking mechanisms will detect as an MCE.
Even slight overclocks that seem stable during light use can become problematic under heavy load, triggering an MCE. It’s crucial to ensure that any overclocking is done cautiously and within safe thermal and voltage parameters.
Corrupted Drivers or System Files
While MCEs are primarily hardware-related, corrupted drivers or critical system files can sometimes indirectly contribute to their occurrence. A buggy or outdated driver, especially for core components like the chipset, storage controller, or graphics card, can lead to system instability that mimics hardware failure.
For example, a corrupted chipset driver might incorrectly manage communication between the CPU and other components, leading to data errors that the CPU interprets as a hardware fault. Similarly, critical Windows system files that manage hardware interactions, if corrupted, can cause the operating system to mismanage hardware resources, resulting in an MCE.
This is why keeping your system and drivers updated is a vital troubleshooting step, even for errors that seem purely hardware-based. The interaction between hardware and software is complex, and one can influence the other’s stability.
BIOS/UEFI Issues and Outdated Firmware
The Basic Input/Output System (BIOS) or its modern successor, Unified Extensible Firmware Interface (UEFI), is the firmware that initializes your hardware before Windows 11 even loads. If this firmware is outdated, corrupted, or incorrectly configured, it can lead to significant hardware instability and trigger a Machine Check Exception.
An outdated BIOS/UEFI might not properly support newer hardware components, or it could contain bugs that affect power management, CPU voltage regulation, or memory timings. These issues can directly cause the CPU to encounter uncorrectable errors.
Incorrect settings within the BIOS/UEFI, such as misconfigured CPU voltage, memory speed, or power-saving features, can also contribute to instability. Resetting the BIOS to default settings is often a recommended initial step in troubleshooting MCEs.
Initial Diagnostic Steps for MCE Errors
When your system crashes with a Machine Check Exception on Windows 11, the first step is not to panic, but to gather information. Effective diagnosis relies on a systematic approach, starting with readily available tools and visual inspections. These initial steps can often provide critical clues, guiding you towards the specific cause of the problem.
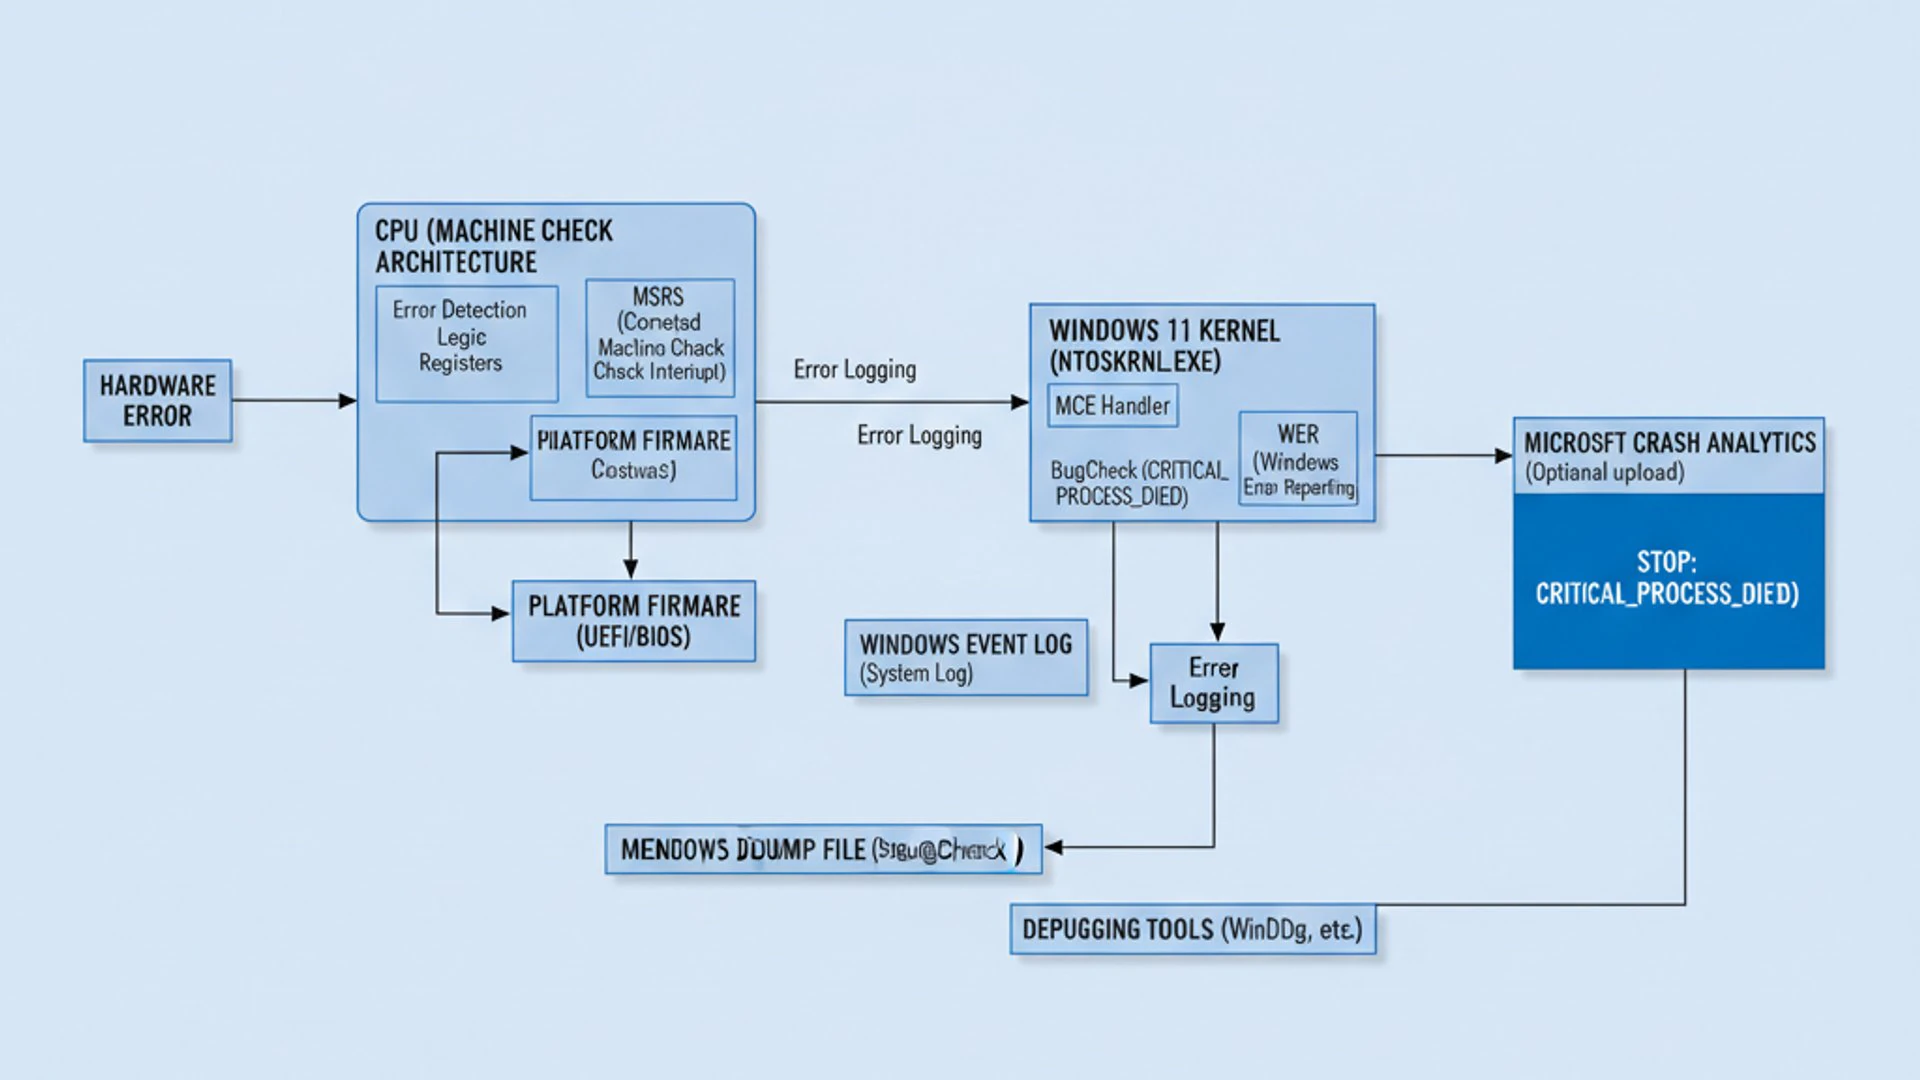
It’s important to approach this process methodically, ruling out simple issues before moving on to more complex solutions. This saves time and prevents unnecessary changes to your system.
Checking Event Viewer for MCE Details
The Windows Event Viewer is an invaluable tool for diagnosing system errors, including Machine Check Exceptions. It logs detailed information about system events, often providing specific error codes and descriptions that can pinpoint the problematic hardware component.
- Press Windows Key + X and select Event Viewer from the menu.
- In the Event Viewer window, navigate to Windows Logs > System.
- Look for error entries (marked with a red exclamation mark) around the time the MCE occurred.
- Specifically, search for events with the source Microsoft-Windows-WHEA-Logger. These entries often contain detailed information about hardware errors.
- Double-click on relevant error entries to view their full details. Pay close attention to the “Details” tab, especially the “BugcheckCode” and any reported component IDs.
Pro Tip: The Event ID for WHEA_UNCORRECTABLE_ERROR is often 18. Filtering by this ID can help you quickly locate relevant entries. The information here, like the Processor APIC ID or Cache Check, can sometimes indicate which part of the CPU or related component is failing.
Performing a Basic Hardware Check
A simple visual inspection of your computer’s internal components can sometimes reveal obvious issues that contribute to a Machine Check Exception. This step requires opening your computer case, so ensure your system is completely powered off and unplugged before proceeding.
- Check for Loose Connections: Ensure all power cables (especially the 24-pin ATX and 8-pin EPS/CPU power connectors), SATA cables, and PCIe cables (for graphics card) are firmly seated.
- Inspect RAM Modules: Make sure RAM sticks are properly seated in their slots. You can try removing and re-seating them to ensure a good connection.
- Look for Dust Buildup: Excessive dust can impede airflow and cause overheating, leading to instability. Pay attention to CPU heatsinks, GPU fans, and case fans.
- Examine for Physical Damage: Check for any visible signs of damage on the motherboard, graphics card, or other components, such as burnt spots or bulging capacitors.
- Verify Cooling: Ensure all fans (CPU, GPU, case) are spinning freely and that the CPU cooler is securely mounted.
These simple checks can often resolve MCEs caused by minor physical disturbances or poor maintenance. If you find significant dust, consider a thorough cleaning with compressed air.
Advanced Troubleshooting Solutions for MCE
Once initial diagnostics are complete, and if the Machine Check Exception on Windows 11 persists, it’s time to delve into more advanced troubleshooting. These solutions address common underlying causes that aren’t immediately obvious and require more in-depth investigation and action. This section covers a range of software, firmware, and hardware-related fixes.

Remember to test your system after each significant change to determine if the MCE has been resolved. This systematic approach helps isolate the problematic component or setting.
Updating Drivers and Windows OS
Outdated or corrupted drivers are a surprisingly common cause of system instability, even for hardware-level errors like MCE. Ensuring all your drivers, especially for critical components, are up-to-date is a fundamental troubleshooting step. Similarly, keeping Windows 11 itself updated ensures you have the latest bug fixes and hardware compatibility improvements.
Focus particularly on chipset drivers, graphics drivers, and storage controller drivers, as these interact closely with the CPU and memory. A stable operating system environment is crucial for preventing hardware errors from escalating into full-blown MCEs.
How to Update Graphics Drivers
Graphics drivers are particularly prone to causing system instability if they are outdated or corrupted. Updating them can often resolve MCEs related to visual processing or GPU-CPU communication.
- Identify Your Graphics Card: Press Windows Key + X and select Device Manager. Expand “Display adapters” to see your GPU model.
- Download Latest Drivers: Visit the official website of your graphics card manufacturer (NVIDIA, AMD, or Intel). Navigate to their driver download section and enter your GPU model to find the latest stable driver.
- Clean Installation: It’s often recommended to perform a clean installation. During the driver setup process, look for an option like “Custom” or “Clean Installation” to remove previous driver files completely.
- Install and Restart: Follow the on-screen instructions to install the new drivers and restart your computer when prompted.
Always download drivers directly from the manufacturer’s website to ensure authenticity and compatibility. Avoid generic driver update tools, which can sometimes install incorrect or outdated versions.
Ensuring All Windows Updates are Installed
Windows 11 updates often include critical security patches, performance improvements, and, importantly, hardware compatibility fixes. Running an outdated version of the OS can leave your system vulnerable to known issues that might trigger an MCE.
- Go to Settings > Windows Update.
- Click on Check for updates.
- Download and install any available updates, including optional updates that might contain driver updates.
- Restart your computer after the updates are installed.
Regularly checking for and installing updates is a good practice for overall system health and stability, not just for resolving MCEs. This proactive approach helps maintain a robust computing environment.
Running Memory Diagnostics
Faulty or unstable RAM is a very common cause of various system errors, including the Machine Check Exception on Windows 11. Memory errors can lead to corrupted data being processed by the CPU, which then triggers an MCE. Windows 11 includes a built-in memory diagnostic tool that can help identify issues.
- Press Windows Key + R to open the Run dialog.
- Type
mdsched.exeand press Enter. - You will be prompted to “Restart now and check for problems (recommended)” or “Check for problems the next time I start my computer.” Choose the former.
- Your computer will restart and run the memory diagnostic tool. This process can take several minutes.
- After the test, your computer will restart again, and the results will be displayed upon logging into Windows. If no results appear, you can find them in the Event Viewer under Windows Logs > System, looking for MemoryDiagnostics-Results.
If the Windows Memory Diagnostic reports errors, it strongly suggests a problem with your RAM. If you have multiple RAM sticks, try testing them individually to pinpoint the faulty module. You might need to replace the problematic RAM stick.
Verifying CPU and GPU Overclocking Settings
As previously mentioned, overclocking is a significant contributor to MCEs. If you have ever adjusted your CPU or GPU clock speeds or voltages, reverting these settings to their default values is a critical troubleshooting step. Even if your overclock seemed stable for a long time, hardware degradation or a new software update could expose underlying instability.
- For CPU Overclocking: Access your system’s BIOS/UEFI settings during startup (usually by pressing Del, F2, F10, or F12). Navigate to the overclocking or performance section and reset all CPU-related settings (e.g., clock speed, voltage, core ratios) to “Auto” or “Default.” Save and exit.
- For GPU Overclocking: If you used software like MSI Afterburner or EVGA Precision X1, open the application and click the “Reset” or “Default” button to revert all clock speed and voltage adjustments. Uninstalling the overclocking software temporarily can also help confirm if it’s the culprit.
Even if you haven’t manually overclocked, some motherboard manufacturers offer “auto-overclocking” features or “game boost” modes. Ensure these are disabled in the BIOS/UEFI. Running components at their stock speeds and voltages eliminates a major variable in MCE troubleshooting.
Checking Power Supply Unit (PSU) Stability
The power supply unit (PSU) is the heart of your system, delivering power to all components. An unstable, insufficient, or failing PSU can cause erratic behavior, including a Machine Check Exception on Windows 11, especially under load. This is because inconsistent power delivery can lead to voltage drops or spikes that the CPU detects as critical errors.
- Listen for Unusual Noises: A failing PSU might make grinding or whining noises.
- Check for Overheating: Feel the PSU itself (carefully) for excessive heat.
- Verify Wattage: Ensure your PSU’s wattage is sufficient for all your components, especially if you have a powerful graphics card or multiple storage drives. Online PSU calculators can help with this.
- Test with a Known Good PSU: The most definitive way to check a PSU is to temporarily swap it with a known good, compatible unit. This is often a job for someone comfortable with hardware.
If you suspect your PSU, consider replacing it with a reputable brand that offers sufficient wattage for your system. A cheap or old PSU can be a silent killer of system stability.
Inspecting Storage Drive Health
While less common than CPU or RAM issues, a failing storage drive (SSD or HDD) can sometimes contribute to a Machine Check Exception, particularly if it’s the boot drive. Corrupted system files or paging file errors on a failing drive can lead to unrecoverable data access errors that the CPU might report as an MCE.
- Check SMART Status: Use a tool like CrystalDiskInfo (external link: CrystalDiskInfo) to check the S.M.A.R.T. (Self-Monitoring, Analysis and Reporting Technology) status of your drives. A “Bad” or “Caution” status indicates a failing drive.
- Run Disk Check: Open File Explorer, right-click on your C: drive, select “Properties,” go to the “Tools” tab, and click “Check” under Error checking.
- Consider Drive Replacement: If SMART data indicates a failing drive, or if you experience frequent data corruption, consider backing up your data and replacing the drive.
A healthy storage drive is crucial for overall system stability. If your boot drive is failing, it can introduce a cascade of errors that are difficult to diagnose.
Updating BIOS/UEFI Firmware
Updating your motherboard’s BIOS or UEFI firmware can resolve MCEs caused by bugs in older firmware versions or improve compatibility with newer hardware components. This process can be risky if not done correctly, so proceed with caution.
- Identify Motherboard Model: Use a tool like CPU-Z (external link: CPU-Z) or check your system documentation to find your exact motherboard model.
- Download Firmware: Visit your motherboard manufacturer’s official website (e.g., ASUS, MSI, Gigabyte, ASRock). Locate the support page for your specific model and download the latest stable BIOS/UEFI version.
- Follow Manufacturer Instructions: Each manufacturer has a specific procedure for updating firmware, often involving a USB flash drive. Carefully read and follow these instructions precisely. Do not interrupt the update process.
- Reset to Defaults: After updating, enter the BIOS/UEFI and load default settings to ensure a clean configuration.
Warning: A power outage or interruption during a BIOS/UEFI update can permanently damage your motherboard. Ensure a stable power source or use a UPS if possible.
Performing a System File Checker (SFC) Scan
Corrupted Windows system files can sometimes lead to instability that triggers hardware errors or prevents the operating system from correctly handling them. The System File Checker (SFC) tool can scan for and repair corrupted system files.
- Open Command Prompt as administrator. You can do this by searching for “cmd” in the Start menu, right-clicking on “Command Prompt,” and selecting “Run as administrator.”
- In the Command Prompt window, type
sfc /scannowand press Enter. - The scan will take some time to complete. Do not close the window until the verification is 100% finished.
- If SFC finds corrupted files, it will attempt to repair them. Restart your computer after the scan is complete.
This tool is excellent for addressing software-level corruption that might be contributing to, or exacerbating, hardware-related issues like the Machine Check Exception on Windows 11.
Utilizing DISM Commands for System Health
The Deployment Image Servicing and Management (DISM) tool is another powerful utility for repairing Windows system images. If SFC fails to fix issues, or if the problem is deeper, DISM can often resolve underlying corruption that SFC cannot.
- Open Command Prompt as administrator.
- Type the following commands one by one, pressing Enter after each:
DISM /Online /Cleanup-Image /CheckHealth(Checks for corruption)DISM /Online /Cleanup-Image /ScanHealth(Performs a more thorough scan)DISM /Online /Cleanup-Image /RestoreHealth(Repairs detected corruption using Windows Update files)
- Allow each command to complete before entering the next. The
RestoreHealthcommand can take a significant amount of time. - After DISM completes, run
sfc /scannowagain to ensure all system files are now intact. - Restart your computer.
Using DISM in conjunction with SFC provides a comprehensive approach to ensuring the integrity of your Windows 11 installation, which is fundamental for stable hardware operation.
Testing Hardware Components Individually
If all software, driver, and firmware solutions fail, and the MCE persists, the problem almost certainly lies with a specific hardware component. The most effective way to pinpoint this is through individual component testing, which involves a process of elimination.
- Minimum Boot Configuration: Remove all non-essential hardware. This means unplugging all but one RAM stick, removing the graphics card (if your CPU has integrated graphics), disconnecting all but the boot drive, and removing any PCIe expansion cards.
- Test RAM: If you have multiple RAM sticks, test them one by one. If the MCE only occurs with a specific stick, that’s your culprit. Try different RAM slots as well.
- Test GPU: If you have a dedicated graphics card, try running your system using only integrated graphics (if available). If the MCE stops, the GPU might be faulty. If not, try the dedicated GPU in a different PCIe slot or a different system if possible.
- Test PSU: As mentioned earlier, swapping with a known good PSU is the best test.
- Test CPU/Motherboard: These are the hardest to test without spare parts. If all other components are ruled out, the CPU or motherboard is the most likely remaining cause. This usually requires professional help or significant hardware investment.
This methodical approach, while time-consuming, is often the only way to definitively identify a failing hardware component causing the Machine Check Exception on Windows 11.
Preventing Future Machine Check Exceptions
Resolving a Machine Check Exception is a relief, but preventing its recurrence is equally important. Proactive measures and good system hygiene can significantly reduce the chances of encountering this critical hardware error again. These best practices focus on maintaining optimal operating conditions for your hardware and ensuring software stability.
Adopting these habits will not only prevent MCEs but also contribute to the overall longevity and performance of your Windows 11 system. Prevention is always better than cure, especially with hardware-related issues.
Maintaining Optimal System Cooling
Heat is the enemy of electronics. Excessive temperatures can degrade components over time and lead to instability, which is a common trigger for MCEs. Ensuring your system runs cool is paramount.
- Clean Dust Regularly: Use compressed air to clear dust from CPU heatsinks, GPU fans, case fans, and power supply vents. Dust acts as an insulator, trapping heat.
- Ensure Good Airflow: Make sure your PC case has adequate intake and exhaust fans, and that cables are managed to not obstruct airflow.
- Monitor Temperatures: Use software like HWMonitor (external link: HWMonitor) to keep an eye on CPU and GPU temperatures, especially under load. If temperatures consistently exceed 80-85°C, investigate your cooling solution.
- Reapply Thermal Paste: If CPU temperatures are high despite good airflow, consider reapplying thermal paste between your CPU and its cooler.
A well-cooled system is a stable system. Investing in good cooling and maintaining it regularly is a wise decision for any PC user.
Regular Hardware Maintenance and Cleaning
Beyond cooling, general hardware maintenance plays a crucial role in preventing MCEs. Physical integrity and clean connections are vital for reliable operation.
- Check Cable Connections: Periodically ensure all power and data cables are securely seated. Vibrations or accidental nudges can loosen them over time.
- Inspect for Physical Damage: Occasionally open your case and visually inspect components for any signs of wear, damage, or bulging capacitors.
- Clean Peripherals: While not directly causing MCEs, keeping peripherals clean prevents dust from entering the main system.
A little proactive care can go a long way in extending the life of your components and preventing unexpected hardware failures. This includes tasks like those described in Shell Hardware Detection on Windows 11, ensuring all hardware is properly recognized and managed.
Avoiding Excessive Overclocking
While overclocking can offer performance boosts, it inherently introduces instability and reduces component lifespan if not done carefully. To prevent future Machine Check Exception on Windows 11 errors, it’s best to avoid aggressive overclocking.
Rule of Thumb: If you choose to overclock, do so incrementally, thoroughly stress-test your system after each adjustment, and prioritize stability over raw performance. Ensure adequate cooling and sufficient voltage, but avoid pushing components to their absolute limits.
For most users, running hardware at stock speeds provides more than enough performance for daily tasks and gaming, with the added benefit of enhanced stability and reliability. If stability is your priority, stick to default settings.
Keeping Software and Firmware Up-to-Date
Maintaining an up-to-date software and firmware environment is a cornerstone of system stability. This includes not just Windows 11 itself, but also all device drivers and your motherboard’s BIOS/UEFI firmware.
- Enable Automatic Windows Updates: Ensure Windows Update is configured to automatically download and install updates.
- Regularly Check for Driver Updates: Periodically visit your hardware manufacturers’ websites (GPU, chipset, audio, network) for the latest drivers.
- Monitor BIOS/UEFI Updates: Keep an eye on your motherboard manufacturer’s support page for new firmware releases, especially if you experience persistent issues or upgrade hardware.
A well-maintained software stack ensures that your operating system can effectively communicate with and manage your hardware, minimizing the chances of software-induced hardware errors. This also applies to services like the Declared Configuration Service on Windows 11, which rely on up-to-date components.
When to Seek Professional Help
Despite your best efforts, there are situations where diagnosing and resolving a Machine Check Exception on Windows 11 goes beyond typical user capabilities. If you’ve systematically followed all the troubleshooting steps outlined in this guide and the MCE persists, it’s a strong indicator that the problem requires expert intervention.
Knowing when to call in the professionals can save you further frustration, potential damage to components, and unnecessary expenses. Here are key scenarios where seeking professional help is advisable:
- Persistent MCEs: If the error continues to occur after trying all suggested software, firmware, and basic hardware checks.
- Inability to Isolate Hardware: If you cannot definitively pinpoint the faulty component through individual testing. This often happens with CPU or motherboard issues, which are difficult to test without specialized equipment or spare parts.
- Lack of Spare Parts: If you don’t have access to spare components (like a different PSU, RAM, or GPU) to swap and test.
- Uncomfortable with Hardware: If you are not confident in opening your PC case, handling components, or performing a BIOS/UEFI update. These tasks carry risks if not done correctly.
- Warranty Considerations: If your system or individual components are still under warranty, attempting complex repairs yourself might void it. A professional can help facilitate a warranty claim.
A reputable computer repair shop or a certified technician has the tools, expertise, and spare parts to accurately diagnose complex hardware failures. They can perform more in-depth diagnostics, such as specialized stress tests or component-level checks, to identify the exact cause of the MCE.
Conclusion: Restoring Stability to Your Windows 11 System
The Machine Check Exception on Windows 11 is undoubtedly one of the most challenging errors a user can face, signaling a fundamental issue within your computer’s hardware. It demands a methodical and patient approach to troubleshooting, as its root causes can be varied and often elusive. From outdated drivers to failing power supplies, and from aggressive overclocking to subtle memory errors, each potential culprit requires careful investigation.
By diligently following the diagnostic and troubleshooting steps outlined in this comprehensive guide, you empower yourself to systematically narrow down the possibilities. Checking the Event Viewer for specific WHEA errors, ensuring all software and firmware are up-to-date, and meticulously inspecting and testing your hardware components are all critical steps towards identifying and resolving the underlying problem.
Moreover, adopting best practices for system maintenance—such as maintaining optimal cooling, regular cleaning, avoiding excessive overclocking, and consistent updates—is essential for preventing future occurrences of this critical error. Proactive care not only enhances system stability but also extends the lifespan of your valuable hardware. While some complex issues may necessitate professional assistance, the knowledge gained here provides a strong foundation for tackling most MCE scenarios.
Ultimately, understanding and addressing the Machine Check Exception is about restoring confidence in your Windows 11 system’s reliability. By taking control of these troubleshooting steps, you ensure a more stable, efficient, and enjoyable computing experience, free from the sudden and frustrating interruptions of a blue screen. Your diligence in maintaining system health is the best defense against such critical hardware failures.
For more interesting articles, stay tuned to Winsides.com!









Community
Comments (0)