

Introduction to SFC and System File Corruption
Encountering system issues on your Windows 11 computer can be incredibly frustrating, especially when they stem from core operating system files. One particularly vexing message that many users face is, “SFC found corrupt files but could not repair on Windows 11.” This seemingly simple statement from the System File Checker (SFC) tool can signal deeper problems, leaving your system unstable, prone to crashes, or behaving erratically. For additional context, see SFC command-line reference, DISM command-line options, Using System File Checker in Windows, and Recovery options in Windows.
The System File Checker is Windows’ built-in guardian, designed to scan and restore critical system files that may have become corrupted or modified. When it identifies issues but fails to fix them, it’s akin to a doctor diagnosing a problem but being unable to administer the cure. This situation can be a significant roadblock, preventing your Windows 11 installation from functioning optimally and potentially leading to further complications down the line.
Many factors can lead to this predicament, from sudden power outages and malware infections to faulty software installations or even aging hardware. Regardless of the cause, the inability of SFC to perform its duty means we need to dig deeper and employ more robust repair strategies. This comprehensive guide will walk you through a series of escalating solutions, from initial troubleshooting steps to advanced system repairs, ensuring you have all the tools and knowledge to overcome the “SFC found corrupt files but could not repair on Windows 11” error and restore your system’s health.
Table of contents
Key Takeaways for Resolving SFC Errors
Before diving into the detailed troubleshooting steps, here’s a quick summary of the most crucial actions and insights to keep in mind when facing the “SFC found corrupt files but could not repair on Windows 11” error:
- Start with Safe Mode: Always try running SFC in Windows Safe Mode first. This minimizes interference from third-party applications and services, increasing the chances of a successful repair.
- Check Disk Health: Disk errors can prevent SFC from working correctly. Run CHKDSK to scan and fix any logical or physical disk issues before attempting SFC again.
- Leverage DISM: The Deployment Image Servicing and Management (DISM) tool is often the key to success. It repairs the underlying Windows system image that SFC relies upon. Run
DISM /Online /Cleanup-Image /RestoreHealthdiligently. - Use a Clean Source: If DISM fails, provide a clean Windows 11 installation source (like an ISO file or USB drive) for its repair operations. This ensures it has pristine files to work with.
- Consider In-Place Upgrade: An in-place upgrade, or repair install, can effectively “reset” your Windows 11 installation while preserving your files and applications, often fixing persistent corruption.
- System Restore as a Lifeline: If the issue is recent, a System Restore point might revert your system to a state before the corruption occurred, saving you significant effort.
- Prevention is Key: Regular Windows updates, reliable antivirus software, and proper shutdown procedures are vital for preventing future system file corruption.
Understanding the ‘SFC /Scannow’ Command and Its Limitations
The System File Checker (SFC) is a cornerstone utility for maintaining the integrity of your Windows operating system. When you encounter the “SFC found corrupt files but could not repair on Windows 11” message, it indicates that this primary defense mechanism has hit a wall. Understanding what SFC does and why it sometimes fails is crucial for effective troubleshooting.
What is the System File Checker (SFC)?
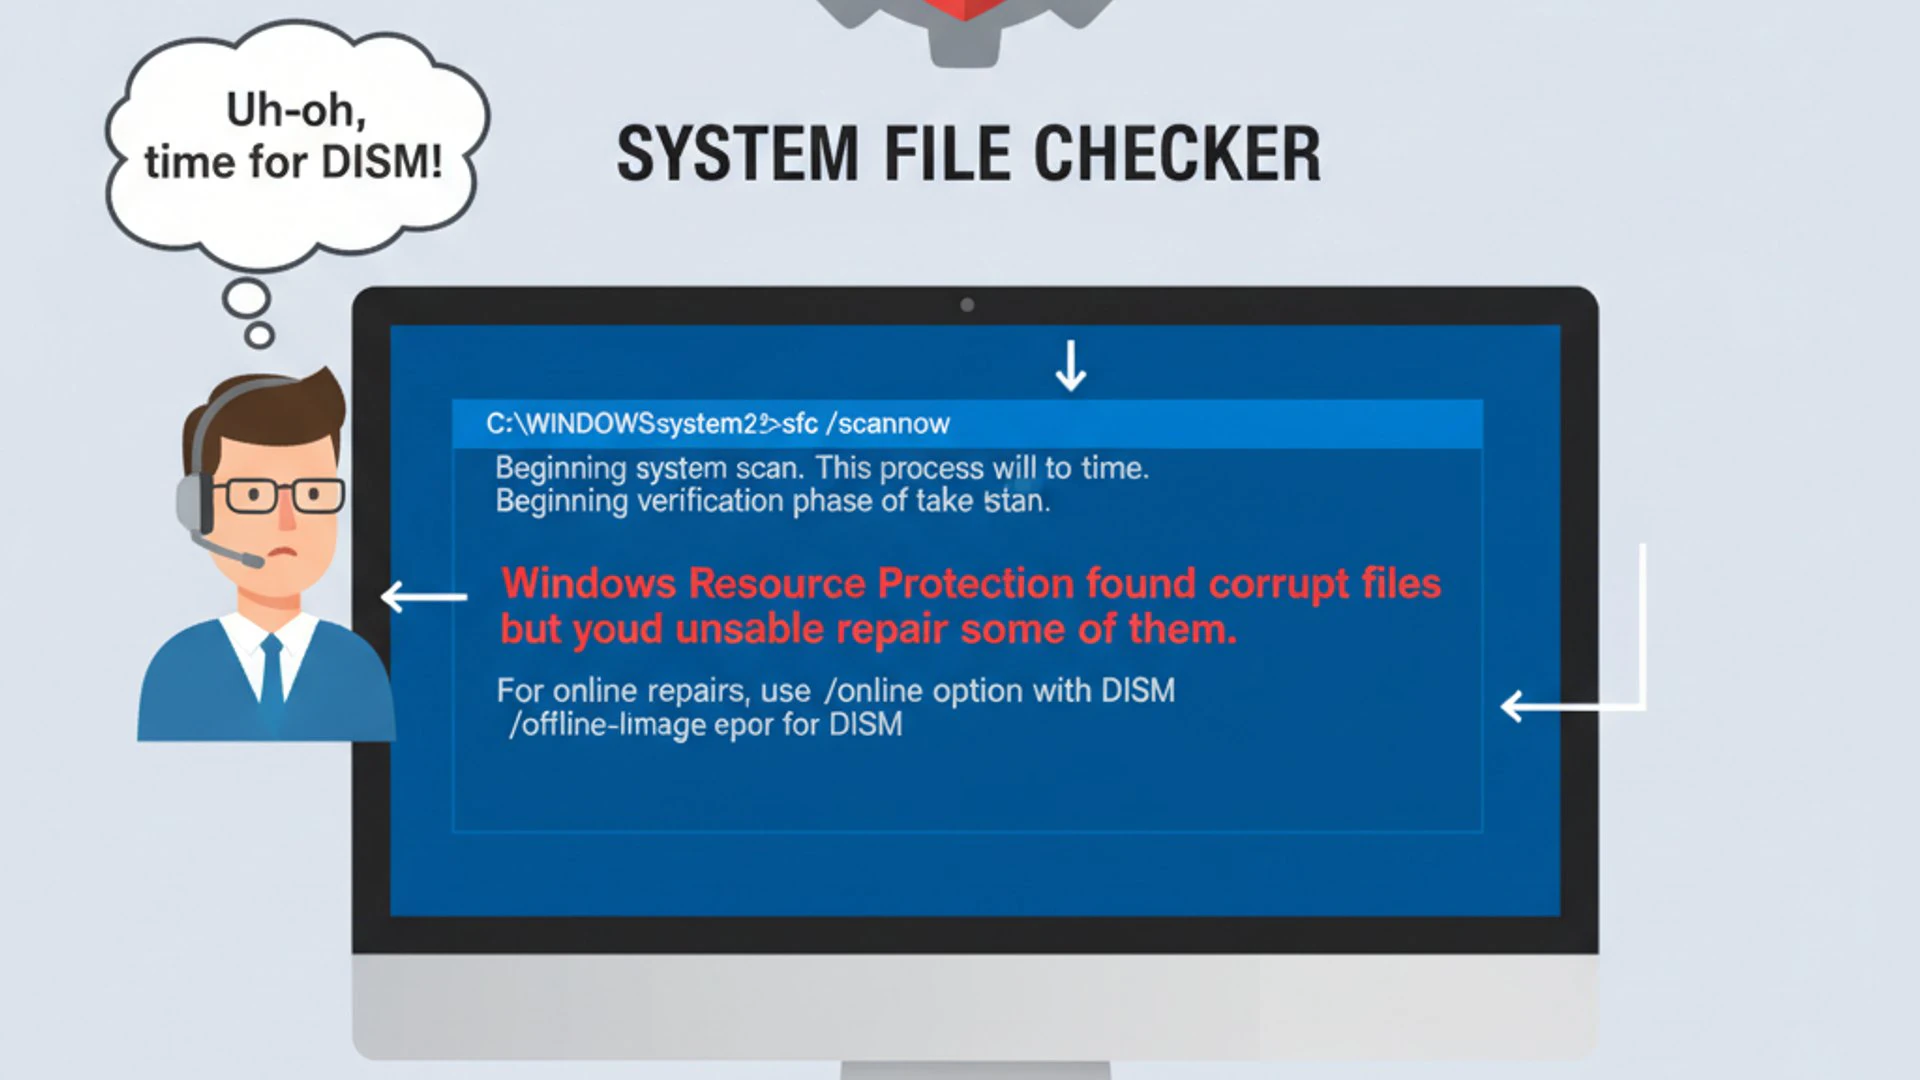
The System File Checker (SFC) is a command-line utility in Microsoft Windows that allows users to scan for and restore corruptions in Windows system files. When executed, SFC compares the current versions of protected system files on your computer with their original, correct versions stored in the Windows component store.
If SFC detects any discrepancies – meaning a system file has been modified, deleted, or corrupted – it attempts to replace the problematic file with a clean, cached copy. This process is vital for maintaining system stability, preventing crashes, and ensuring that Windows functions as intended. It’s often the first tool Windows users turn to when experiencing inexplicable system behavior or errors.
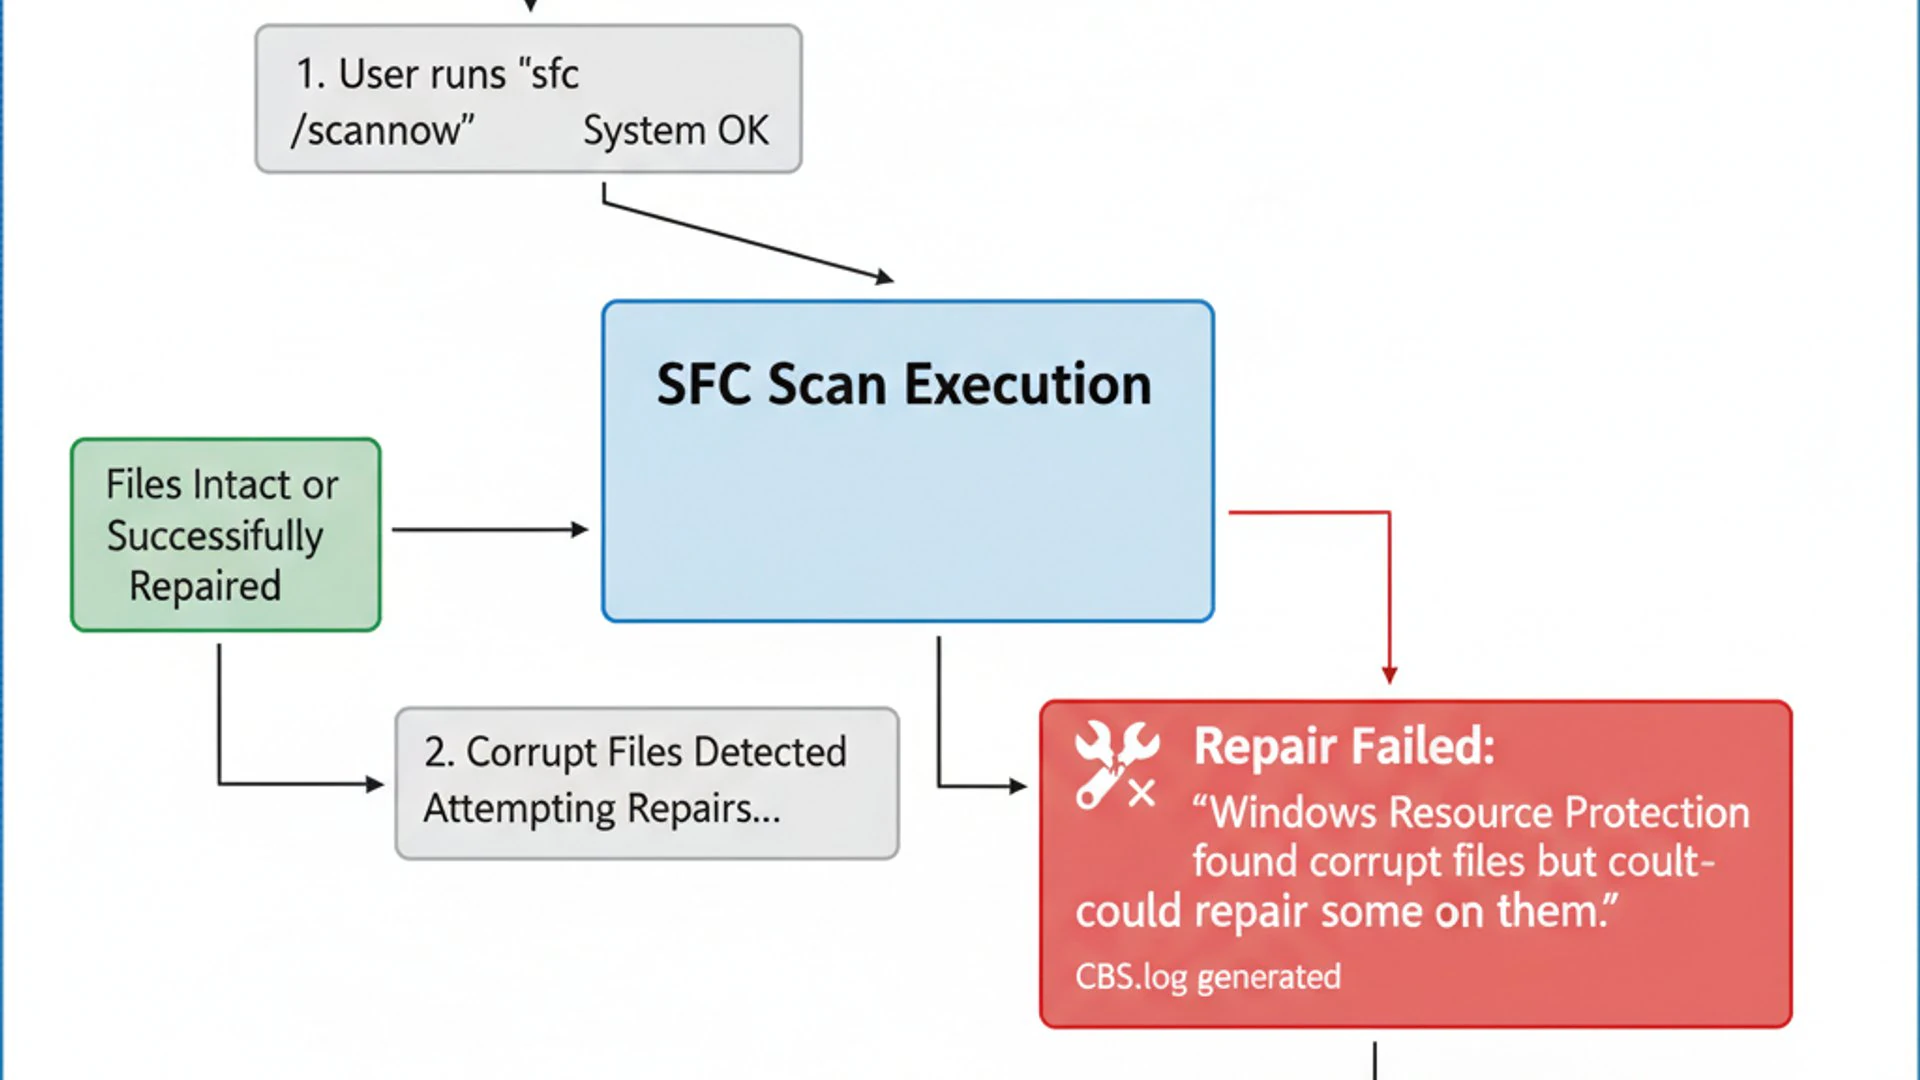
To run SFC, you typically open Command Prompt as an administrator and type sfc /scannow. The scan can take some time, and upon completion, it provides a summary of its findings, such as “Windows Resource Protection did not find any integrity violations” or, unfortunately, “SFC found corrupt files but could not repair on Windows 11.”
Common Causes of System File Corruption
System file corruption isn’t always a sign of a major disaster, but it can certainly lead to one if left unaddressed. Several factors can contribute to these critical files becoming damaged or unreadable, leading to the “SFC found corrupt files but could not repair on Windows 11” error.
One prevalent cause is malware or virus infections. Malicious software can deliberately modify or delete system files to gain control of your system or hide its presence. Even after removing the malware, the damage to system files might persist, causing instability.
Another common culprit is improper shutdowns or power outages. If your computer loses power suddenly or is shut down incorrectly while critical system files are being written or updated, those files can become corrupted. This is particularly true during Windows updates or software installations.
Faulty software installations or un-installations can also introduce corruption. Sometimes, poorly coded applications or incomplete removal processes can inadvertently alter or remove essential Windows files, leading to integrity violations that SFC later detects.
Furthermore, disk errors or bad sectors on your hard drive can make system files unreadable or lead to their corruption. If the physical storage where a system file resides becomes damaged, SFC won’t be able to access or repair it correctly. This highlights why checking disk health is an important preliminary step.
Finally, corrupted Windows updates or issues during the update process can sometimes introduce damaged files. While Windows updates are designed to improve system stability, rare glitches during the installation can leave behind corrupted components, making SFC’s job impossible without external help.
Initial Troubleshooting Steps Before Advanced Repairs
Before diving into more complex repair methods, it’s crucial to perform some foundational troubleshooting. These initial steps can often resolve the “SFC found corrupt files but could not repair on Windows 11” error by addressing underlying issues that prevent SFC from completing its task successfully. They aim to provide a clean and stable environment for SFC to operate.
Running SFC in Safe Mode
When SFC fails in normal Windows operation, the first logical step is to try running it in Safe Mode. Safe Mode starts Windows with a minimal set of drivers and services, which can bypass conflicts with third-party applications or services that might be interfering with SFC’s ability to access and repair files.
To enter Safe Mode on Windows 11:
- Press
Windows key + Ito open Settings. - Go to System > Recovery.
- Under “Recovery options,” find “Advanced startup” and click Restart now.
- Your PC will restart to the “Choose an option” screen. Select Troubleshoot.
- Choose Advanced options, then Startup Settings.
- Click Restart.
- After the restart, you’ll see a list of options. Press
4orF4for “Enable Safe Mode,” or5orF5for “Enable Safe Mode with Networking.”
Once in Safe Mode, open Command Prompt as an administrator (search for “cmd,” right-click, and select “Run as administrator”). Then, type sfc /scannow and press Enter. Allow the scan to complete. If SFC succeeds this time, the issue was likely due to a conflict with other software.
Checking Disk Health with CHKDSK
A common reason why “SFC found corrupt files but could not repair on Windows 11” is underlying issues with your hard drive. If there are bad sectors or logical errors on the disk where system files are stored, SFC won’t be able to read the corrupted files or write the corrected ones. Running CHKDSK (Check Disk) can identify and often fix these disk-related problems.
To run CHKDSK:
- Open Command Prompt as an administrator.
- Type
chkdsk C: /f /r /xand press Enter. (ReplaceC:with the letter of your system drive if it’s different). - You will likely receive a message stating that CHKDSK cannot run because the volume is in use. It will ask if you want to schedule the scan for the next restart. Type
Yand press Enter. - Restart your computer. The CHKDSK scan will run before Windows 11 fully loads. This process can take a significant amount of time, depending on the size and health of your drive.
The /f parameter tells CHKDSK to fix errors on the disk, while /r locates bad sectors and recovers readable information. The /x parameter forces the volume to dismount first, if necessary. After CHKDSK completes, try running sfc /scannow again in normal mode or Safe Mode to see if the disk repairs have enabled it to succeed.
Leveraging DISM to Repair Windows Image
When SFC reports that it “found corrupt files but could not repair on Windows 11,” it often points to a deeper problem: the underlying Windows component store itself might be corrupted. The Deployment Image Servicing and Management (DISM) tool is specifically designed to address this. DISM can repair the Windows image, providing SFC with the healthy source files it needs to do its job.
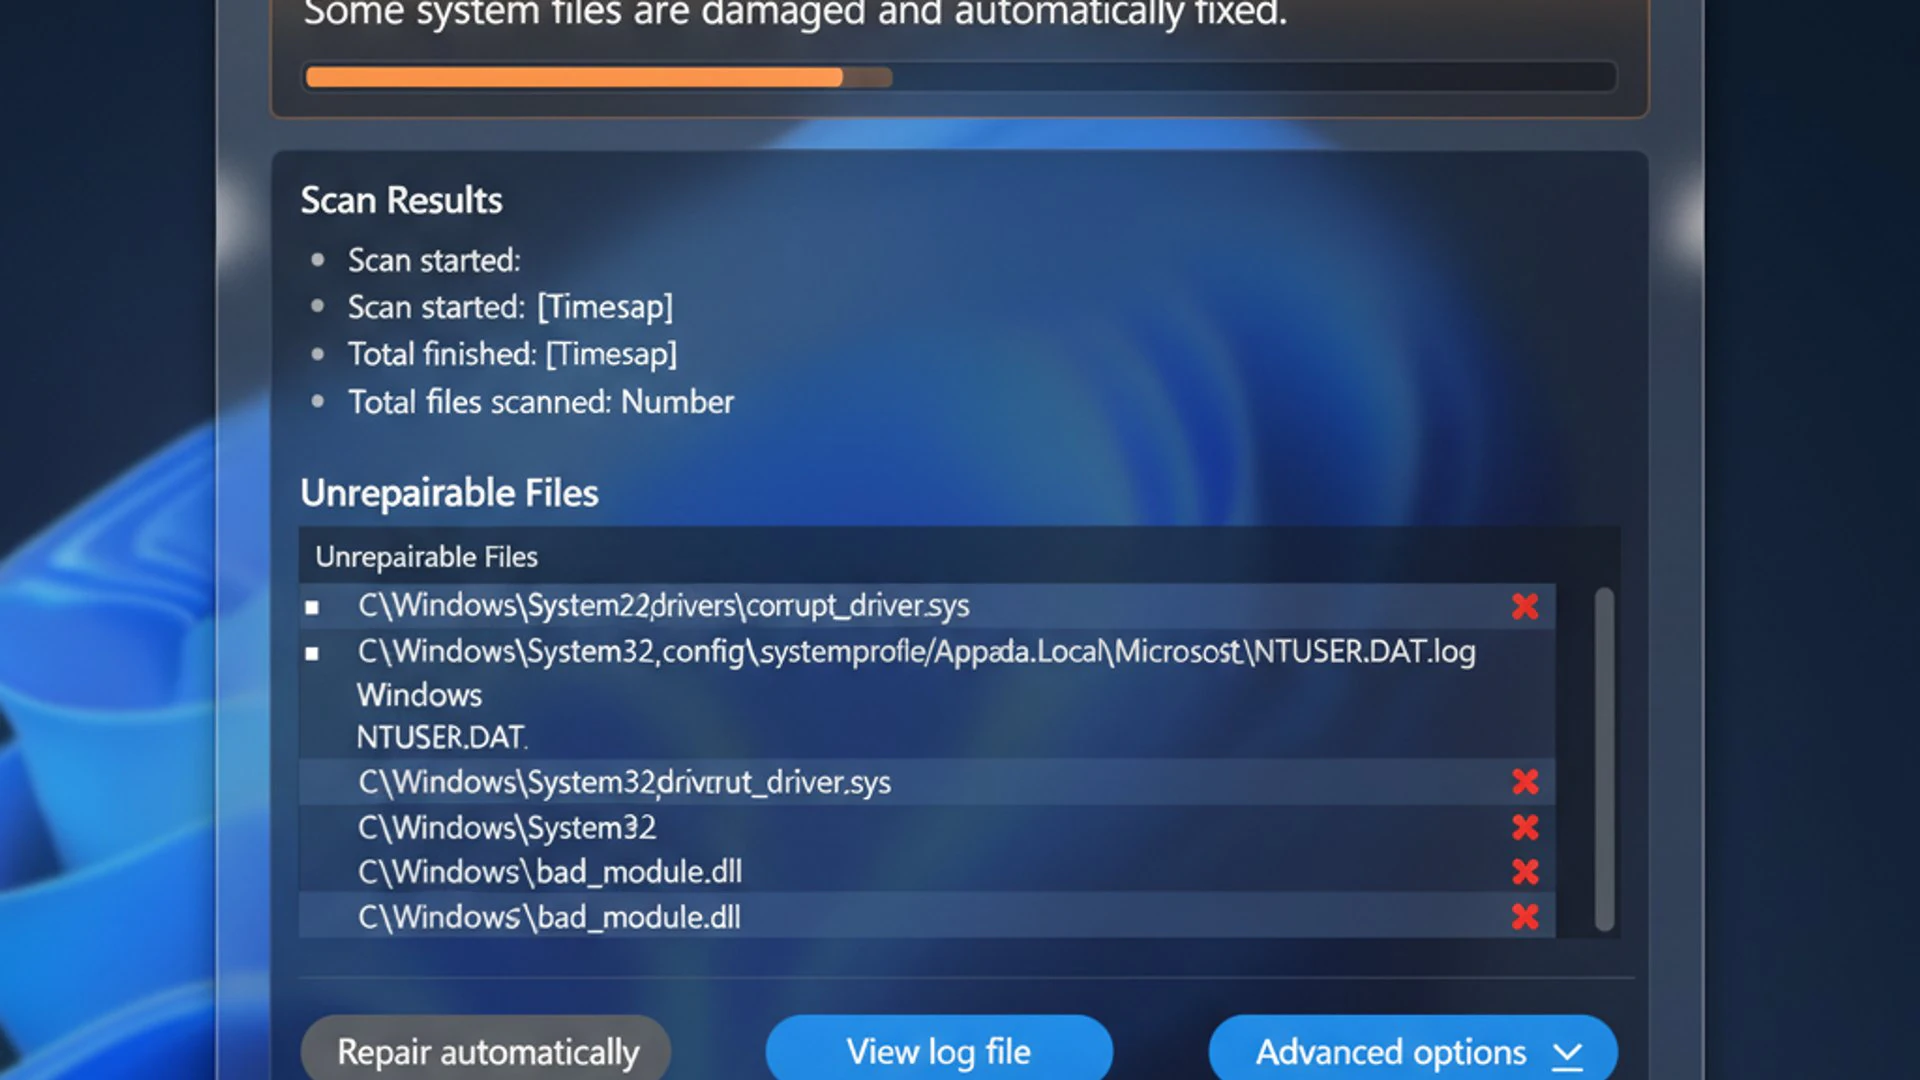
Think of it this way: SFC tries to fix individual broken pieces using spare parts from a toolbox. If the toolbox itself is damaged or empty, SFC can’t do anything. DISM’s role is to repair that toolbox, ensuring SFC has access to pristine components. This makes DISM an indispensable tool in your troubleshooting arsenal.
Understanding DISM Commands
DISM offers several powerful commands for diagnosing and repairing the Windows image. These commands are executed via Command Prompt (Admin) or PowerShell (Admin) and target different aspects of the system’s health. It’s crucial to run these commands in the correct sequence for optimal results.
The primary commands you’ll use are CheckHealth, ScanHealth, and RestoreHealth. Each serves a distinct purpose in the diagnostic and repair process. Understanding their function helps in interpreting the results and deciding the next steps when you encounter “SFC found corrupt files but could not repair on Windows 11.”
Using ‘CheckHealth’, ‘ScanHealth’, and ‘RestoreHealth’
Here’s how to use the core DISM commands:
- Open Command Prompt as Administrator: Search for “cmd,” right-click on “Command Prompt,” and select “Run as administrator.”
- Check Health: This command quickly checks if the Windows image has been flagged as corrupted. It’s a fast way to see if a repair is even necessary.
DISM /Online /Cleanup-Image /CheckHealthThis command usually completes very quickly and reports whether the image is healthy, repairable, or unrepairable.
- Scan Health: This command performs a more thorough scan of the Windows image for corruption. It takes longer than
CheckHealthbut provides a more detailed assessment.DISM /Online /Cleanup-Image /ScanHealthThis scan can take several minutes to complete. It will show a progress percentage and report any detected corruption. It doesn’t perform any repairs, only diagnosis.
- Restore Health: This is the most critical command, as it attempts to repair any detected corruption in the Windows image. It downloads necessary replacement files from Windows Update by default.
DISM /Online /Cleanup-Image /RestoreHealthThis command can take a considerable amount of time to complete, often 10-30 minutes or more, depending on the extent of corruption and your internet speed. Ensure you have a stable internet connection. After this command finishes, you should restart your computer and then try running
sfc /scannowagain.
Important Tip: Always run these DISM commands in sequence. Start with
CheckHealth, thenScanHealth, and finallyRestoreHealthif issues are found. AfterRestoreHealth, always reboot your system and then re-runsfc /scannowto confirm the fix.
Repairing the Windows Image with a Source File
Sometimes, even DISM /RestoreHealth fails to repair the image, especially if the default Windows Update source is corrupted or inaccessible. In such cases, you can direct DISM to use a clean Windows 11 installation source, such as an ISO file or a bootable USB drive, as its repair source. This provides DISM with guaranteed pristine files to work with, significantly increasing the chances of success when you face “SFC found corrupt files but could not repair on Windows 11.”
This method is particularly effective if your internet connection is unstable, or if Windows Update itself is experiencing issues that prevent it from providing the necessary repair files. Using a local source bypasses these potential network-related problems.
Obtaining a Clean Windows 11 Installation Source
To use a local source for DISM, you’ll need a Windows 11 installation media. The easiest way to get this is to download the official Windows 11 ISO file from Microsoft’s website.
- Go to the official Microsoft Windows 11 download page.
- Under the “Download Windows 11 Disk Image (ISO) for x64 devices” section, select “Windows 11 (multi-edition ISO)” and click Download.
- Choose your product language and confirm.
- Click the 64-bit Download link to start downloading the ISO file. This file can be quite large (typically 5-6 GB), so ensure you have a stable internet connection and sufficient disk space.
Once downloaded, you can either mount the ISO file directly or create a bootable USB drive using a tool like Rufus or the Windows Media Creation Tool. For DISM, simply mounting the ISO is usually sufficient:
- Locate the downloaded Windows 11 ISO file.
- Right-click the ISO file and select Mount. This will open the ISO as a virtual DVD drive, usually assigned a new drive letter (e.g.,
D:,E:, orF:). Make a note of this drive letter.
Now, with the ISO mounted, you can run the DISM command using this source. Open Command Prompt as administrator and execute the following:
In this command:
- Replace
X:with the drive letter of your mounted ISO file. /LimitAccessprevents DISM from trying to use Windows Update as a source, forcing it to use only your specified local source.
This process will use the files from your mounted ISO to repair the Windows image. Once it completes, restart your computer and then run sfc /scannow again to verify that the corrupt files can now be repaired.
Advanced Repair Strategies When SFC and DISM Fail
Even after diligently running SFC in Safe Mode, checking disk health with CHKDSK, and utilizing DISM with a clean source, you might still face the stubborn “SFC found corrupt files but could not repair on Windows 11” error. This indicates that the corruption is deeply embedded or widespread, requiring more drastic, yet highly effective, measures. These advanced strategies aim to refresh or revert your entire operating system environment, often resolving issues that defy conventional repairs.
Performing an In-Place Upgrade (Repair Install)
An in-place upgrade, also known as a repair install, is a powerful technique that reinstalls Windows 11 while preserving your personal files, applications, and most system settings. It effectively replaces all core operating system files with fresh, clean versions from the installation media, without wiping your drive. This method is often the “magic bullet” for persistent system file corruption.
The process is relatively straightforward and much less disruptive than a clean installation. It’s an excellent option when you want to fix “SFC found corrupt files but could not repair on Windows 11” without the hassle of reinstalling all your software and reconfiguring your entire system.
To perform an in-place upgrade:
- Download the Windows 11 ISO: As described in the DISM section, download the official Windows 11 ISO file from Microsoft’s website.
- Mount the ISO: Right-click the downloaded ISO file and select Mount. This will create a virtual drive.
- Start the Setup: Open the mounted virtual drive and locate the
setup.exefile. Double-click it to start the Windows 11 Setup wizard. - Follow On-Screen Prompts:
- When prompted, choose “Change how Setup downloads updates” and select “Not right now” to speed up the process and avoid potential update-related issues during the repair.
- Accept the license terms.
- On the “Ready to install” screen, ensure that “Keep personal files and apps” is selected. If it’s not, click “Change what to keep” and select the appropriate option.
- Initiate Installation: Click Install. Your computer will restart several times during the process, which can take anywhere from 30 minutes to a few hours, depending on your system’s speed.
Once the in-place upgrade is complete, your Windows 11 system should be refreshed with clean system files, resolving the corruption. You can then run sfc /scannow one last time to confirm its success. This method is generally very reliable for fixing the “SFC found corrupt files but could not repair on Windows 11” issue.
Utilizing System Restore Points
If the system file corruption is a recent development, System Restore points can be an invaluable tool. System Restore allows you to revert your Windows 11 system files, installed applications, Windows Registry, and system settings to an earlier point in time when everything was working correctly. This can effectively undo changes that led to the corruption without affecting your personal documents.
This method is particularly useful if you can pinpoint a specific event – like a new software installation, a driver update, or a Windows update – after which the “SFC found corrupt files but could not repair on Windows 11” error began appearing. Regularly creating system restore points is a good practice for any Windows user.
To use System Restore:
- Access System Restore:
- Search for “Create a restore point” in the Windows search bar and open the result.
- In the System Properties window, click the System Restore… button.
- Choose a Restore Point:
- Click Next.
- You’ll see a list of available restore points. Select a point that predates the onset of your system file corruption. If you don’t see enough options, check the box “Show more restore points.”
- You can click “Scan for affected programs” to see which applications might be removed or reinstalled by choosing a particular restore point.
- Confirm and Restore:
- Click Next, then Finish.
- Confirm your choice when prompted. Your computer will restart and begin the restoration process. Do not interrupt this process.
After the system restore completes and your computer reboots, log in and check if the issue is resolved. Run sfc /scannow again to confirm that SFC can now repair any remaining integrity violations. Remember, System Restore does not affect your personal files, but any programs installed after the chosen restore point will need to be reinstalled.
Creating a New User Profile or Resetting Windows 11
When all other repair attempts, including SFC, DISM, and even an in-place upgrade, fail to resolve the “SFC found corrupt files but could not repair on Windows 11” error, it might be time to consider more significant steps. Sometimes, the corruption is localized to a user profile, or the entire operating system has become so fundamentally damaged that a fresh start is the most efficient solution. These options, while more drastic, offer a high probability of success.
When to Consider a New User Profile
If the “SFC found corrupt files but could not repair on Windows 11” error, or the symptoms of corruption, primarily manifest when you are logged into a specific user account, but not when logged into another (e.g., a newly created administrator account), the problem might be confined to your user profile. User profiles contain a vast array of settings, registry entries, and application data specific to that user. Corruption within these files can lead to system instability, even if the core Windows installation is otherwise sound.
Creating a new user profile is a relatively simple process and can save you from a full system reset if the issue is indeed profile-specific. Here’s how to do it:
- Create a New Local Account:
- Go to Settings > Accounts > Family & other users.
- Under “Other users,” click Add account.
- Select “I don’t have this person’s sign-in information.”
- Choose “Add a user without a Microsoft account.”
- Enter a username and password (optional) for the new account and click Next.
- Grant Administrator Privileges:
- Once the account is created, click on the new account, then click Change account type.
- Change the “Account type” to Administrator and click OK.
- Test the New Profile:
- Log out of your current account and log into the newly created administrator account.
- Test if the system issues persist. If not, the old user profile was likely corrupted.
- Migrate Data (Optional): If the new profile works, you can then transfer your personal files from the old profile’s folders (e.g., Documents, Pictures, Downloads) to the new one. Do not copy the entire profile folder, as this can transfer the corruption.
After migrating your data, you can delete the old, corrupted user profile from the “Family & other users” section in Settings. This approach is less time-consuming than a full reset and worth trying if the symptoms point to a profile-specific problem.
Resetting Windows 11 (Keep My Files vs. Remove Everything)
When all else fails, and you’re still plagued by “SFC found corrupt files but could not repair on Windows 11,” resetting Windows 11 is the ultimate solution. This process essentially reinstalls the operating system, providing a completely fresh start. Windows 11 offers two main options for resetting, catering to different needs:
Option 1: Keep My Files
This option reinstalls Windows 11, removes all applications and settings, but keeps your personal files. It’s a good balance between a fresh install and retaining your important documents, photos, and videos. You will need to reinstall all your desktop applications and reconfigure your settings, but your data remains untouched.
- Go to Settings > System > Recovery.
- Under “Recovery options,” next to “Reset this PC,” click Reset PC.
- Choose Keep my files.
- You’ll then be asked how you’d like to reinstall Windows:
- Cloud download: Downloads a fresh copy of Windows 11 from Microsoft (requires internet). This is often the cleanest option.
- Local reinstall: Uses files already on your device. This is faster but might not fix issues if the local recovery image is also corrupted.
- Review the changes (apps to be removed) and click Next, then Reset.
Option 2: Remove Everything
This option performs a complete factory reset, deleting all personal files, apps, and settings. It’s the most thorough reset and is ideal if you’re selling your PC, dealing with severe, unfixable corruption, or want a truly clean slate. This is the closest you can get to a fresh Windows installation without manually formatting your drive and booting from installation media.
- Go to Settings > System > Recovery.
- Under “Recovery options,” next to “Reset this PC,” click Reset PC.
- Choose Remove everything.
- Select your reinstall method (Cloud download or Local reinstall).
- You’ll then be asked if you want to “Just remove my files” or “Remove files and clean the drive.”
- “Just remove my files” is quicker but less secure.
- “Remove files and clean the drive” is more secure (better for selling/donating) but takes much longer.
- Review the changes and click Next, then Reset.
Before proceeding with either reset option, it is imperative to back up any critical personal files to an external drive or cloud storage. While “Keep my files” aims to preserve them, unexpected issues can occur. For comprehensive backup solutions, consider guides like System Image Backup on Windows 11: Comprehensive Guide.
Preventing Future System File Corruption
Resolving the “SFC found corrupt files but could not repair on Windows 11” error can be a time-consuming and often frustrating process. Once your system is back to a healthy state, the focus should shift to preventing similar issues from recurring. Proactive maintenance and adopting best practices are key to ensuring long-term system stability and avoiding future system file corruption.
Regular System Maintenance and Updates
One of the most effective ways to prevent system file corruption is through consistent and diligent system maintenance. This involves several aspects:
- Keep Windows Updated: Regularly install Windows updates. Microsoft frequently releases patches that fix bugs, improve security, and enhance system stability. These updates often include refreshed system files that can overwrite potentially problematic ones. Ensure your update settings are configured to download and install updates automatically.
- Driver Updates: Keep your device drivers up to date, especially for critical components like graphics cards, chipsets, and network adapters. Outdated or corrupted drivers can sometimes interact poorly with the operating system, leading to file corruption. Obtain drivers from your hardware manufacturer’s official website or use Windows Update.
- Disk Cleanup and Optimization: Periodically run Disk Cleanup to remove temporary files and system junk. Also, optimize your drives (defragment for HDDs, TRIM for SSDs) to maintain their performance and integrity. Healthy drives are less likely to develop sectors that could corrupt files.
- Proper Shutdown Procedures: Always shut down your computer correctly through the Start Menu. Avoid forced shutdowns (holding the power button) unless absolutely necessary. Abrupt power loss can interrupt critical write operations, leading to file system corruption.
- Regular Backups: Implement a robust backup strategy for your entire system, not just personal files. A system image backup allows you to restore your entire operating system, applications, and settings to a previous working state, which is invaluable if corruption occurs.
Importance of Reliable Antivirus Software
Malware and viruses are significant contributors to system file corruption. They can modify, delete, or encrypt critical system files to compromise your computer’s security or functionality. Therefore, having a reliable antivirus software installed and kept up-to-date is paramount for preventing future instances of “SFC found corrupt files but could not repair on Windows 11.”
- Real-time Protection: Ensure your antivirus software offers real-time protection, actively scanning files as they are accessed or downloaded. This proactive defense can stop malicious software before it has a chance to infect your system and damage files.
- Regular Scans: Schedule regular full system scans to catch any threats that might have slipped past real-time protection. A deep scan can uncover dormant malware that could eventually lead to system instability.
- Definition Updates: Keep your antivirus definitions updated. New threats emerge daily, and your antivirus needs the latest information to identify and neutralize them effectively. Most modern antivirus programs update automatically.
- Firewall Protection: A robust firewall, often integrated with antivirus suites or provided by Windows Defender, helps prevent unauthorized access to your system and can block malicious network activity that might attempt to corrupt files.
- Safe Browsing Habits: Complement your antivirus software with safe browsing habits. Avoid clicking suspicious links, downloading files from untrusted sources, or opening attachments from unknown senders. These practices significantly reduce your exposure to malware.
By combining regular system maintenance with strong antivirus protection, you create a resilient computing environment that is far less susceptible to system file corruption, ensuring your Windows 11 remains stable and performs optimally.
Conclusion: Restoring Your Windows 11 System’s Health
Encountering the “SFC found corrupt files but could not repair on Windows 11” error can be a daunting experience, signaling underlying issues that threaten your system’s stability and performance. However, as this comprehensive guide has demonstrated, a structured approach using a suite of powerful Windows tools can effectively diagnose and resolve even the most stubborn cases of system file corruption.
From the initial attempts with SFC in Safe Mode and checking disk integrity with CHKDSK, to leveraging the robust repair capabilities of DISM with a clean source, we’ve explored a progression of solutions. When these prove insufficient, advanced strategies like an in-place upgrade or utilizing System Restore points offer powerful ways to refresh your operating system without losing your personal data. In the most challenging scenarios, a user profile migration or a full Windows 11 reset provides a clean slate, ensuring that deep-seated corruption is eradicated.
Ultimately, resolving the “SFC found corrupt files but could not repair on Windows 11” message is not just about fixing a symptom, but about restoring confidence in your Windows 11 environment. More importantly, adopting proactive measures – regular updates, diligent maintenance, and reliable security software – is crucial for preventing future occurrences. By understanding these tools and best practices, you empower yourself to maintain a healthy, stable, and efficient Windows 11 system for years to come.
For more interesting articles, stay tuned to Winsides.com!









Community
Comments (0)