How to use WSL 2 to Install Ubuntu on Windows 11?
Experience Windows & Linux under one roof with WSL
Use WSL 2 to Install Ubuntu: If you are looking to run Linux Distributions like Ubuntu on Windows 11, then you don’t necessarily need VirtualBox, VMware, etc. Microsoft offers stable Virtualization environments on their Windows Operating Systems. In Windows 11, you can use Windows Subsystem for Linux 2 and Virtual Machine Platform for a stable, and more enhanced virtualization environment to install and use Linux Distributions on the Windows 11 Environment. In this article, we will check out how to use Windows Subsystem for Linux 2 to install the Latest Ubuntu LTS version on Windows 11. Let’s get started. Check out: Install and Run X Server on Windows 11
Table of Contents
Prerequisites:
Enable WSL 2 and Virtual Machine Platform
Before using Linux Distributions on Windows 11, we will have to enable a couple of things on our Windows 11 System.
- Enable Windows Subsystem for Linux.
- Enable Virtual Machine Platform.
- Set Default Version to WSL 2.
You can either use GUI Method or CLI Method to enable the above Windows Features on your Windows 11.
Let’s assume you have enabled Windows Subsystem for Linux and Virtual Machine Platform using any of the preferred methods mentioned above, let us set the default version to WSL 2.
Set WSL 2 as the Default Version
To set WSL 2 as the default version, kindly follow the below steps.
- Open PowerShell and run it as Administrator.
- In the PowerShell, execute the following command.
wsl --set-default-version 2
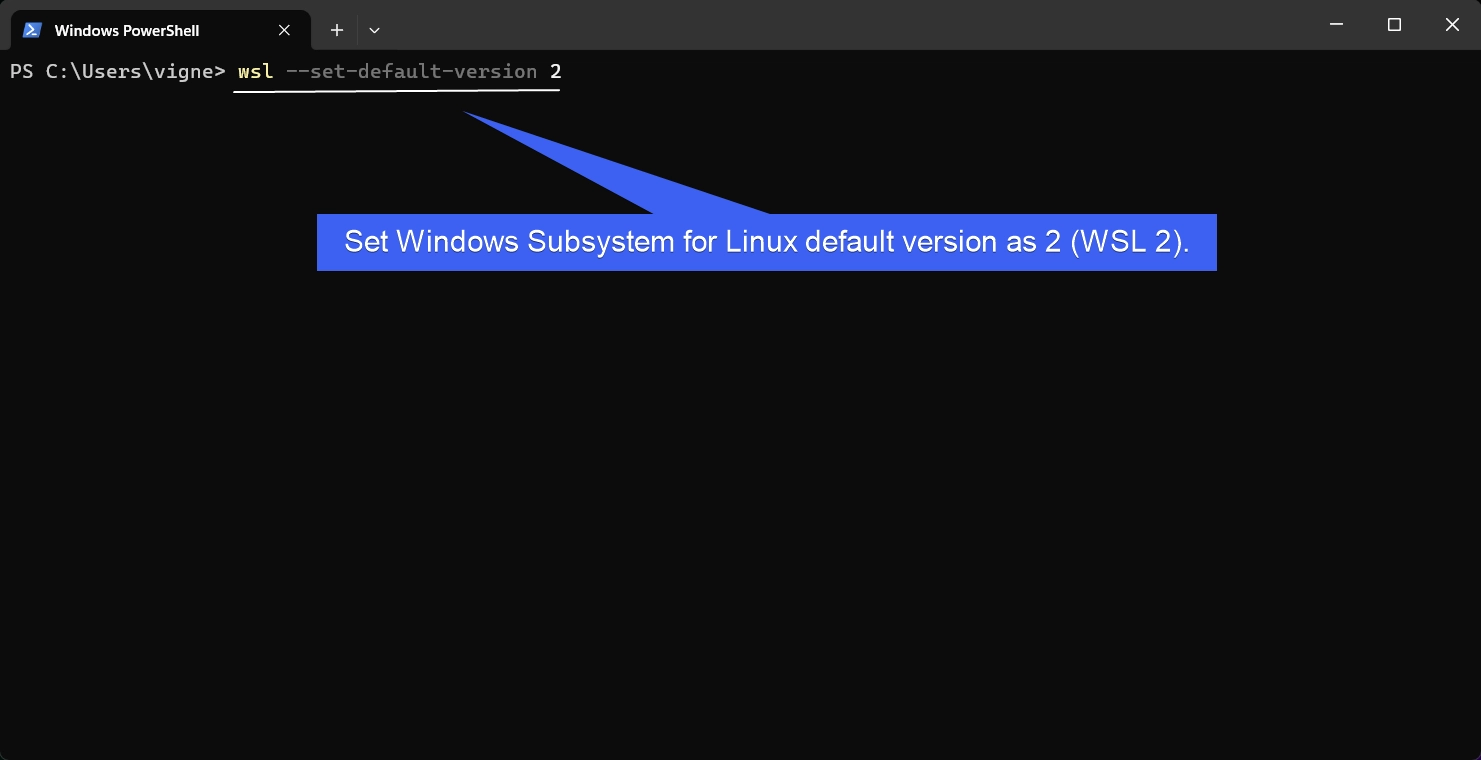
- This command will set WSL 2 as the default Version.
That is it, we have completed all the prerequisites. Let’s move to the main steps.
Use WSL 2 to Install Ubuntu Distribution on Windows 11 using WSL 2 – Detailed Steps
We have set the default version in the earlier section. Let us continue from there.
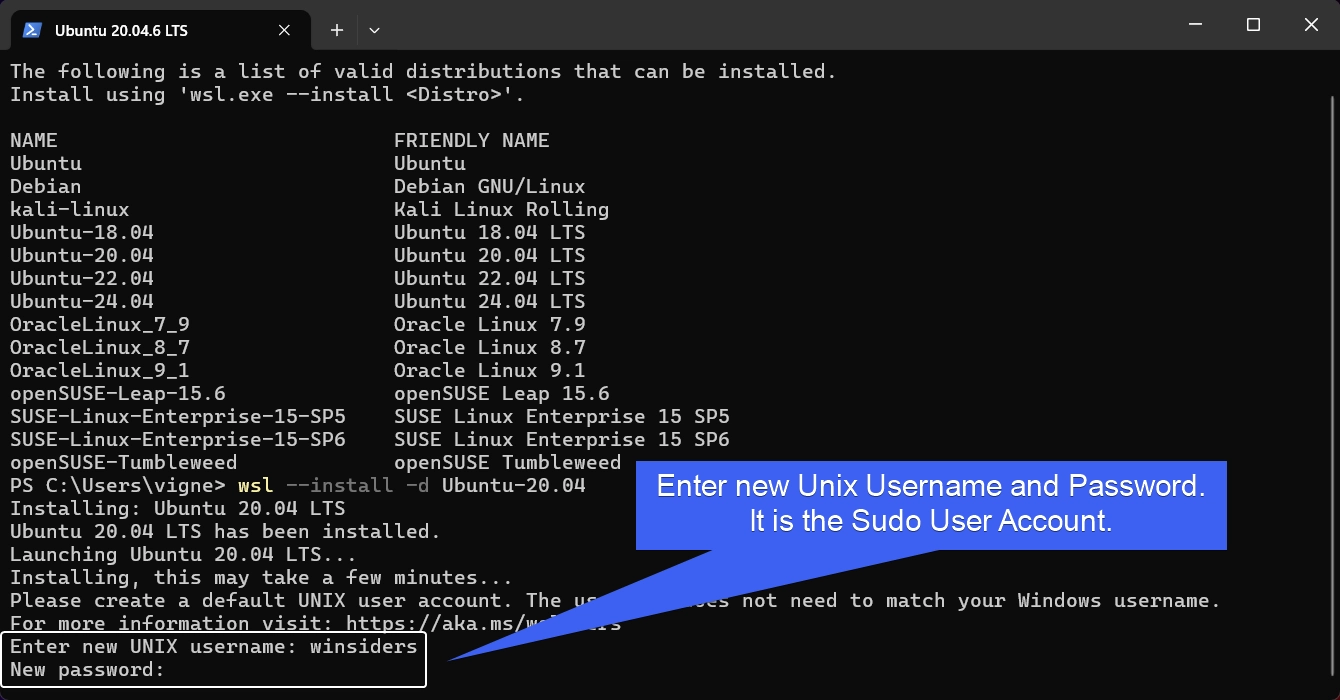
- Let’s us check out what are the Linux Distributions available. Execute the following command.
wsl --list --online
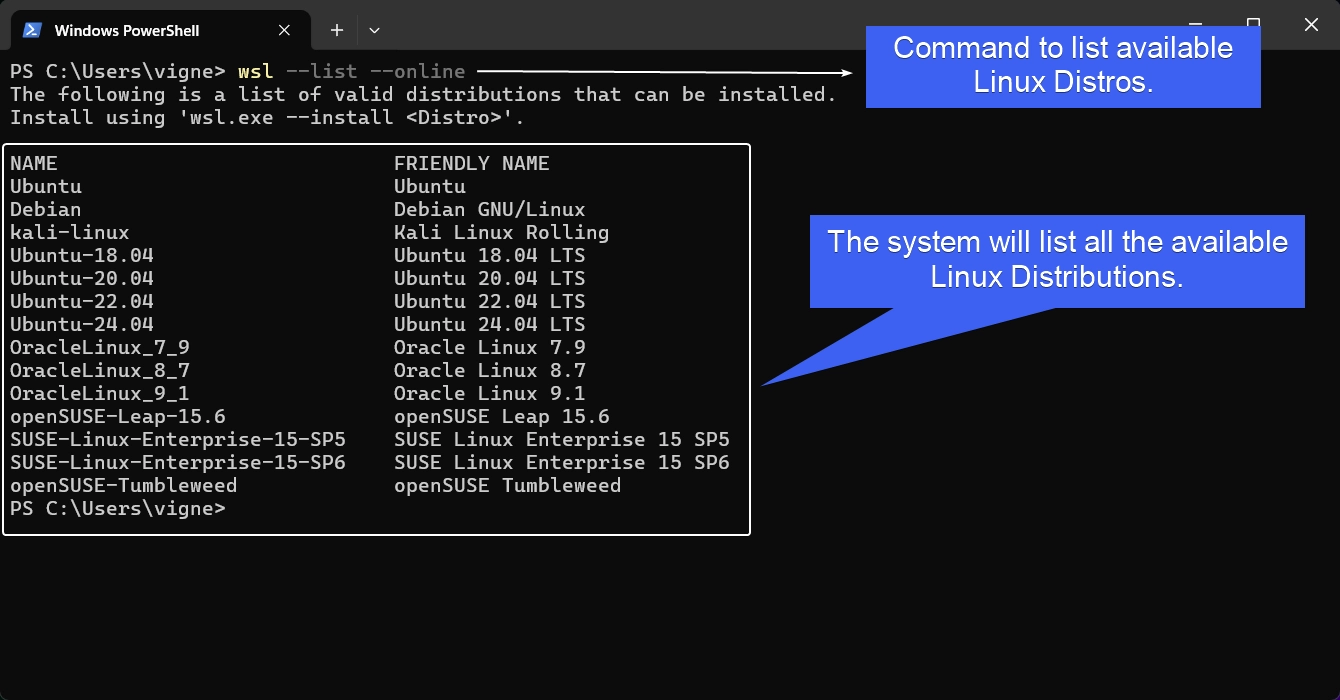
- The system will list all the available Linux Distros. Popular Distros including but not limited to Ubuntu, Debian, openSUSE, SUSE Linux Enterprise and more will be displayed. Choose your distro accordingly. In this article, I am going to Install Ubuntu 20.04 LTS (Long Term Support).
- To Install Ubuntu on Windows 11 using WSL 2, kindly enter the following command in the terminal.
wsl --install -d Ubuntu-20.04
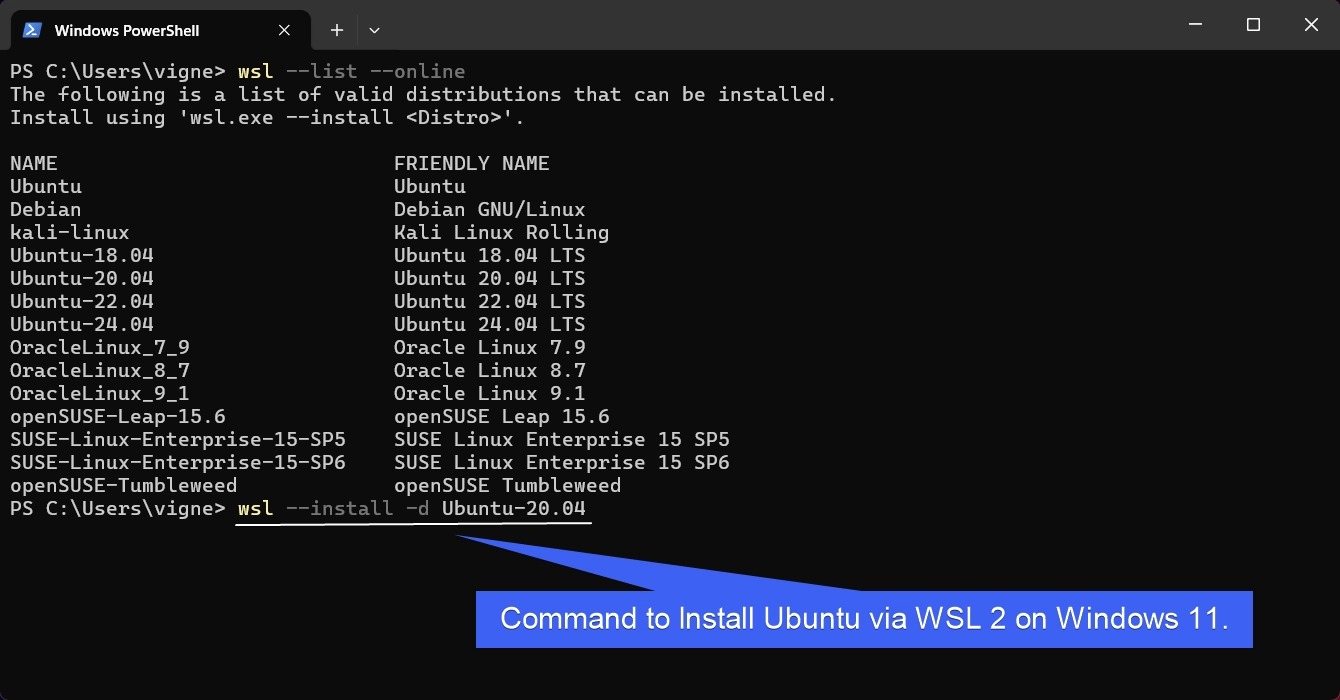
- The above command will install Ubuntu 20.04 LTS on your Windows 11. Always, make sure to enter the Distro Name in the Installation Command. The Friendly Name is just for easy understanding.
- The process will take some time to complete.
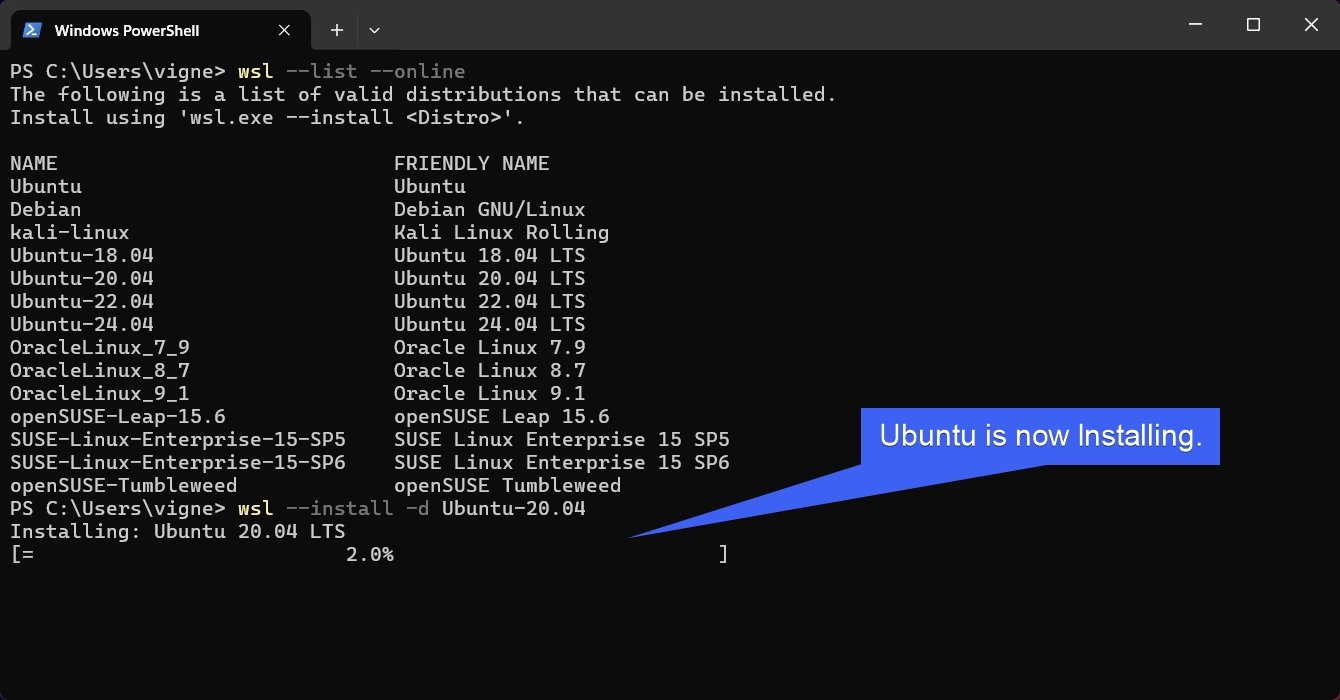
- Once the installation is complete, you will be prompted to create your Unix Username and Password and retype the password. You will be the Sudo User.
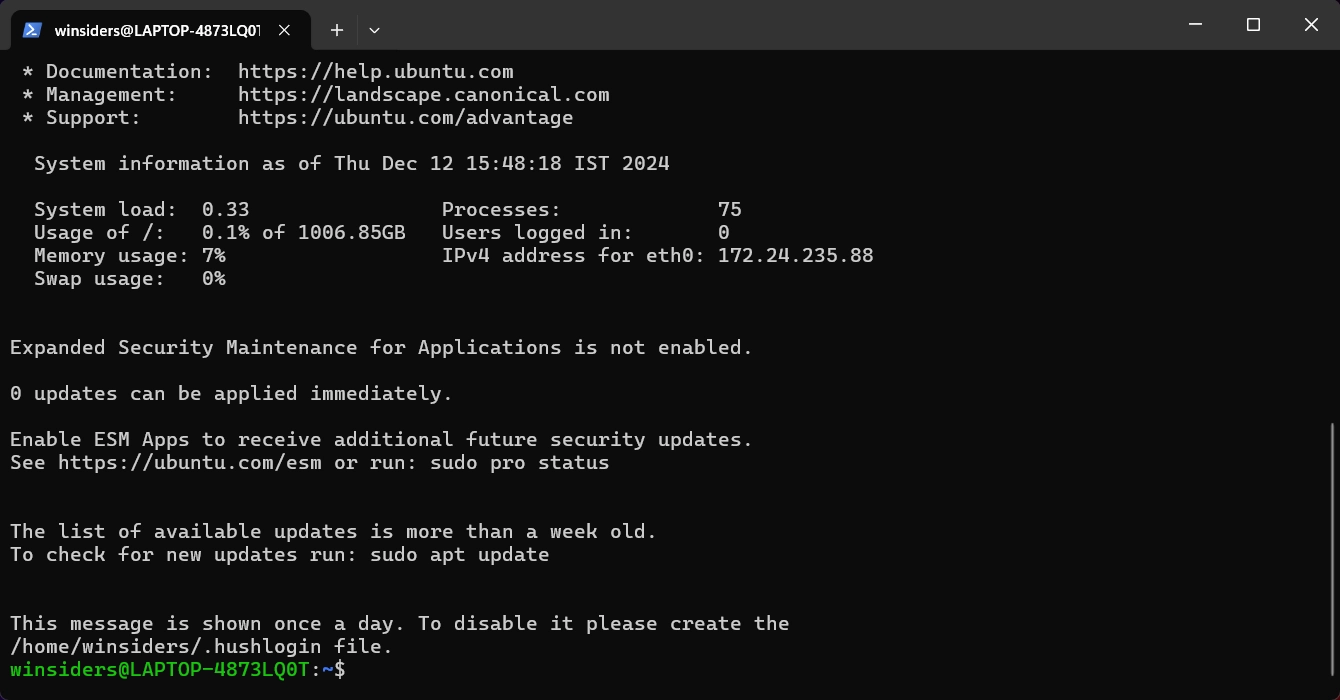
- Once you complete that process, your Ubuntu 20.04 LTS is good to go on your Windows 11 via WSL 2.
- You can also install other Linux Distributions simultaneously using the above installation command. Just make sure you are replacing the distro name.
When and Why it is essential to set Default Distribution?
- To answer the first question, when we have multiple Linux Distributions installed in the WSL 2, we can define a particular distro which we will be working primarily on as the default distribution.
- By doing so, you don’t have to mention the Distro name each and every time you open your WSL, rather you can just use the command wsl to open your default Linux Distribution.
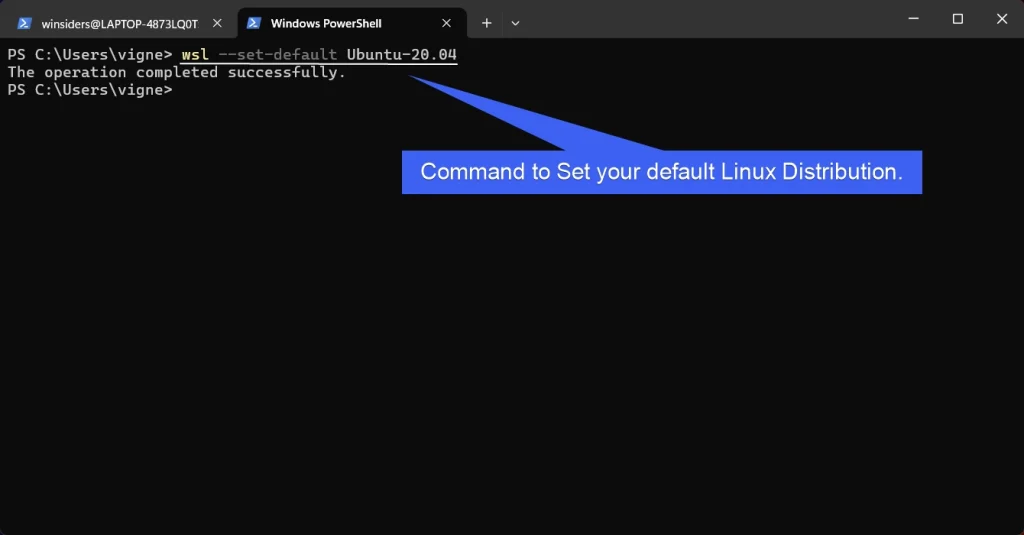
- To set a particular Distro as your default distribution, you can define it using the following command. I am going to set Ubuntu 20.04 LTS as my default distribution.
wsl --set-default Ubuntu-20.04
How to reopen your installed Linux Distro using WSL 2?
Let us talk about the scenario, where you have installed the Linux Distro successfully, and you have used it for some time, and then you have shutdown your system. Next time, when you choose to use your Linux Distribution via WSL 2, you can follow the below steps to access it on your Windows 11.
- Open PowerShell, make sure to Run it as Administrator.
- Assuming we have only one distro installed (in our case as per this article, it is Ubntu-20.04), just execute the following command.
wsl - Suppose, we have multiple Distributions installed on our WSL 2 and we want to open particular distribution. For example, let us assume, we have Debian, Ubuntu-20.04, and openSUSE-Leap-15.6 Installed in our WSL 2, we will have to open openSUSE-Leap-15.6. To do so, you will have to follow the following syntax.
wsl -d openSUSE-Leap-15.6 - This command will open openSUSE-Leap-15.6. Here the flag -d represents Distribution.
Getting Started with Ubuntu 20.04 LTS on Windows 11 using WSL 2
- Everything is set for Ubuntu now, we can start using it via the Command Line Interface. You can either use the Command Prompt or PowerShell to access Ubuntu on Windows 11.
- It will provide the complete CLI experience and allows users to install and applications via Apt and Snap Store. These apps can run both GUI and CLI.
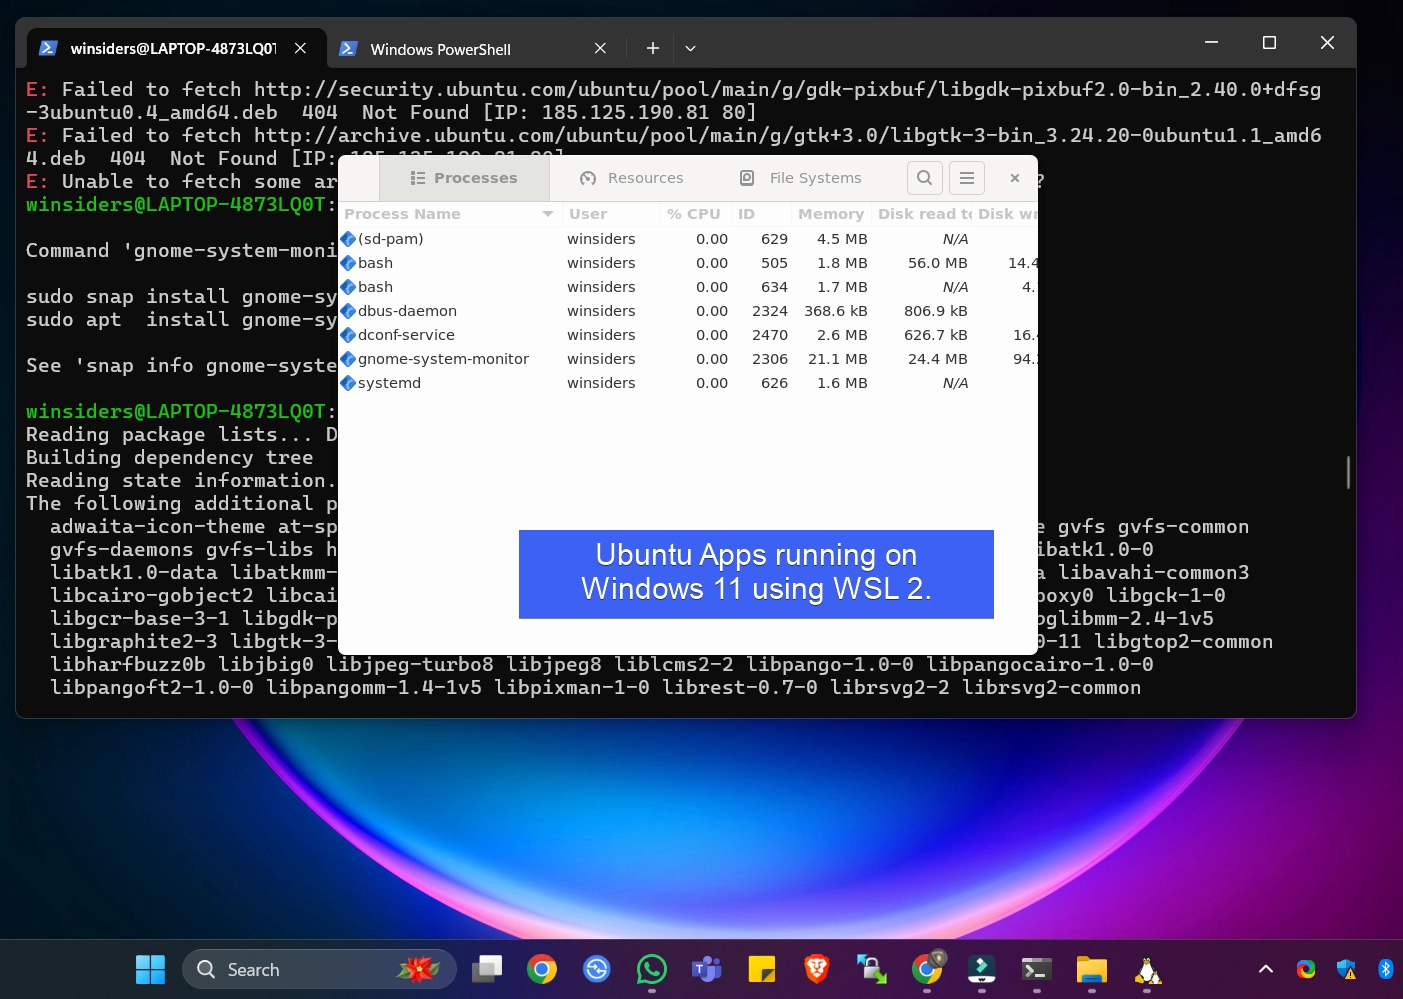
- Let us install an application to demonstrate the process. We will install Gnome System Monitor using the apt package manager. The following is the command to install it.
sudo apt install gnome-system-monitor
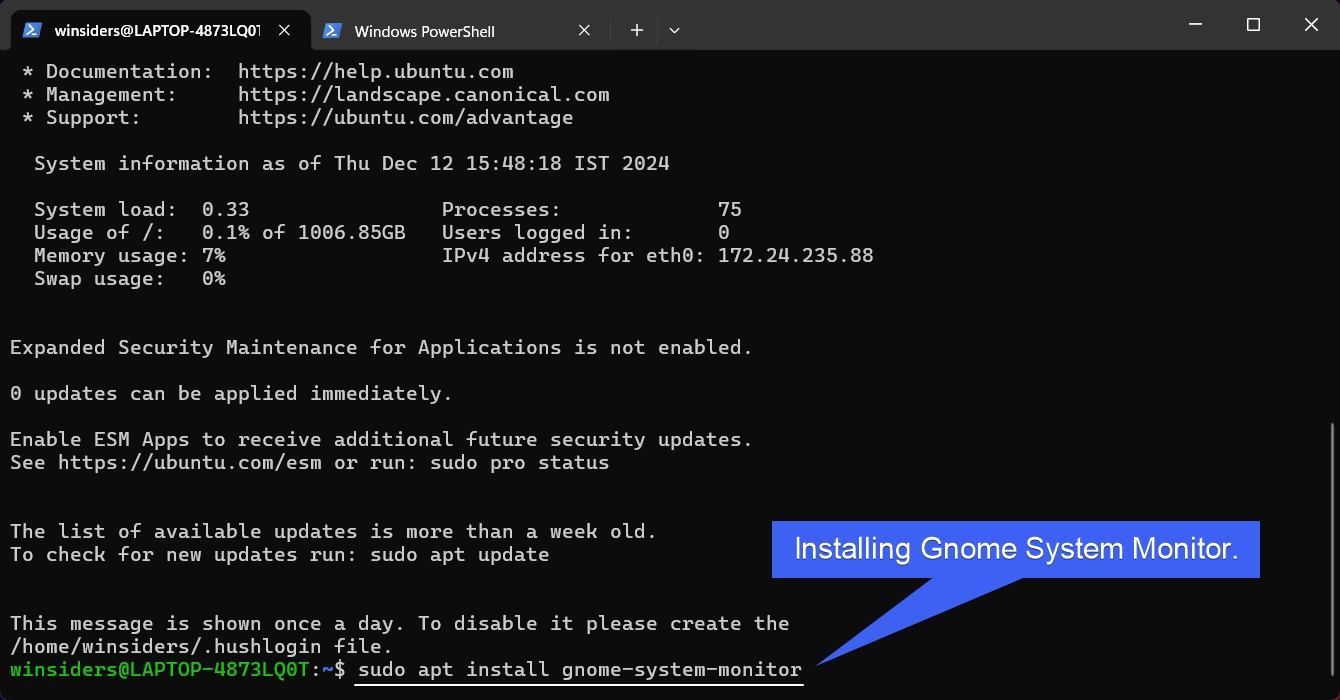
- Once the installation is complete, you can start using this app in the GUI Mode.
Video Walkthrough to Install Latest Ubuntu using WSL 2
Take away
WSL 2 brings the best of both worlds combining Window’s user-friendliness with the power of Linux development tools. If you’re a developer, a Linux enthusiast, or just exploring, setting up WSL 2 on Windows 11 offers a flexible and efficient way to integrate Linux into your workflow. For more interesting articles, stay tuned to Winsides.com. Happy Computing! Peace out!
Have Queries?
If you have any queries, kindly let us know in the comment section.
We combine expert insights with user-friendly guidance. We thoroughly research and test everything to give you reliable and simple to understand tech guides. Please take a look at our publishing process to understand why you can trust Winsides.


