Enable simple TCP/IP Services in Windows 11: TCP/IP, the cornerstone protocol of the internet, is vital for accessing websites, sending emails, and connecting to various network resources. By enabling TCP/IP services on your Windows 11 system, you empower it to efficiently handle network requests and facilitate seamless data transmission. In this guide, we’ll walk through the process of enabling TCP/IP services, ensuring that your Windows 11 experience is optimized for networking excellence.
Read This: Enable Services For Nfs In Windows 11
IMPORTANT: Enabling Simple TCP/IP Services is not required for standard networking and is generally unnecessary for most users. This feature is deprecated and primarily intended for troubleshooting by advanced users. Enabling it may increase security risks by expanding the attack surface for potential threats. Proceed with caution and only enable this feature if you fully understand its implications. We strongly recommend evaluating whether this service is essential for your specific use case before making any changes to your system.
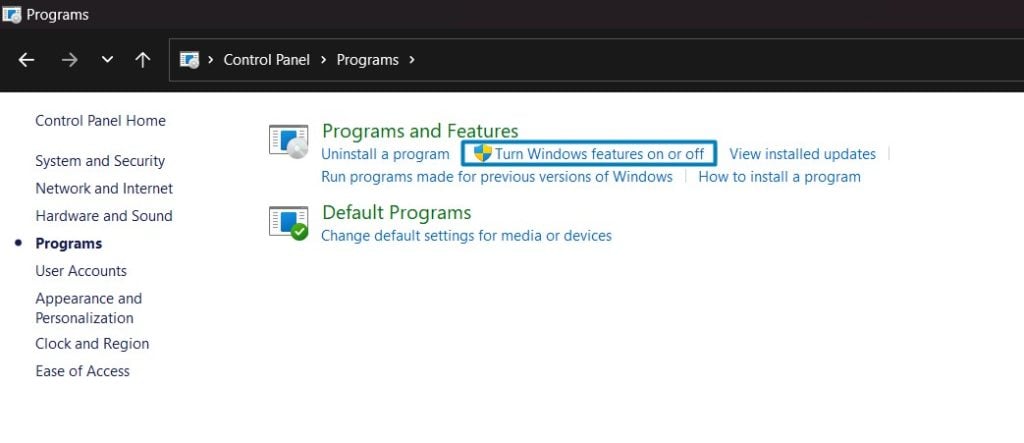
Simple TCP/IP Services in Windows 11 – Simple Steps:
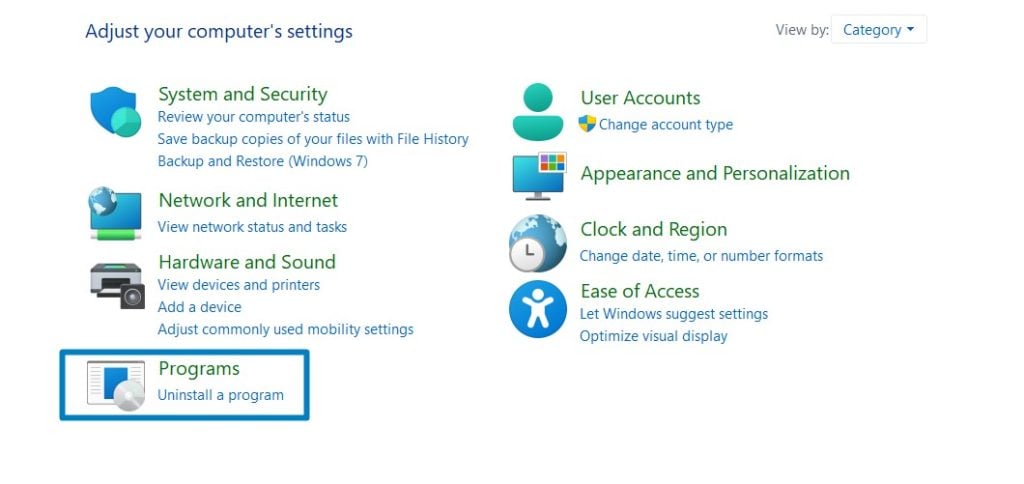
- Click on the Start Menu and open the Control Panel.
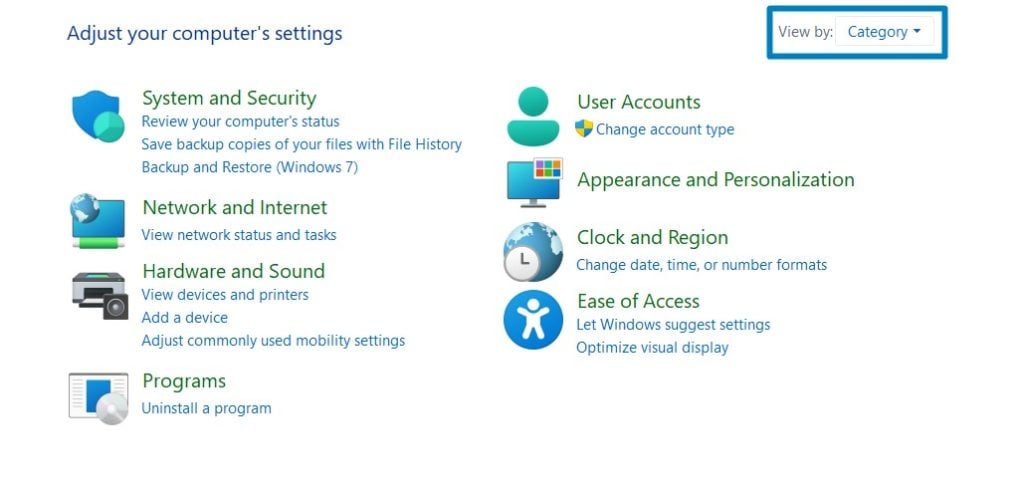
- Switch the Control Panel view to Category.
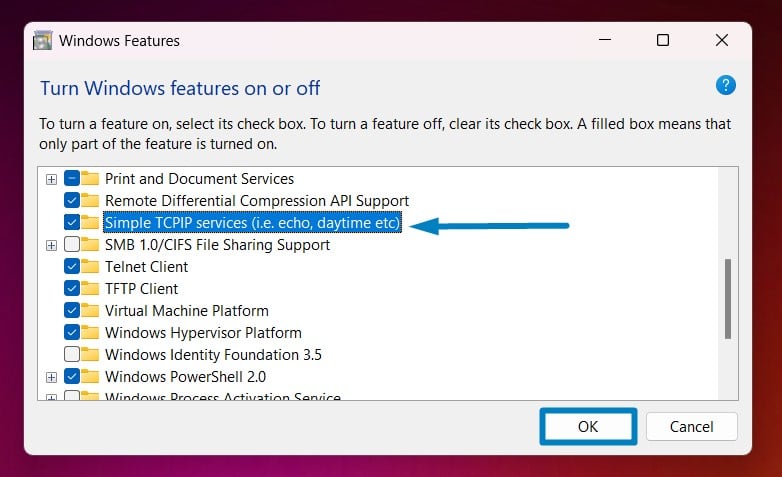
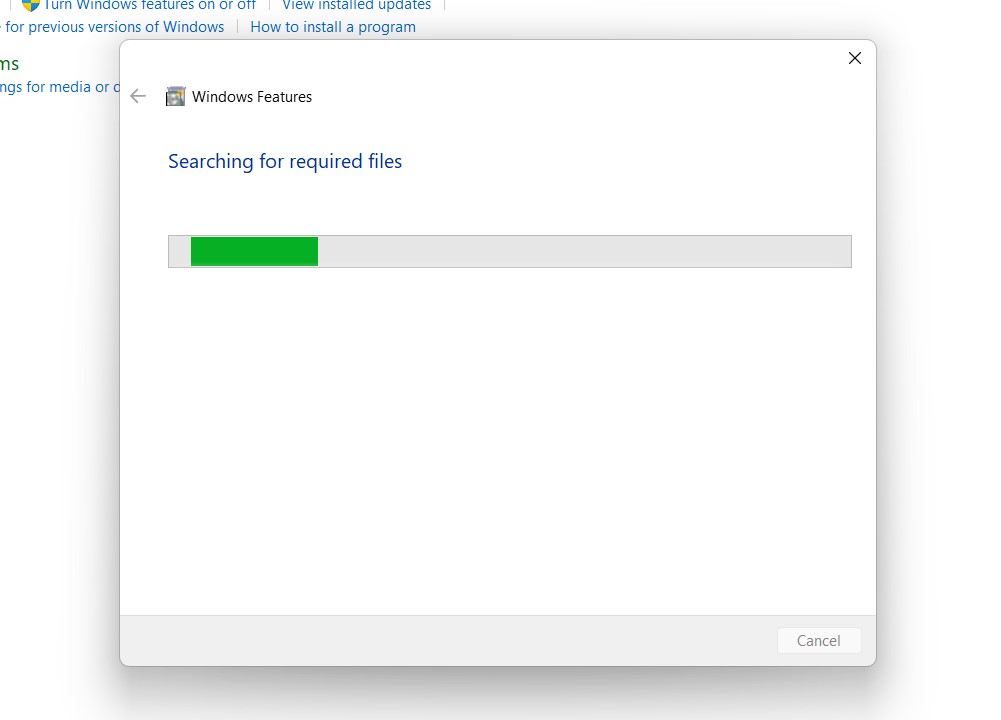
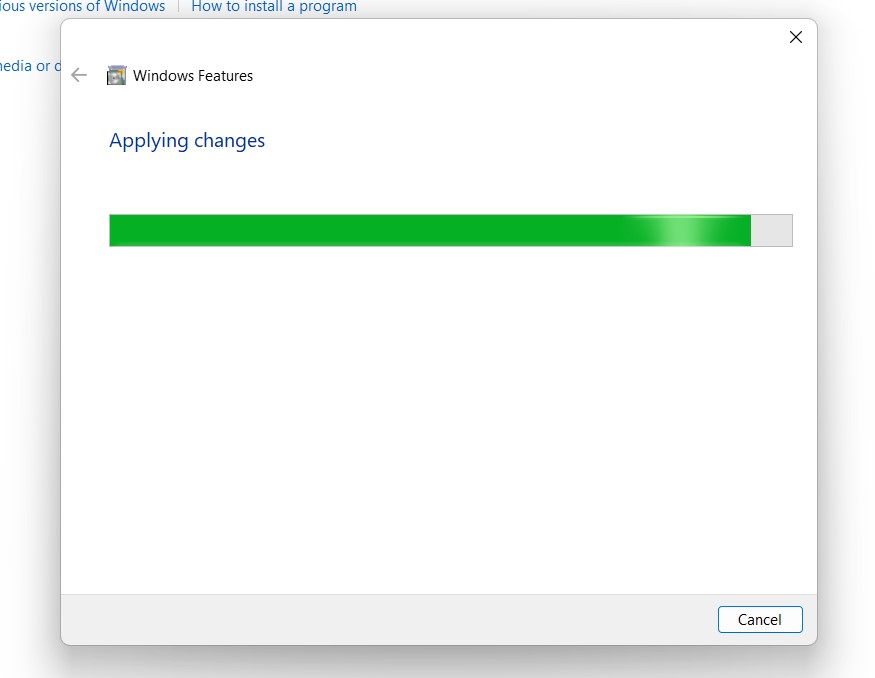
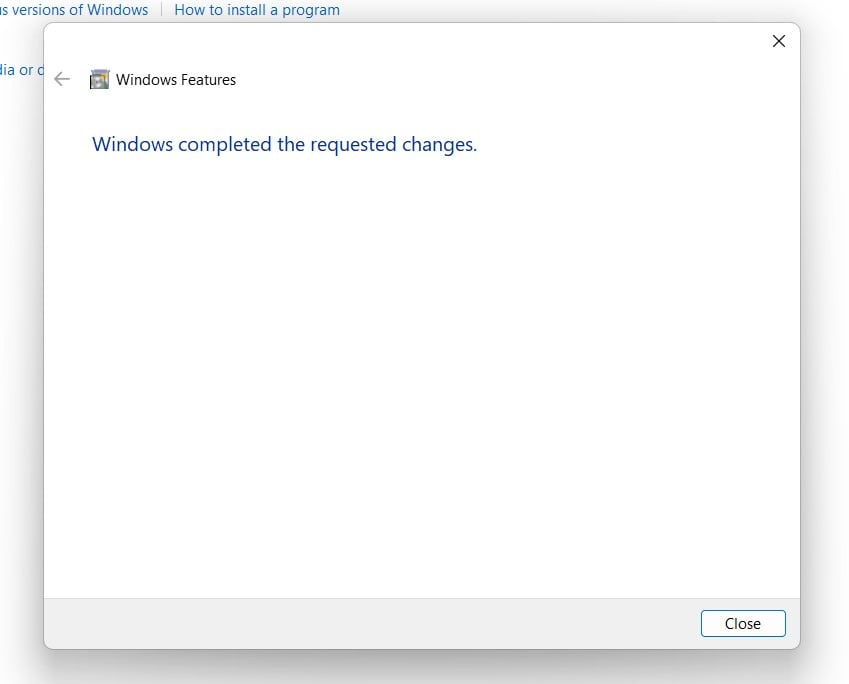
One interesting fact about simple TCP/IP services in Windows 11 is that they include several basic utilities that can be accessed using the Command Prompt or PowerShell. For example, the “echo” service allows you to send a message to another computer on the network, while the “daytime” service returns the current date and time from a remote server. These simple yet powerful tools can be used for troubleshooting network issues, testing connectivity, and performing basic network operations without the need for complex software.
Video Tutorial on How to Turn on Simple TCP/IP Services on Windows 11
Take away:
By following the steps outlined in this guide, you can harness the power of TCP/IP to connect to various network resources, troubleshoot connectivity issues, and optimize your Windows 11 experience for networking excellence. Whether it’s accessing websites, sending emails, or connecting to remote servers, TCP/IP remains the backbone of modern networking infrastructure. Happy Coding! Peace out!
References:
I’ve read the following tutorials for the preparation of the enabling TCP/IP Services on Windows 11 article.
Read This: Enable Print And Document Services In Windows 11
- What is TCP/IP in Networking?
- Chapter 2 TCP/IP (Overview) (System Administration Guide
- TCP/IP Model Explained: A Guide to Computer Networking
Related Articles:
- What is Activity History on Windows 11?
- What are Filter Keys on Windows 11?
- How to Turn Off Sticky Keys on Windows 11?
We combine expert insights with user-friendly guidance. We thoroughly research and test everything to give you reliable and simple to understand tech guides. Please take a look at our publishing process to understand why you can trust Winsides.
Vigneshwaran,
Simple TCP/IP services is not required for standard networking functions, and only includes a set of tools meant for diagnosing TCP/IP connections that would only be useful to an expert trying to troubleshoot a specific issue. In fact, these tools are completely deprecated as they are replaced by much more advanced and easier-to-use 3rd party software these days.
Simple TCP/IP services will be of absolutely no use to the average user, and enabling these tools only serves to increase attack surface for bad actors. This feature should be left off unless you are an expert. With respect, please put more effort into researching the things you are showing readers how to do – you are putting your readers at risk by making recommendations of this kind without understanding the purpose of the feature you are enabling, or the setting you are changing.
Hello
Thank you for your valuable feedback! We truly appreciate the time you took to share your insights. We have updated our article to reflect this important consideration and included a cautionary note for users. Your feedback helps us ensure that our content remains accurate and responsible. Thanks again for your contribution!
Warm Regards
Vigneshwaran Vijayakumar
Winsides.com