

Encountering a computer screen suddenly going black while its fans roar to life at maximum speed is an alarming experience for any Windows 11 user. This particular issue, often accompanied by a complete loss of display output, can transform a productive session into a moment of panic. It signals a critical problem within your system, demanding immediate attention.
The severity of a fan running at full speed black screen Windows 11 scenario cannot be overstated. It typically indicates that your computer’s internal components are either under extreme stress, failing, or struggling with a fundamental communication breakdown. From software glitches and corrupted drivers to severe hardware malfunctions like overheating or power supply issues, the root causes are diverse.
This comprehensive guide aims to demystify this frustrating problem. We will systematically explore the various culprits behind a black screen and hyperactive fans, providing you with actionable, step-by-step solutions. Our goal is to equip you with the knowledge to diagnose and potentially resolve this critical issue, restoring your Windows 11 system to its stable, quiet operation.
Understanding the interplay between software and hardware is crucial here. Sometimes, a simple driver conflict can trigger a cascade of events leading to system instability. Other times, the issue points to more serious physical damage or component failure. Let’s delve into how to approach this problem methodically.
Table of contents
Key Takeaways: Quick Solutions for Black Screen and Full Fan Speed
Before diving deep into complex troubleshooting, here are some immediate actions you can take. These quick fixes often resolve common instances of a fan running at full speed black screen Windows 11 and can save you significant time and effort. For additional context, see troubleshoot black screen or blank screen errors, Intel processor overheating information, NVIDIA drivers, and AMD support for graphics drivers.
- Perform a Hard Reset: Disconnect all power, hold the power button for 30 seconds, then reconnect and restart. This clears residual power and can resolve temporary glitches.
- Check All Cables: Ensure your monitor cable (HDMI, DisplayPort, DVI) is securely connected at both ends. Also, verify the power cable connection to your PC and monitor.
- Disconnect Peripherals: Unplug all unnecessary USB devices, external drives, and other peripherals. A faulty peripheral can sometimes cause display issues.
- Try a Different Monitor/Cable: If possible, test your PC with another monitor or a different display cable to rule out external display hardware failure.
- Boot into Safe Mode: If you can get a display, even intermittently, try booting into Safe Mode to manage graphics drivers or uninstall recent software.
- Listen for Beep Codes: Pay attention to any beeping patterns from your motherboard during startup. These can indicate specific hardware failures.
These initial steps are designed to address the most common and easily rectifiable causes. If these don’t work, it’s time to move on to more detailed diagnostics.
Initial Diagnostic Steps When Facing a Black Screen
When your Windows 11 PC presents a black screen with fans roaring, the first course of action involves a series of fundamental checks. These steps are crucial for isolating the problem, determining if it’s a temporary glitch, or pointing towards a more significant underlying issue. A methodical approach here can save you from unnecessary complex troubleshooting.
The goal of these initial diagnostics is to establish a baseline. We want to eliminate the simplest potential causes before delving into more intricate software or hardware investigations. This systematic process ensures that you don’t overlook an obvious solution.
Performing a Hard Reset and Power Cycle
A hard reset, also known as a power cycle, is a surprisingly effective first step for many computer issues, including a black screen. It drains all residual electrical charge from your system’s components, effectively resetting their state and clearing temporary memory glitches.
To perform a hard reset:
- Turn off your computer completely. If it’s unresponsive, hold down the power button for 10-15 seconds until it shuts down.
- Unplug the power cable from the back of your computer (for desktops) or from the wall outlet. For laptops, remove the battery if it’s easily detachable.
- Disconnect all peripherals: USB devices, external drives, printers, etc.
- Press and hold the power button on your computer for 30 seconds. This action dissipates any remaining electrical charge.
- Reconnect only the power cable (and battery for laptops, if removed). Do not connect any other peripherals yet.
- Try to power on your computer. Observe if the screen comes back to life.
This process can often resolve issues caused by minor power fluctuations or temporary system freezes. If the display returns, you can gradually re-connect your peripherals one by one to identify if any specific device was causing the conflict.
Checking External Connections and Peripherals
Loose or faulty connections are a surprisingly common cause of display problems. Before assuming a major hardware failure, meticulously inspect every cable connected to your computer and monitor. A simple wiggle can sometimes be the difference between a functional system and a frustrating black screen.
The integrity of your external connections directly impacts your system’s ability to display output and receive adequate power. Overlooking these basic checks can lead to unnecessary panic and complex troubleshooting.
Verifying Monitor Cables and Power Supply
Your monitor’s connection to your PC is paramount for display. A loose or damaged cable can easily lead to a black screen, even if your PC is running perfectly otherwise. The fans running at full speed might simply be the PC reacting to a perceived lack of display output, or it could be unrelated.
Here’s how to check:
- Monitor Cable: Ensure your HDMI, DisplayPort, DVI, or VGA cable is firmly seated in both the graphics card port on your PC and the input port on your monitor. Try unplugging and re-plugging it securely.
- Graphics Card Connection: If you have a dedicated graphics card, make sure it is properly seated in its PCIe slot. While this usually requires opening the case, a slight dislodgement can occur during transport or if the case was recently opened.
- Monitor Power: Verify that your monitor itself is powered on and its power cable is securely connected to both the monitor and a working power outlet. Check the monitor’s input source settings (e.g., HDMI 1, DisplayPort) to ensure it matches the port you’re using on your PC.
- PC Power Supply: Ensure the main power cable connecting your PC to the wall outlet or power strip is secure. If using a power strip, try plugging the PC directly into a wall outlet to rule out a faulty strip.
Sometimes, the issue isn’t with the connection but with the cable itself. If you have a spare display cable, try swapping it out. This can quickly rule out a damaged cable as the source of your black screen problem. A faulty power supply could also cause a fan running at full speed black screen Windows 11, as it might struggle to deliver consistent power to all components.
Disconnecting Unnecessary USB Devices
While convenient, an excessive number of USB devices or a faulty peripheral can sometimes interfere with your system’s startup process or overall stability. These devices draw power and communicate with your system, and a conflict or short circuit can manifest as a black screen.
To eliminate this as a potential cause:
- After performing a hard reset, ensure all USB devices (keyboards, mice, external hard drives, webcams, USB hubs, etc.) are unplugged from your computer.
- Attempt to boot your PC with only the essential peripherals connected (monitor, power cable).
- If the system boots successfully, reconnect your USB devices one by one, restarting the computer after each connection, to identify the culprit.
This methodical approach helps isolate a potentially problematic peripheral. A device drawing too much power or experiencing a short can sometimes prevent the system from initializing properly, leading to a black screen and potentially triggering fans to spin faster as the system struggles.
Software-Related Causes and Their Solutions
Even though the symptoms of a black screen and roaring fans suggest a hardware problem, software conflicts are frequently the underlying cause. Corrupted drivers, malware, or problematic system updates can destabilize Windows 11, leading to display issues and system stress. Addressing these software-related issues is often less daunting than hardware repairs.
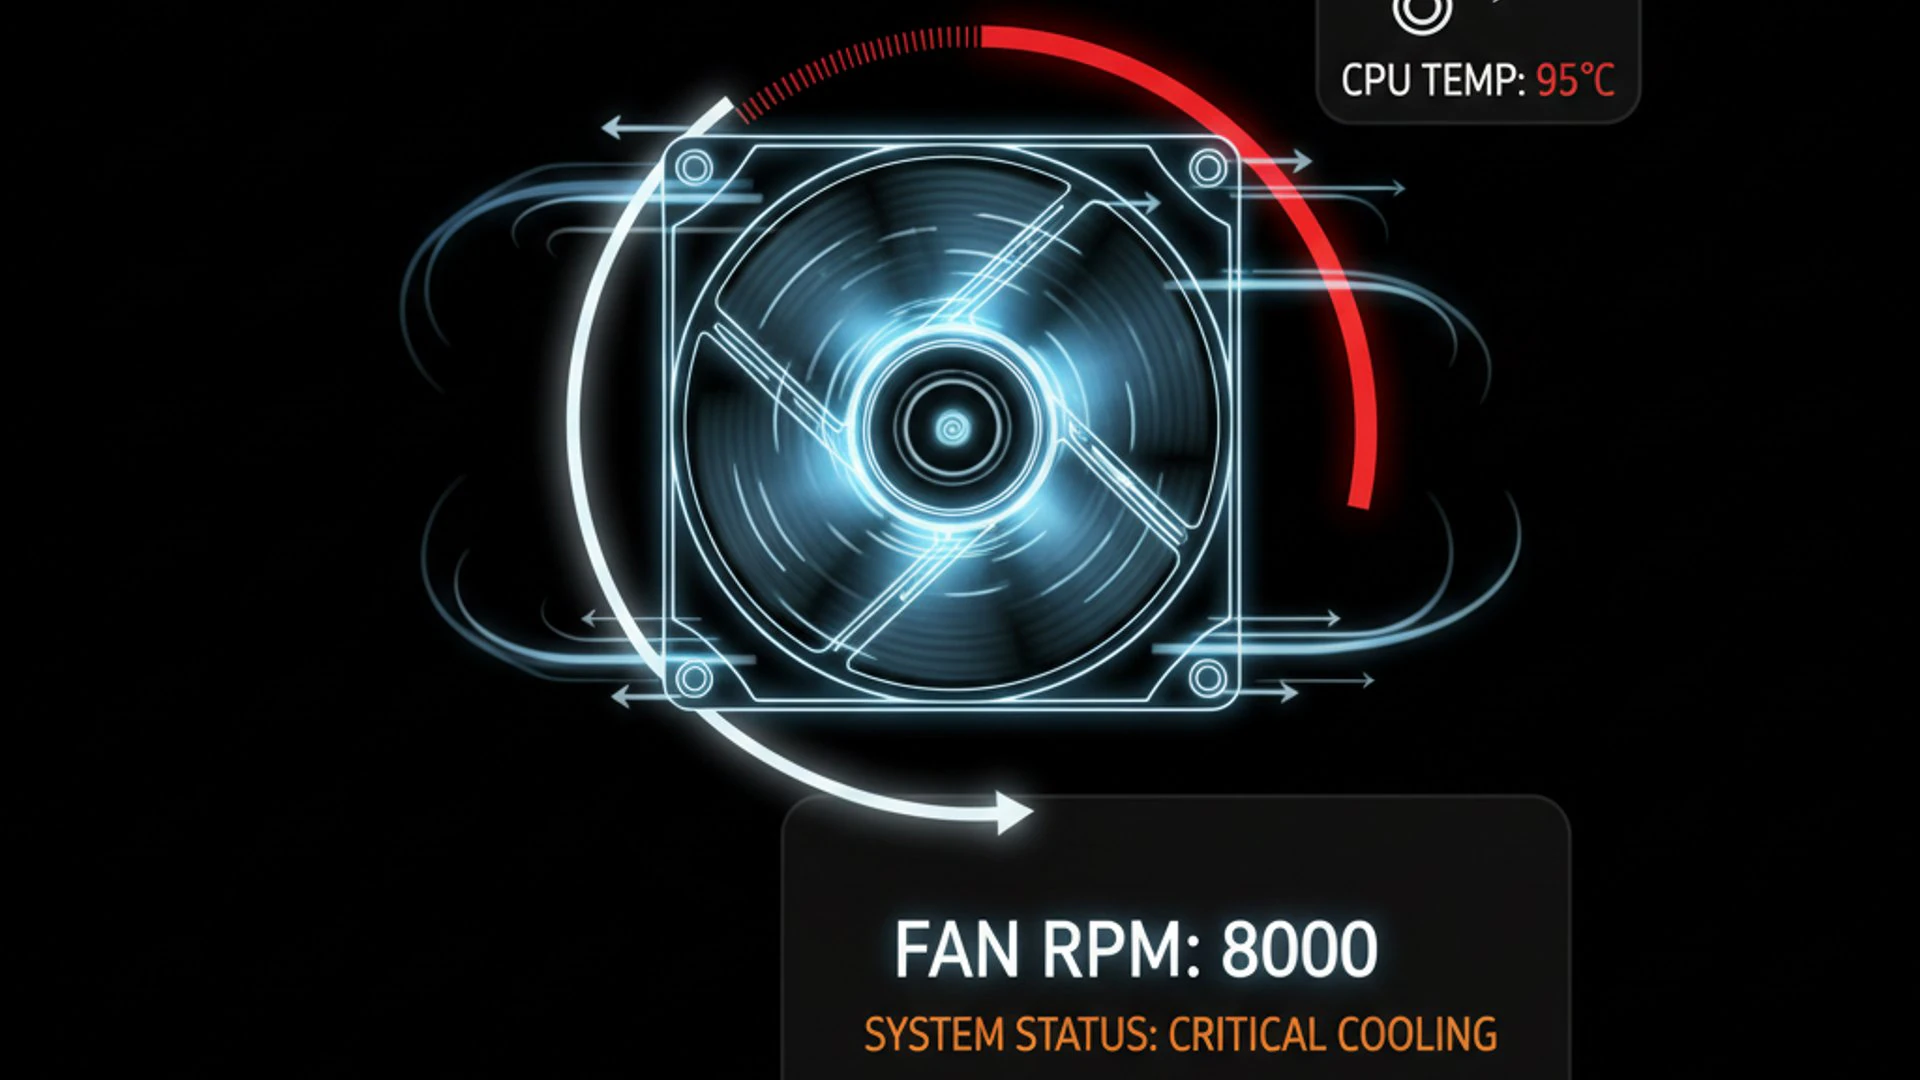
The key here is to gain access to your system, usually through Safe Mode, to diagnose and rectify the software anomaly. This section will guide you through the common software culprits and their respective solutions.
Updating or Rolling Back Graphics Drivers
Graphics drivers are critical software components that allow your operating system to communicate with your graphics card. Corrupted, outdated, or incompatible graphics drivers are a very common cause of display issues, including a black screen. When the system struggles with display output, it might increase fan speed as a precautionary measure or due to increased load.
The first step is often to update your graphics drivers. Manufacturers frequently release updates to improve performance and fix bugs. However, sometimes a new driver version can introduce instability, making a rollback necessary. This is a common scenario for a fan running at full speed black screen Windows 11.
If you can access Windows, even in Safe Mode, here’s how to manage your drivers:
- Press
Win + Xand select Device Manager. - Expand Display adapters.
- Right-click on your graphics card (e.g., NVIDIA, AMD, Intel).
- Select Update driver and choose “Search automatically for updated driver software.”
- If an update doesn’t help or causes issues, right-click again and select Properties. Go to the Driver tab and click Roll Back Driver if the option is available.
- Alternatively, visit your graphics card manufacturer’s website (NVIDIA, AMD, Intel) to download the latest stable driver directly.
Always download drivers from the official manufacturer’s website to ensure compatibility and avoid malicious software. Installing a clean driver can often resolve persistent black screen issues. Remember to restart your system after any driver changes.
Accessing Safe Mode to Manage Drivers
When your system presents a black screen, accessing Windows normally might be impossible. This is where Safe Mode becomes invaluable. Safe Mode starts Windows with a minimal set of drivers and services, making it an ideal environment to troubleshoot software conflicts without interference from potentially problematic components.
There are several ways to enter Safe Mode in Windows 11, even without a display:
- Repeated Interruptions: If your PC fails to boot normally three times in a row, Windows 11 will automatically enter the Automatic Repair environment. From there, you can access Safe Mode. To force this, power on your PC, then hold the power button down for 5-10 seconds as soon as the Windows logo appears (or before it fully loads) to force a shutdown. Repeat this 2-3 times.
- From Automatic Repair: Once in the Automatic Repair environment, select Advanced options > Troubleshoot > Advanced options > Startup Settings > Restart. After restarting, you’ll see a list of options. Press
4orF4for “Enable Safe Mode” or5orF5for “Enable Safe Mode with Networking.”
“Safe Mode is your diagnostic lifeline when Windows refuses to cooperate. It strips away non-essential elements, allowing you to address critical driver or software issues without further complications.”
Once in Safe Mode, you can proceed to update or roll back your graphics drivers as described in the previous section. You can also uninstall recently installed software that might be causing conflicts. This controlled environment is crucial for resolving a fan running at full speed black screen Windows 11 when normal boot is impossible.
Scanning for Malware and System Corruptions
Malware can severely compromise your system’s stability, leading to unexpected behavior such as black screens, high resource usage, and erratic fan speeds. Similarly, corrupted system files can prevent Windows from functioning correctly. Addressing these issues is vital for restoring system health.
Even if you have an antivirus installed, a deep scan is recommended, especially if you suspect malware. Windows 11 includes powerful built-in tools to help with both malware detection and system file integrity.
Here’s how to proceed:
- Windows Security (Defender): Open Windows Security (search for it in the Start menu). Go to Virus & threat protection, then click Scan options. Select Full scan and click Scan now. This can take a considerable amount of time but is thorough.
- Malwarebytes (Third-party): Consider running a scan with a reputable third-party anti-malware tool like Malwarebytes Free. It often catches threats that Windows Defender might miss.
- System File Checker (SFC): This tool scans for and repairs corrupted Windows system files. Open Command Prompt as an administrator (search for “cmd”, right-click, “Run as administrator”) and type
sfc /scannow, then press Enter. - Deployment Image Servicing and Management (DISM): If SFC finds issues it can’t fix, or if SFC itself fails, DISM can repair the Windows image. In an elevated Command Prompt, type
DISM /Online /Cleanup-Image /RestoreHealthand press Enter.
Running these scans can identify and fix underlying system corruption or malicious infections that might be contributing to your black screen and fan issues. A clean system is a stable system, reducing the likelihood of a fan running at full speed black screen Windows 11.
Addressing Recent Windows Updates or Software Installations
Sometimes, the solution to a black screen and loud fans lies in something you recently changed. A newly installed program, a driver update, or even a Windows Update can introduce conflicts that destabilize your system. Windows 11, while generally robust, isn’t immune to these issues.
If your black screen problem started shortly after a specific event, that event is a strong candidate for the cause. This is where system restore points or uninstalling recent changes become critical tools.
Consider these steps:
- Uninstall Recent Software: If you installed any new applications just before the issue started, try uninstalling them. Access Settings > Apps > Installed apps, sort by install date, and uninstall the suspicious program. Do this in Safe Mode if necessary.
- Roll Back Windows Updates: Windows updates can occasionally cause problems. If the issue began after an update:
- Go to Settings > Windows Update > Update history.
- Click Uninstall updates.
- Select the most recent update and click Uninstall.
- Use System Restore: If you have System Restore points enabled, you can revert your system to a previous state when it was working correctly. Search for “Create a restore point” in the Start menu, then click System Restore. This won’t affect your personal files but will remove recently installed apps and drivers.
Reverting to a known good configuration can often resolve software-induced black screen problems. This is particularly effective if the problem appeared immediately after a system change. Always ensure you have a backup strategy in place before making significant system changes.
Hardware-Related Issues Leading to Black Screen and Loud Fans
When software troubleshooting doesn’t yield results, the focus shifts to hardware. A black screen accompanied by fans spinning at maximum speed is a classic symptom of hardware distress. This usually indicates that a critical component is either failing, overheating, or not receiving adequate power.
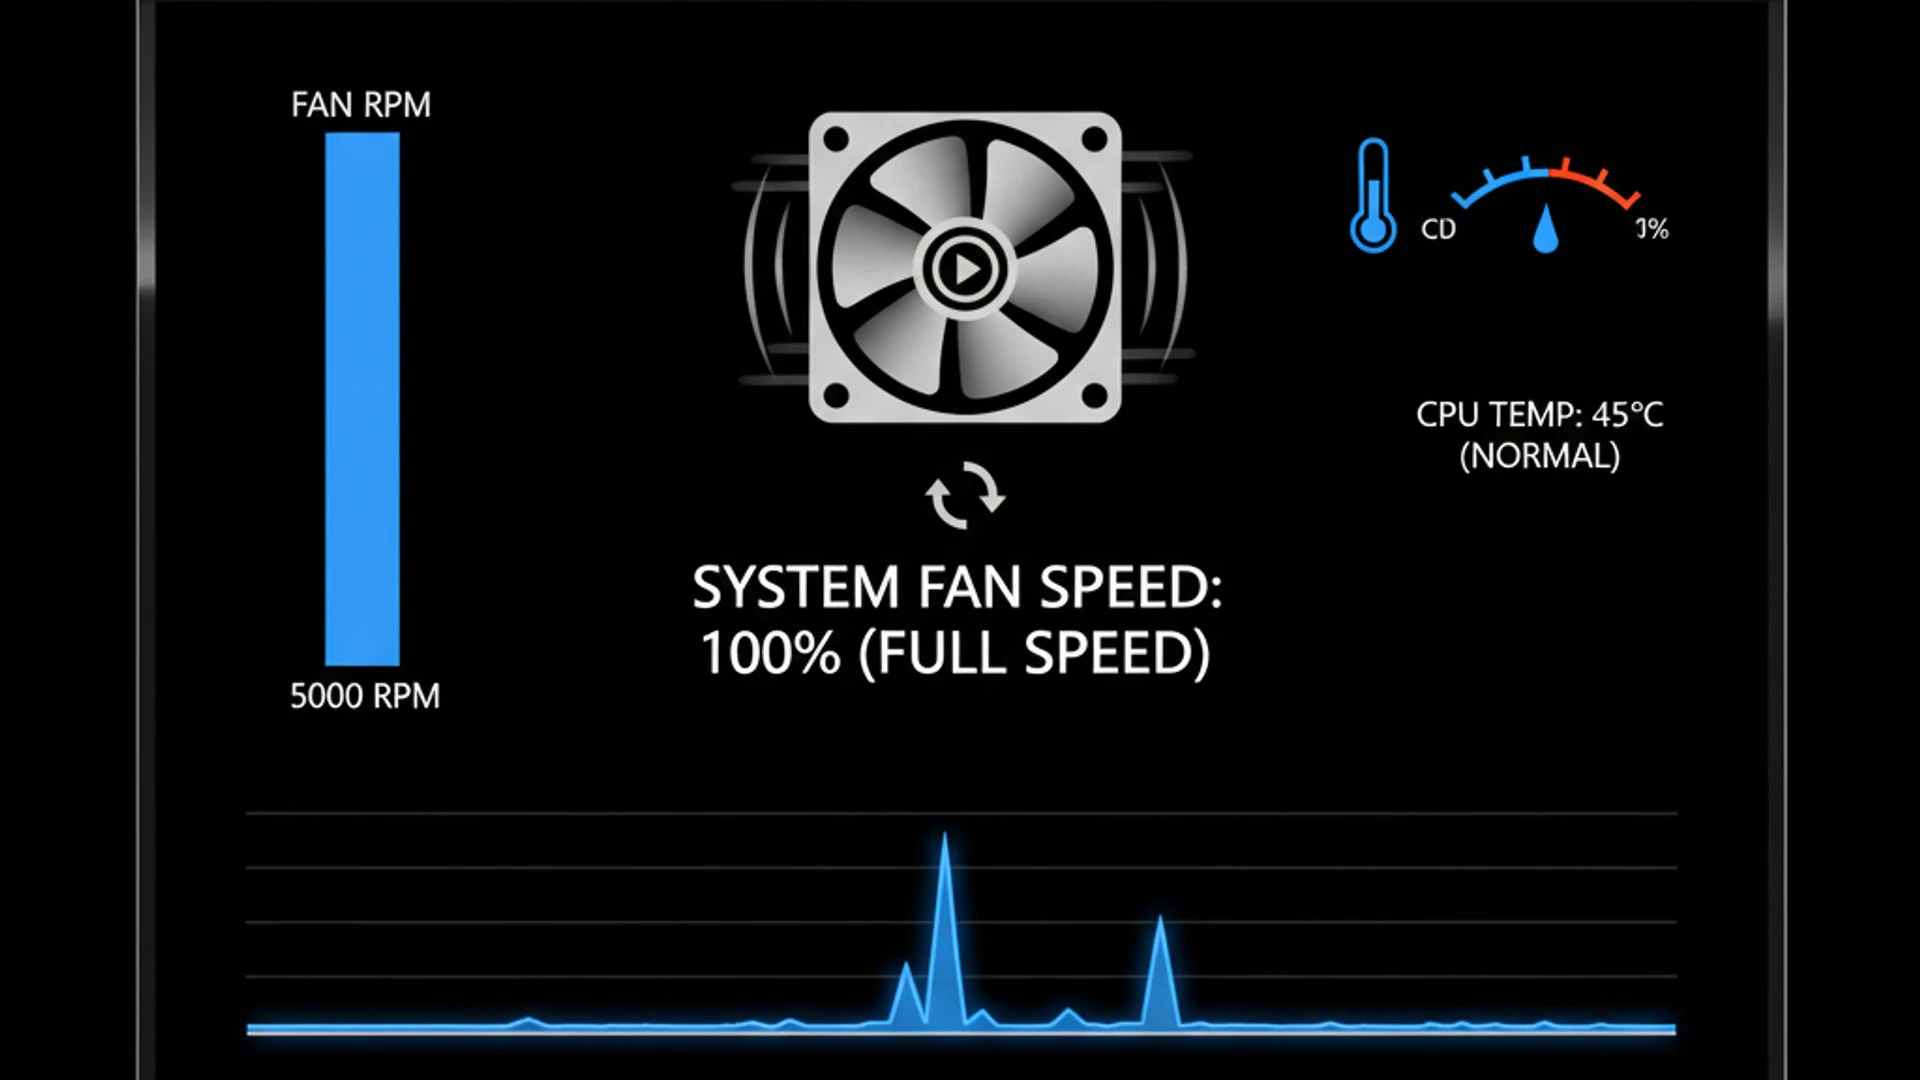
Diagnosing hardware issues requires a more hands-on approach, often involving opening your PC case. Always ensure your computer is powered off and unplugged before touching internal components to prevent electric shock or damage.
Overheating: The Primary Culprit
Overheating is one of the most common hardware reasons for a fan running at full speed black screen Windows 11. When critical components like the CPU or GPU reach dangerously high temperatures, the system’s protective mechanisms kick in. This often involves spinning fans at maximum speed to dissipate heat and, if temperatures continue to rise, shutting down the display or the entire system to prevent permanent damage.
The loud fans are a clear indicator that your system is trying desperately to cool itself down. If the cooling fails, the black screen acts as an emergency shutdown. Identifying and addressing overheating is paramount.
Monitoring CPU and GPU Temperatures
To confirm if overheating is the cause, you need to monitor your system’s temperatures. This usually requires third-party software, as Windows 11 doesn’t have a built-in, easily accessible temperature monitor for all components. If you can get a brief display or boot into Safe Mode, you can install these tools.
Popular and reliable temperature monitoring tools include:
- HWMonitor: A free, lightweight tool that displays temperatures, voltages, and fan speeds for various components.
- MSI Afterburner: Primarily for GPU overclocking, but excellent for monitoring GPU temperature, usage, and fan speed.
- Core Temp: Specifically designed to monitor CPU core temperatures.
Install one of these tools and observe your CPU and GPU temperatures. Normal idle temperatures are typically between 30-50°C, while under load they should ideally stay below 80-85°C. If your temperatures are consistently spiking above 90°C, especially just before the black screen, overheating is almost certainly your problem.
Cleaning Internal Components and Ensuring Proper Airflow
Dust accumulation is the silent killer of PC components. Over time, dust clogs heatsinks, fans, and vents, severely impeding airflow and reducing cooling efficiency. This directly leads to higher temperatures and can cause a fan running at full speed black screen Windows 11.
Regular cleaning is essential for maintaining optimal system temperatures:
- Power Down and Unplug: Ensure your PC is completely off and disconnected from power.
- Open the Case: Carefully remove the side panel(s) of your desktop PC. For laptops, consult your manual for safe opening procedures.
- Use Compressed Air: With short bursts, blow dust out of heatsinks (CPU cooler, GPU cooler), case fans, and power supply vents. Hold fans in place to prevent them from spinning too fast and potentially damaging their bearings.
- Clean Fan Blades: Use a soft brush or cotton swab to gently clean dust from fan blades.
- Check Thermal Paste: If your CPU or GPU is consistently running hot despite cleaning, the thermal paste between the component and its heatsink might have dried out. Replacing thermal paste is an advanced step and should only be attempted if you are comfortable with it.
- Ensure Good Airflow: Make sure no cables are obstructing airflow paths inside the case. Ensure intake and exhaust fans are oriented correctly. Keep your PC in a well-ventilated area, not cramped against a wall or in a dusty cabinet.
A clean system with unobstructed airflow will run cooler and quieter, significantly reducing the chances of overheating-induced black screens. This preventative maintenance is crucial for the longevity and stability of your Windows 11 PC.
RAM and Storage Drive Malfunctions
While less common than graphics driver or overheating issues, faulty RAM (Random Access Memory) or a failing storage drive (SSD/HDD) can also lead to system instability, including a black screen and erratic fan behavior. When RAM fails, the system might not even be able to boot, or it might crash unexpectedly. A failing storage drive can cause system freezes, boot failures, and general unresponsiveness.
Diagnosing these components often involves specific tests or isolation methods.
For RAM issues:
- Reseat RAM: Power off and unplug your PC. Open the case and carefully remove and reinsert each RAM stick into its slot. Ensure they are firmly clicked into place.
- Test RAM Sticks Individually: If you have multiple RAM sticks, try booting your PC with only one stick at a time. Rotate through each stick and each slot to identify a potentially faulty module or slot.
- Run Memory Diagnostic: Windows 11 has a built-in Memory Diagnostic Tool. Search for “Windows Memory Diagnostic” in the Start menu and follow the prompts to restart and run the test. This can identify errors in your RAM.
For Storage Drive issues:
- Check Cables: Ensure the SATA data and power cables for your SSD/HDD are securely connected.
- Listen for Unusual Noises: For HDDs, listen for clicking, grinding, or unusual noises, which are strong indicators of mechanical failure.
- Use S.M.A.R.T. Data: Tools like CrystalDiskInfo can read your drive’s S.M.A.R.T. (Self-Monitoring, Analysis, and Reporting Technology) data, which can predict impending drive failure.
- Boot from a Live USB: If your system fails to boot from its primary drive, try booting from a Windows installation USB or a Linux Live USB. If the system runs stably from the live environment, it points to an issue with your primary Windows installation or storage drive.
Malfunctioning RAM or a storage drive can cause critical system errors that prevent the display from initializing or lead to system crashes. Addressing these components is crucial for a stable Windows 11 experience.
Power Supply Unit (PSU) Instability
The Power Supply Unit (PSU) is the heart of your computer, delivering power to all components. An unstable or failing PSU can manifest in a variety of perplexing ways, including a black screen and fans running at full speed. This often happens when the PSU can no longer deliver stable voltage or sufficient wattage to all components, especially under load.
When the CPU or GPU demands power, and the PSU can’t provide it, the system might react erratically, leading to a display cutout while other components, like fans, might spin wildly due to inconsistent power signals or a protective measure.
Diagnosing a PSU can be challenging without specialized equipment, but here are some indicators and steps:
- Random Shutdowns/Restarts: If your PC randomly shuts down or restarts, especially during demanding tasks, it could be a PSU issue.
- Burning Smell: A distinct burning smell emanating from your PC is a serious indicator of a failing PSU or other component. Shut down immediately.
- Intermittent Issues: If the black screen issue is intermittent and seems to occur under specific conditions (e.g., when launching a game), the PSU might be struggling with transient power demands.
- Visual Inspection: Power off and unplug your PC. Open the case and visually inspect the PSU. Look for bulging capacitors or signs of burning.
- PSU Tester: If you have access to a PSU tester, you can check if the voltages are within acceptable ranges. This is the most reliable way to test a PSU without swapping it out.
- Swap Test: The most definitive way to test a PSU is to swap it with a known good, compatible unit. This requires another PSU and some technical comfort.
A failing PSU is a serious concern as it can potentially damage other components. If you suspect your PSU is the culprit behind the fan running at full speed black screen Windows 11, it’s often best to replace it with a reputable brand that provides sufficient wattage for your system’s components.
Advanced Troubleshooting: BIOS/UEFI and System Integrity
If the more common software and hardware checks haven’t resolved your black screen and full fan speed issue, it’s time to delve into more advanced areas. This includes interacting with your system’s fundamental firmware (BIOS/UEFI) and leveraging powerful Windows tools to repair deep-seated system file corruptions. These steps require a bit more technical comfort but can be crucial for resolving persistent problems.
Accessing and modifying BIOS/UEFI settings should be done with caution, as incorrect changes can prevent your system from booting. Always consult your motherboard’s manual before making significant changes.
Resetting BIOS/UEFI Settings to Default
The BIOS (Basic Input/Output System) or its modern successor, UEFI (Unified Extensible Firmware Interface), is the firmware that initializes your computer’s hardware before the operating system loads. Incorrect or corrupted BIOS/UEFI settings can lead to boot failures, hardware conflicts, and, consequently, a black screen.
Resetting these settings to their factory defaults can often resolve issues caused by accidental changes, overclocking attempts, or corrupted firmware configurations. This is a critical step when facing a fan running at full speed black screen Windows 11 and other troubleshooting has failed.
To reset BIOS/UEFI settings:
- Access BIOS/UEFI: During startup, repeatedly press the designated key (commonly
Del,F2,F10, orF12) to enter the BIOS/UEFI setup utility. You might need to be quick, especially if you have a black screen and are guessing. - Find Reset Option: Navigate through the menus to find an option like “Load Setup Defaults,” “Load Optimized Defaults,” or “Reset to Default.” The exact wording varies by motherboard manufacturer.
- Save and Exit: Select the reset option, confirm, then choose “Save and Exit” to restart your computer.
- CMOS Clear (Hardware Reset): If you cannot access BIOS/UEFI, or if the software reset doesn’t help, you can perform a hardware reset by clearing the CMOS (Complementary Metal-Oxide-Semiconductor) memory. This involves:
- Powering off and unplugging your PC.
- Opening the case.
- Locating the small, coin-sized CMOS battery on the motherboard and carefully removing it for 5-10 minutes.
- Alternatively, locate the “Clear CMOS” jumper pins on your motherboard and follow your manual’s instructions to short them.
- Reinsert the battery/reset the jumper and close the case.
Clearing the CMOS or resetting BIOS/UEFI settings will revert all custom configurations, including boot order and fan curves, to their factory settings. This can eliminate configuration-related conflicts that might be causing your black screen.
Checking for BIOS/UEFI Updates
Just like drivers, BIOS/UEFI firmware can have bugs or compatibility issues that are resolved with updates. A newer BIOS/UEFI version might offer better hardware support, improved stability, or fixes for specific issues that could be causing your black screen and fan problems. This is especially true for newer hardware or after a significant Windows update.
Updating BIOS/UEFI is a more advanced procedure and carries a small risk. A power outage or interruption during the update process can permanently damage your motherboard, rendering it unusable. Proceed with caution and only if necessary.
Steps to check and update BIOS/UEFI:
- Identify Motherboard: Use a tool like CPU-Z or check your system information (
msinfo32in Run dialog) to find your motherboard model and current BIOS version. - Visit Manufacturer’s Website: Go to your motherboard manufacturer’s official support website (e.g., ASUS, MSI, Gigabyte, ASRock).
- Download Latest BIOS: Search for your specific motherboard model and download the latest stable BIOS/UEFI update file. Read the instructions carefully.
- Follow Update Procedure: Most manufacturers provide detailed instructions, often involving placing the update file on a USB drive and using a built-in BIOS/UEFI flash utility. Ensure your system is on a stable power source (e.g., UPS) during the update.
“BIOS/UEFI updates are powerful tools for system stability, but they demand utmost care. Always follow your motherboard manufacturer’s instructions precisely to avoid irreparable damage.”
Only update your BIOS/UEFI if there’s a specific reason, such as new hardware compatibility, security fixes, or if it’s explicitly recommended as a solution for your problem. A successful update can sometimes resolve deep-seated hardware initialization issues that contribute to a fan running at full speed black screen Windows 11.
Running System File Checker (SFC) and DISM
Corrupted or missing system files can lead to a wide range of Windows 11 issues, including unexpected black screens and system instability. Even if you’ve already run these tools as part of malware checks, it’s worth revisiting them if the problem persists. These command-line utilities are designed to repair the core integrity of your Windows installation.
The System File Checker (SFC) tool scans for and restores corrupted Windows system files. The Deployment Image Servicing and Management (DISM) tool is a more powerful utility used to repair the Windows image itself, which SFC relies upon.
To run these tools:
- Open Command Prompt as Administrator: If you can access Windows, search for “cmd,” right-click on “Command Prompt,” and select “Run as administrator.” If you’re in the Automatic Repair environment (from repeated failed boots), you can access Command Prompt from there.
- Run SFC: Type
sfc /scannowand press Enter. Let the scan complete. It will attempt to find and repair any corrupted system files. - Run DISM (if SFC fails or reports issues): If SFC reports that it couldn’t fix all issues, or if you suspect deeper corruption, run DISM. Type
DISM /Online /Cleanup-Image /RestoreHealthand press Enter. This command uses Windows Update to download necessary files to repair the image. An internet connection is usually required. - Run SFC Again: After DISM completes, it’s a good practice to run
sfc /scannowone more time to ensure all system files are now in good order.
These tools can fix underlying Windows corruption that might be causing your system to crash or display a black screen. A stable operating system environment is fundamental to preventing issues like a fan running at full speed black screen Windows 11.
Preventing Future Occurrences: Best Practices
Once you’ve resolved the frustrating issue of a black screen with fans roaring, the next logical step is to implement preventative measures. Proactive maintenance and smart usage habits can significantly reduce the likelihood of encountering such critical system failures again. Prevention is always better than cure, especially when it comes to the complex ecosystem of a Windows 11 PC.
These best practices focus on maintaining system health, ensuring components operate within safe parameters, and protecting your investment from common pitfalls.
Regular System Maintenance and Cleaning
Dust, dirt, and debris are the silent enemies of computer hardware. Over time, they accumulate inside your PC, clogging heatsinks, fans, and vents, leading to reduced cooling efficiency and increased operating temperatures. This is a primary cause of overheating, which can trigger a fan running at full speed black screen Windows 11.
Establishing a routine for physical and digital cleaning is crucial:
- Physical Cleaning:
- Every 3-6 months, power down and unplug your PC. Open the case and use compressed air to clear dust from CPU and GPU heatsinks, case fans, and PSU vents.
- Wipe down exterior surfaces and monitor screens with a microfiber cloth.
- Ensure your PC is in a well-ventilated area, away from carpets (which generate more dust) and direct sunlight.
- Digital Cleaning:
- Regularly uninstall unused programs to free up disk space and reduce background processes.
- Use Disk Cleanup (search for it in Windows) to remove temporary files and system junk.
- Periodically defragment HDDs (SSDs do not need defragmentation; ensure TRIM is enabled).
- Run antivirus and anti-malware scans regularly.
A clean system runs cooler, quieter, and more efficiently. This simple habit can drastically extend the lifespan of your components and prevent many performance-related issues.
Keeping Drivers and Windows Up to Date
Outdated or buggy drivers and an unpatched Windows operating system are common sources of instability. Manufacturers and Microsoft constantly release updates to improve performance, enhance security, and fix known issues. Neglecting these updates can leave your system vulnerable to conflicts and errors.
Maintaining an up-to-date system is a cornerstone of preventative maintenance:
- Windows Updates: Ensure Windows Update is set to automatically download and install updates. Regularly check Settings > Windows Update for pending updates. While updates can occasionally introduce issues, they generally provide critical fixes and security enhancements.
- Graphics Drivers: Periodically check your graphics card manufacturer’s website (NVIDIA, AMD, Intel) for the latest stable drivers. Install them to ensure optimal performance and compatibility.
- Other Drivers: Don’t forget other important drivers like chipset drivers, audio drivers, and network drivers. These can usually be found on your motherboard manufacturer’s website.
While it’s wise to wait a few days after a major update release to ensure no widespread issues are reported, staying current generally leads to a more stable and secure computing experience. This proactive approach minimizes the chances of driver conflicts or system vulnerabilities leading to a fan running at full speed black screen Windows 11.
Investing in Quality Power Protection
Power fluctuations, surges, and outages are common occurrences that can wreak havoc on your computer’s sensitive electronics. A sudden spike or drop in voltage can damage components, corrupt data, or even cause immediate system failure. A reliable power protection solution is an essential investment for any PC user.
Protecting your system from power anomalies is a critical preventative measure:
- Surge Protector: At a minimum, connect your PC and monitor to a high-quality surge protector. This device diverts excess voltage away from your electronics during a power surge, protecting them from damage.
- Uninterruptible Power Supply (UPS): For the best protection, invest in a UPS. A UPS provides battery backup power during an outage, giving you time to safely save your work and shut down your computer. It also conditions the power, protecting against sags, spikes, and brownouts.
A UPS is particularly beneficial for preventing data corruption during unexpected shutdowns and ensuring your system receives clean, stable power. This can prevent issues that might otherwise lead to a black screen, especially those related to PSU instability or component damage from erratic power. Protecting your power source is a smart way to ensure the longevity and reliability of your Windows 11 system.
When to Seek Professional Help
Despite your best efforts and diligent troubleshooting, there are instances where the problem of a fan running at full speed black screen Windows 11 might persist. Knowing when to call in the experts can save you further frustration, potential damage to your system, and ultimately, money.
Recognizing the limits of your own technical expertise is a sign of good judgment. Professional technicians have specialized tools, diagnostic equipment, and extensive experience that can pinpoint elusive hardware failures or complex software conflicts that are beyond the scope of typical user troubleshooting.
Consider seeking professional help if:
- No Display After Basic Checks: You’ve performed all initial diagnostic steps (hard reset, cable checks, peripheral disconnection) and still get no display.
- Inability to Access Safe Mode: You cannot even get into Safe Mode or the Windows Recovery Environment, indicating a fundamental boot issue.
- Persistent Beep Codes: Your motherboard consistently emits specific beep codes that indicate a hardware failure you can’t resolve (e.g., RAM, GPU, CPU failure).
- Suspected PSU or Motherboard Failure: You suspect a critical component like the power supply or motherboard is failing, and you lack the expertise or spare parts to test/replace them safely.
- Physical Damage: You notice any signs of physical damage, burning, or bulging components inside your PC.
- Lack of Confidence: You are uncomfortable opening your PC case or performing more advanced troubleshooting steps like BIOS/UEFI updates.
- Time is Critical: You rely heavily on your computer for work or essential tasks, and you need a quick and reliable resolution.
A professional technician can accurately diagnose the problem, often with specialized equipment, and perform repairs or component replacements safely and efficiently. They can also advise on potential upgrades or preventative measures specific to your system. Don’t hesitate to reach out to a reputable computer repair service when the problem exceeds your comfort level or available resources.
Conclusion: Restoring Stability to Your Windows 11 System
The experience of a fan running at full speed black screen Windows 11 can be incredibly unsettling, signaling a critical issue that demands a systematic and patient approach to resolution. From simple cable checks to complex hardware diagnostics and software repairs, understanding the potential causes is the first step towards restoring your system’s stability.
We’ve explored a wide array of troubleshooting methods, starting with immediate actions like hard resets and peripheral checks, moving through software-related conflicts such as graphics driver issues and malware, and finally delving into significant hardware problems like overheating, RAM malfunctions, and PSU instability. Advanced steps like BIOS/UEFI resets and system file integrity checks provide further avenues for resolution.
Remember that preventative measures are just as crucial as troubleshooting. Regular cleaning, keeping your drivers and Windows 11 updated, and investing in quality power protection can significantly reduce the chances of encountering such a severe issue again. A well-maintained system is a reliable system.
By following the steps outlined in this guide, you are empowered to diagnose and potentially fix many instances of this frustrating problem. Should the issue persist, knowing when to seek professional assistance ensures your valuable hardware is in capable hands. Ultimately, a methodical approach and proactive maintenance are your best allies in maintaining a healthy, high-performing Windows 11 environment.
For more interesting articles, stay tuned to Winsides.com!









Community
Comments (0)