

Introduction to KB5083631 on Windows 11
In the dynamic world of operating systems, keeping your software updated is not merely a recommendation; it’s a fundamental necessity for maintaining both security and optimal performance. For users of Microsoft’s latest desktop OS, understanding the various updates that roll out is crucial. Among these, cumulative updates play a particularly significant role, bundling a host of improvements and fixes into a single package. For additional context, see Windows Update FAQ, Windows 11 Release Information, Microsoft Update Catalog, SFC command documentation, and DISM command documentation.
One such update that has garnered attention is KB5083631 on Windows 11. This specific knowledge base article refers to a cumulative update designed to enhance the stability, security, and functionality of your Windows 11 experience. While updates are intended to be beneficial, their installation can sometimes lead to unexpected challenges, from minor glitches to more significant system disruptions.
This comprehensive guide aims to demystify KB5083631, providing you with a thorough understanding of its purpose, the impact it has on your system, and, most importantly, how to navigate any issues that might arise during or after its installation. We’ll explore common error codes, offer practical troubleshooting steps, and delve into advanced solutions to ensure your Windows 11 remains robust and responsive.
By the end of this article, you’ll be equipped with the knowledge to confidently manage and troubleshoot KB5083631 on Windows 11, ensuring a smoother and more secure computing journey. Let’s dive into the specifics of this important update and empower you with the tools to keep your system in top shape.
Table of contents
Key Takeaways
- KB5083631 is a Cumulative Update: It bundles multiple security patches, bug fixes, and performance improvements for Windows 11.
- Crucial for Security and Stability: Installing this update helps protect your system from vulnerabilities and enhances overall system reliability.
- Common Installation Issues Exist: Users might encounter error codes like 0x800f081f or 0x8007000d, or experience installation failures and rollbacks.
- Troubleshooting is Essential: Built-in tools like the Windows Update Troubleshooter and manual installation via the Microsoft Update Catalog are effective first steps.
- Advanced Solutions are Available: For persistent problems, System File Checker (SFC), DISM, and even in-place upgrades can resolve deeper system corruption.
- Proactive Update Management: Pausing updates, reviewing update history, and knowing how to uninstall problematic updates are key best practices.
- Ensuring Optimal Performance: Properly managing and troubleshooting updates like KB5083631 contributes significantly to a stable and efficient Windows 11 environment.
What is KB5083631? Understanding its Purpose and Scope
When you see an update labeled with a “KB” number, it refers to a Microsoft Knowledge Base article. These articles provide detailed information about specific updates, fixes, or issues related to Microsoft products. KB5083631 on Windows 11 is no exception; it identifies a particular cumulative update released for the operating system.
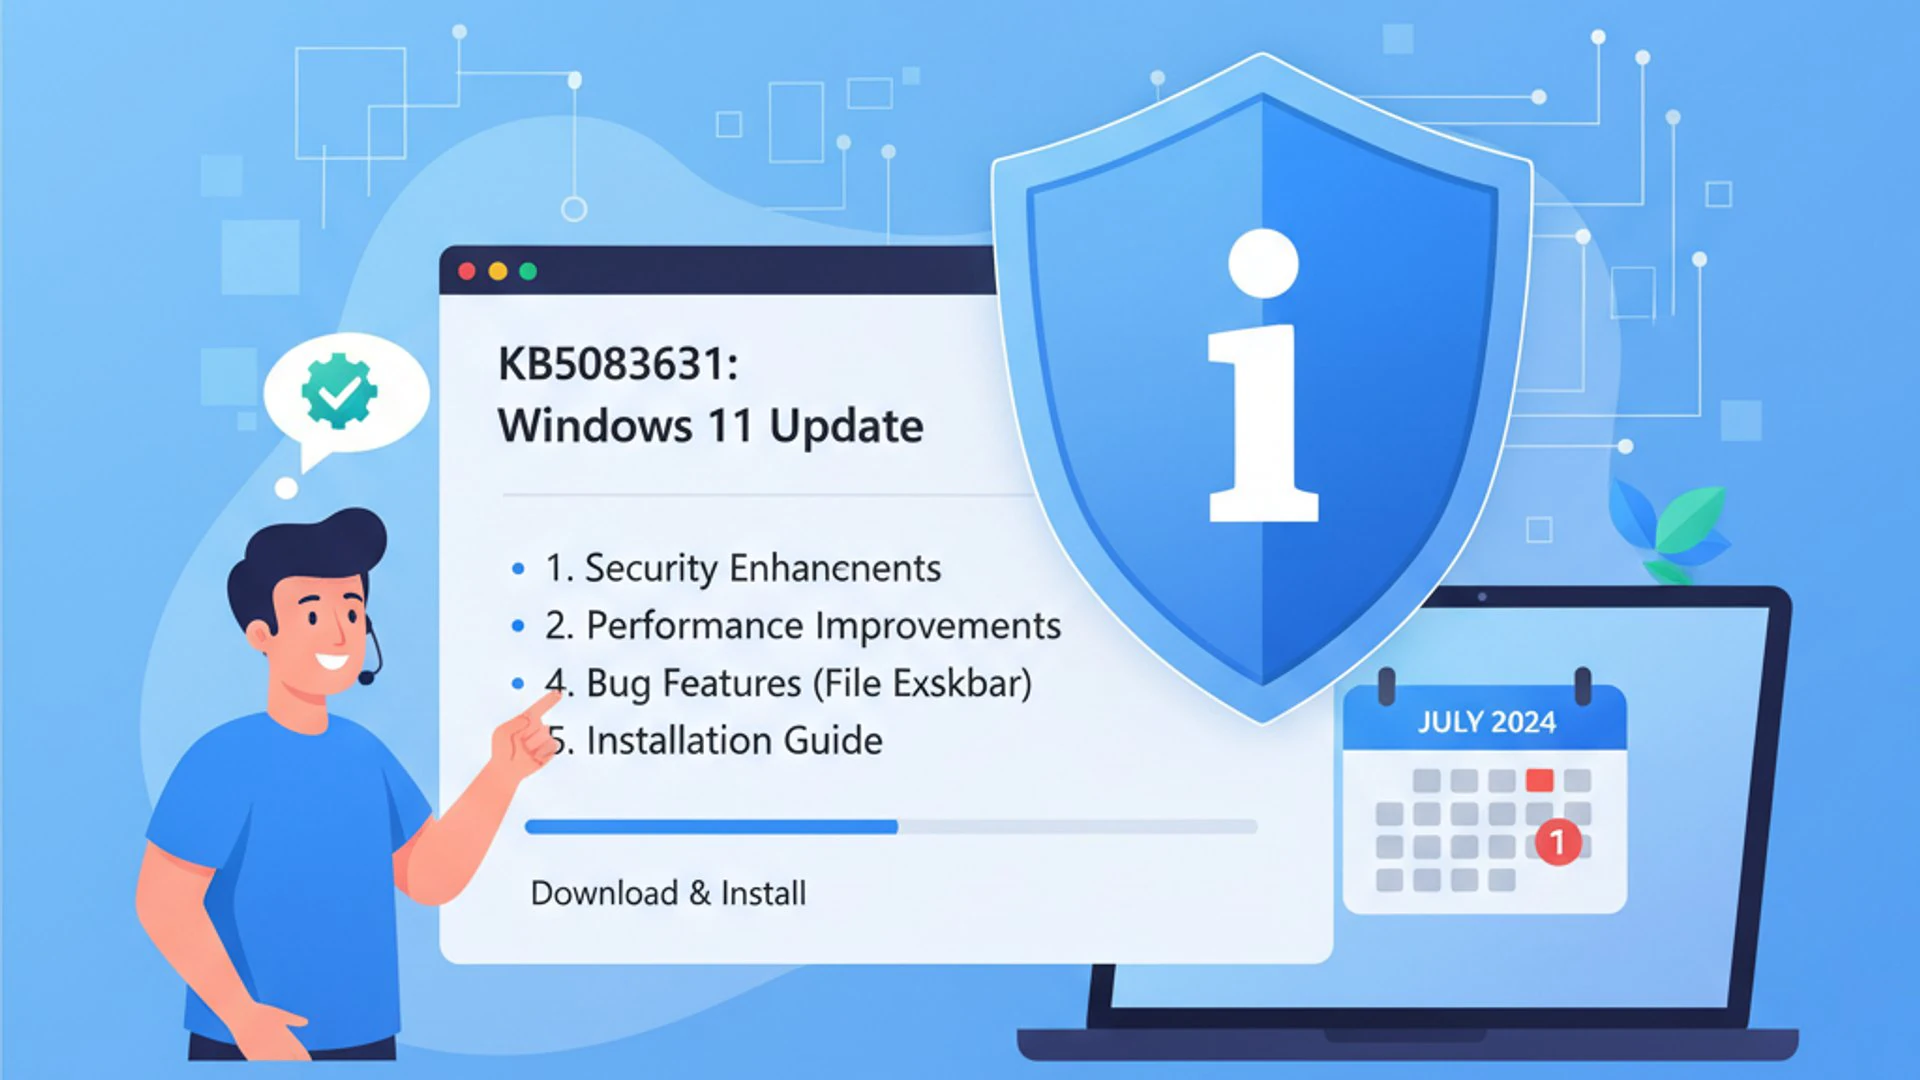
Understanding the nature of these updates is fundamental to appreciating their importance. They are not standalone patches for a single issue but rather comprehensive packages designed to bring your system up to date with a wide array of improvements. This approach simplifies the update process for users and ensures that all necessary fixes are applied simultaneously.
The Nature of Cumulative Updates in Windows 11
Cumulative updates are a cornerstone of Microsoft’s servicing model for Windows 11. Unlike older update models where individual patches were released for specific vulnerabilities or bugs, cumulative updates bundle all previously released fixes and new enhancements into a single, ever-growing package. This means that installing the latest cumulative update brings your system fully up-to-date, regardless of how many previous updates you might have missed.
This method offers several advantages. It streamlines the update process, reducing the number of reboots required and simplifying deployment for both individual users and IT administrators. However, it also means that the size of these updates can be substantial, and any issue within the cumulative package can potentially affect a broad range of system components.
Each cumulative update builds upon the last, incorporating all prior fixes. This design ensures that systems are consistently patched against known threats and benefit from the latest performance optimizations. It’s a robust system, though not without its occasional complexities, particularly when an update encounters conflicts with existing system configurations or software.
Specific Enhancements and Fixes Introduced by KB5083631
While the exact details of every cumulative update can vary, KB5083631 on Windows 11 typically delivered a range of critical improvements. These often include security patches that address newly discovered vulnerabilities, protecting your system from potential exploits and malware. Microsoft continuously monitors for threats, and these updates are their primary mechanism for defense.
Beyond security, such updates also focus on stability and performance. This could mean resolving bugs that cause applications to crash, fixing memory leaks that slow down your system, or optimizing core operating system processes for better responsiveness. For instance, an update might improve the efficiency of background tasks or refine how Windows handles system resources.
Furthermore, cumulative updates often include general quality improvements and reliability enhancements. These are subtle changes that might not be immediately noticeable but contribute to a smoother, more consistent user experience over time. They can address issues with hardware compatibility, network connectivity, or even minor graphical glitches that users might have reported.
In essence, KB5083631 was designed to make your Windows 11 system more secure, more stable, and more enjoyable to use. It’s a testament to Microsoft’s ongoing commitment to refining their operating system based on user feedback and emerging technological landscapes. Keeping track of these updates, even if just broadly, helps you understand the evolution of your OS.
How KB5083631 Impacts System Performance and Stability
The primary goal of any Windows update, including KB5083631 on Windows 11, is to improve the overall user experience. This encompasses two critical areas: system performance and stability. When an update is successfully integrated, users should ideally notice a more responsive and reliable operating environment.
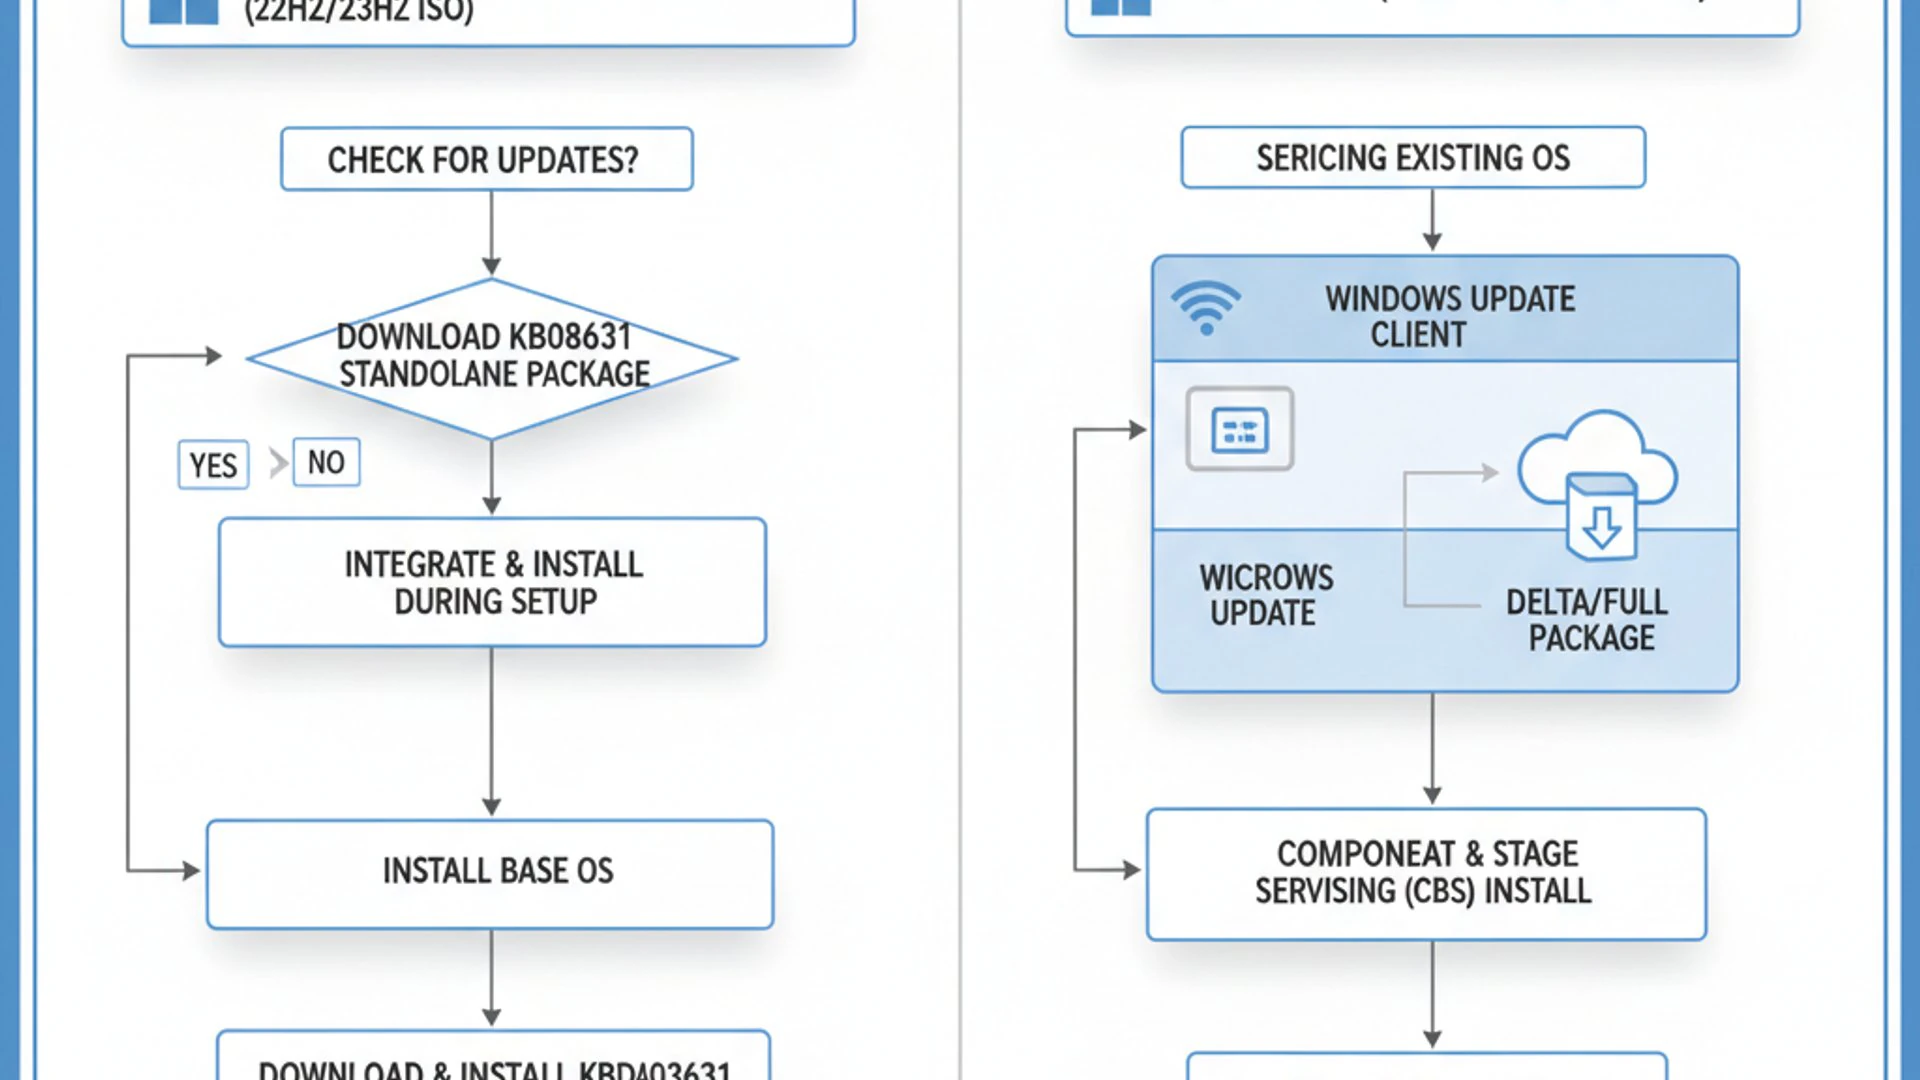
Microsoft invests significant resources in identifying bottlenecks, resolving software conflicts, and patching security vulnerabilities. These efforts culminate in cumulative updates that aim to make your Windows 11 system run more efficiently and securely than before. Understanding these impacts helps appreciate the value of regular updates.
Potential Performance Benefits and Optimizations
One of the most anticipated aspects of any major update is the promise of performance enhancements. KB5083631 on Windows 11 often includes optimizations targeting various system components. These could range from improvements in boot times, making your computer ready for use faster, to more efficient resource management, allowing applications to run more smoothly.
For example, an update might refine how the operating system handles CPU cycles, ensuring that background processes don’t unnecessarily consume resources that foreground applications need. It could also include memory management improvements, reducing instances of memory leaks that can degrade performance over time. These subtle changes collectively contribute to a snappier, more responsive system.
Furthermore, updates often contain driver improvements or compatibility fixes for specific hardware components. This can lead to better performance for graphics cards, network adapters, or storage devices, ensuring they operate at their peak efficiency with Windows 11. Such optimizations are vital for users engaged in demanding tasks like gaming, video editing, or complex data analysis.
Regularly installing cumulative updates like KB5083631 is paramount for unlocking the full potential of your Windows 11 system, ensuring it benefits from the latest performance tweaks and stability enhancements.
Addressing Known Vulnerabilities and Security Patches
Perhaps the most critical aspect of any Windows update is its role in bolstering security. The digital landscape is constantly evolving, with new threats and vulnerabilities emerging regularly. KB5083631 on Windows 11, like all cumulative updates, plays a vital role in patching these security gaps, protecting your system from malicious attacks.
These security patches can address a wide range of vulnerabilities, from flaws in core operating system components to weaknesses in built-in applications. They help prevent unauthorized access, data breaches, and the spread of malware. Without these updates, your system could be exposed to significant risks, potentially compromising your personal information and system integrity.
For instance, an update might fix a vulnerability that could allow a remote attacker to execute arbitrary code on your machine, or it could patch a privilege escalation flaw that an attacker could use to gain administrative control. These are not trivial issues; they are fundamental to maintaining a secure computing environment.
By installing KB5083631 on Windows 11, you are essentially fortifying your digital defenses. It’s a proactive measure that significantly reduces the attack surface for cybercriminals, ensuring that your data and privacy remain protected. This continuous cycle of identifying and patching vulnerabilities is what keeps Windows 11 a relatively secure platform in a hostile online world.
Common Issues and Error Codes Associated with KB5083631 Installation
While updates are designed to enhance your system, the installation process for KB5083631 on Windows 11 can sometimes be less than smooth. Users occasionally encounter various problems, ranging from minor annoyances to significant roadblocks that prevent the update from completing successfully. Recognizing these common issues and understanding their associated error codes is the first step toward effective troubleshooting.
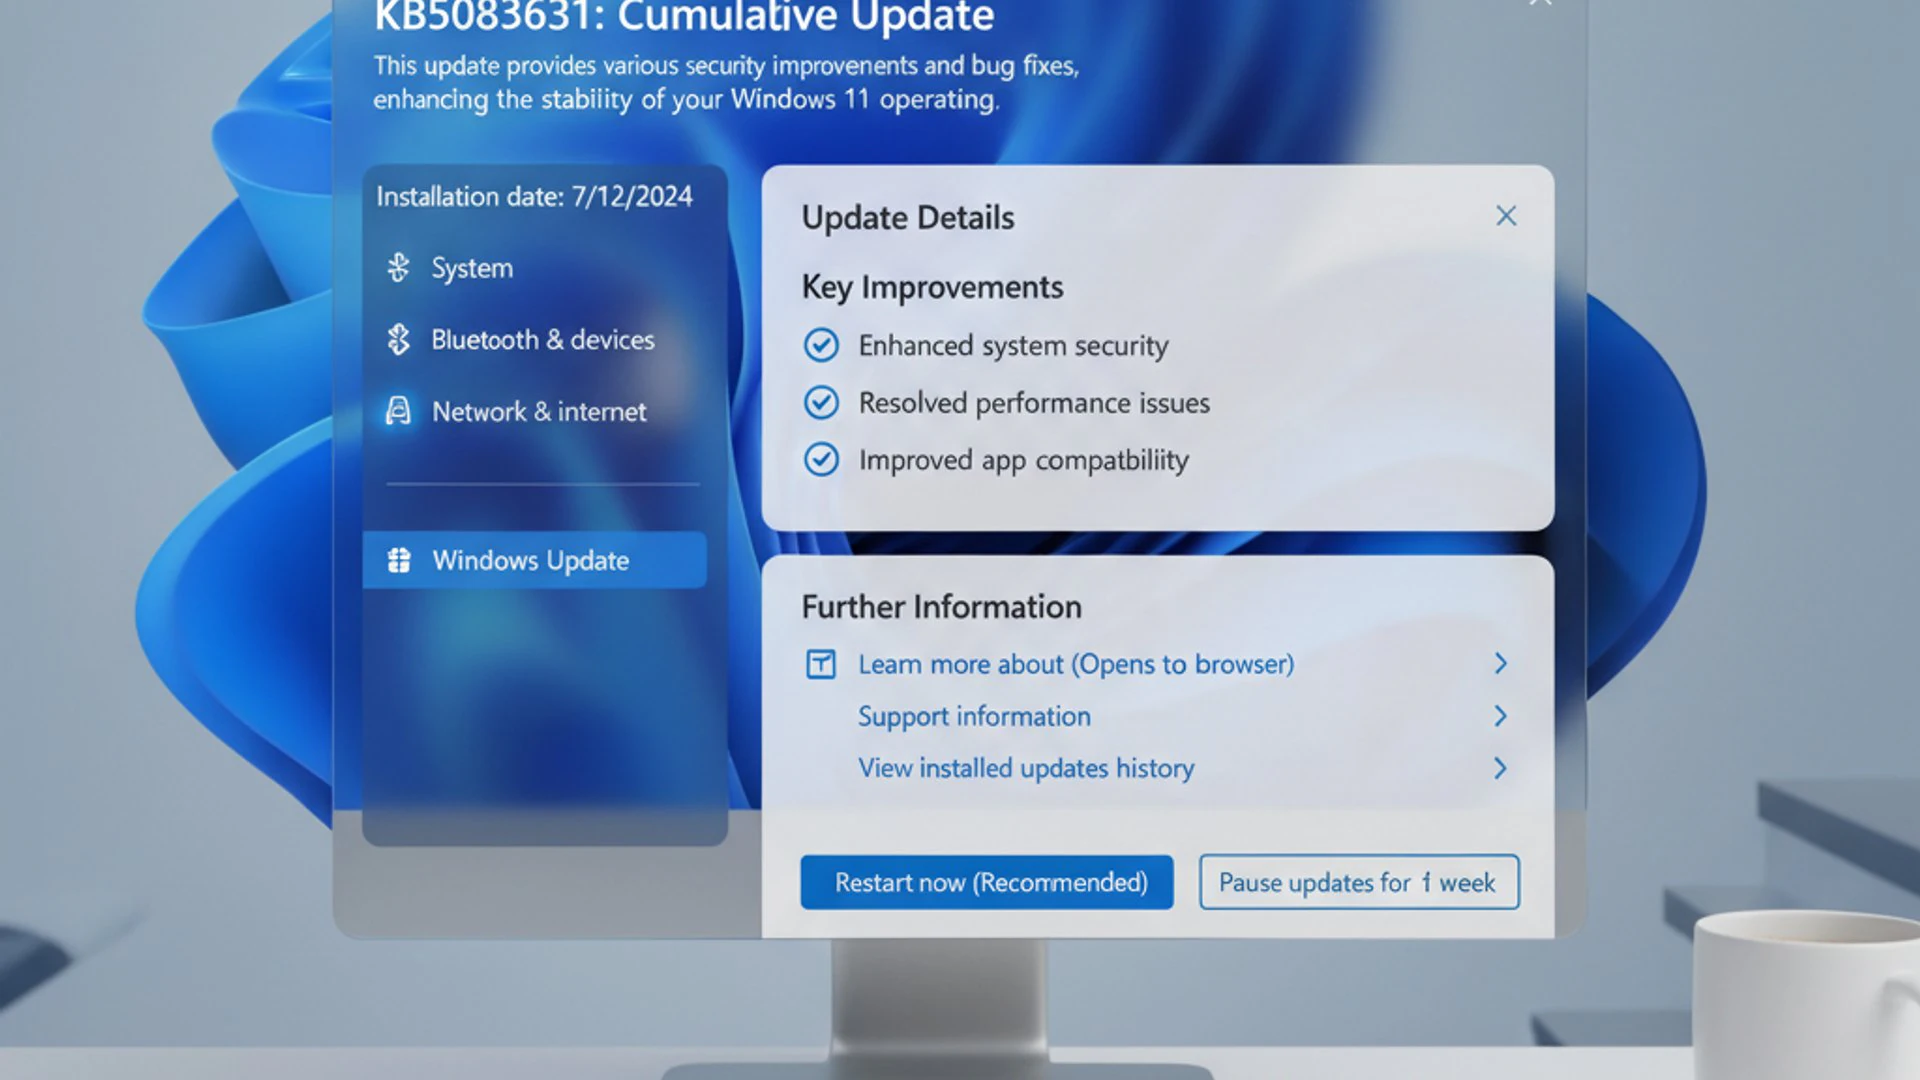
These problems can stem from a multitude of factors, including corrupted update files, conflicts with existing software, insufficient disk space, or underlying system file corruption. Microsoft’s error codes, though often cryptic, provide valuable clues about the nature of the problem, guiding you towards a solution.
Installation Failures and Rollbacks
One of the most frustrating experiences for users is when an update, such as KB5083631 on Windows 11, fails to install. This often manifests as the system attempting to apply the update, restarting multiple times, and then ultimately reverting to its previous state. You might see a message like “We couldn’t complete the updates. Undoing changes.”
These rollbacks indicate that the system encountered a critical error during the update process that it couldn’t resolve automatically. The system then wisely decides to revert to a stable configuration rather than risk becoming unbootable. While frustrating, it’s a protective mechanism.
Common reasons for installation failures include insufficient disk space on the system drive, conflicts with antivirus software, corrupted system files, or issues with the Windows Update components themselves. Identifying the root cause is key to preventing future failures and successfully applying the update.
Error Code 0x800f081f: Understanding and Resolving
The error code 0x800f081f is a frequently encountered issue when trying to install updates like KB5083631 on Windows 11. This error typically signifies that Windows Update cannot find the source files needed to complete the installation. It often points to issues with the Windows Component Store or corrupted system files.
Essentially, your system is looking for a specific file or component that is either missing, damaged, or inaccessible. This can happen if previous updates were not installed correctly, or if there’s underlying corruption within the operating system’s core files. It’s a common indicator that the system’s integrity might be compromised.
Resolving 0x800f081f often involves repairing the Windows Component Store and ensuring system file integrity. Tools like DISM (Deployment Image Servicing and Management) and SFC (System File Checker) are invaluable in addressing this specific error, as they can scan for and repair corrupted system files that are preventing the update from proceeding.
Error Code 0x8007000d: Diagnostics and Solutions
Another common error code that users might encounter during the installation of KB5083631 on Windows 11 is 0x8007000d. This error generally translates to “The data is invalid,” indicating that the update files themselves are corrupted or incomplete. It suggests that the downloaded package is not in a usable state for installation.
This issue can arise from various factors, such as an unstable internet connection during the download, an interruption in the download process, or even a problem with the Windows Update cache where the files are temporarily stored. It’s a direct indication that the integrity of the update package is compromised.
To resolve 0x8007000d, the primary approach involves clearing the Windows Update cache and attempting to re-download the update. This ensures that a fresh, uncorrupted copy of the update package is obtained. Sometimes, temporarily disabling antivirus software can also help, as it might interfere with the download or verification process.
Post-Installation Problems: Performance Degradation or Feature Malfunctions
Even if KB5083631 on Windows 11 appears to install successfully, users might occasionally face issues immediately after the update. These post-installation problems can manifest as unexpected performance degradation, where the system feels slower or less responsive than before. Applications might take longer to launch, or general navigation could become sluggish.
Another common post-installation problem is the malfunction of specific features or applications. This could involve a particular program no longer launching, certain hardware devices not being recognized, or core Windows features behaving erratically. These issues often stem from incompatibilities introduced by the update, especially if older software or drivers are involved.
Diagnosing these post-installation issues requires careful observation and sometimes a process of elimination. Checking device manager for driver conflicts, reviewing system logs for error messages, and testing applications one by one can help pinpoint the source of the problem. In some cases, rolling back the update or performing a system image backup on Windows 11 restore might be necessary if the issues are severe and persistent.
Step-by-Step Troubleshooting Guide for KB5083631 Issues
Encountering problems with KB5083631 on Windows 11 can be frustrating, but many common issues can be resolved with a systematic approach. This section provides actionable, step-by-step guidance to help you overcome update failures, error codes, and post-installation glitches. We’ll start with the simplest and most effective built-in tools before moving to more involved manual methods.
Before you begin, ensure your internet connection is stable and that you have sufficient free disk space on your system drive (at least 20-30 GB is recommended for major updates). These basic checks can prevent many common update failures.
Utilizing the Windows Update Troubleshooter
Windows 11 includes a powerful built-in troubleshooter specifically designed to diagnose and fix issues related to Windows Update. This should always be your first port of call when KB5083631 on Windows 11 fails to install or causes problems.
- Open Settings by pressing
Windows key + I. - Navigate to System > Troubleshoot.
- Click on Other troubleshooters.
- Locate Windows Update in the list and click Run.
- Follow the on-screen prompts. The troubleshooter will attempt to identify and automatically fix common issues, such as corrupted update components or incorrect service configurations.
Allow the troubleshooter to complete its scan and apply any recommended fixes. After it finishes, restart your computer and try to install KB5083631 on Windows 11 again through Windows Update. This simple step often resolves many transient update problems.
Manual Installation via Microsoft Update Catalog
If the troubleshooter doesn’t resolve the issue, or if you’re encountering persistent download problems, manually downloading and installing KB5083631 on Windows 11 from the Microsoft Update Catalog can be an effective workaround. This method bypasses the standard Windows Update service, which can sometimes be the source of the problem.
- Open your web browser and navigate to the Microsoft Update Catalog website.
- In the search bar, type
KB5083631and pressEnter. - Carefully identify the correct update for your specific Windows 11 architecture (e.g., x64). You might see multiple entries; ensure you pick the one for Windows 11.
- Click the Download button next to the appropriate update. A pop-up window will appear with a direct download link.
- Click the link to download the
.msufile to your computer. - Once downloaded, double-click the
.msufile to start the installation process. Follow the on-screen instructions.
This method ensures you have a clean, uncorrupted copy of the update package, which can resolve issues related to download integrity (like error 0x8007000d) or problems with the Windows Update service itself.
Resetting Windows Update Components
When Windows Update components become corrupted, they can prevent updates like KB5083631 on Windows 11 from installing correctly. Resetting these components clears the update cache, stops relevant services, and re-registers necessary DLLs, effectively giving the update process a fresh start. This is a more advanced step but highly effective.
- Open Command Prompt as an administrator. Search for “cmd” in the Start menu, right-click on “Command Prompt,” and select Run as administrator.
- Stop the Windows Update services by typing the following commands, pressing
Enterafter each:net stop wuauservnet stop cryptSvcnet stop bitsnet stop msiserver
- Delete the contents of the SoftwareDistribution and Catroot2 folders. These folders store temporary update files that can become corrupted.
ren C:\Windows\SoftwareDistribution SoftwareDistribution.oldren C:\Windows\System32\catroot2 Catroot2.old
- Restart the Windows Update services by typing the following commands, pressing
Enterafter each:net start wuauservnet start cryptSvcnet start bitsnet start msiserver
- Close Command Prompt and restart your computer. Then, try to install KB5083631 on Windows 11 again through Windows Update.
This process effectively clears out any potentially corrupted update data and service states, often resolving stubborn update installation failures. It’s a powerful troubleshooting step that can fix many underlying Windows Update issues.
Advanced Solutions for Persistent KB5083631 Problems
If the standard troubleshooting steps haven’t resolved your issues with KB5083631 on Windows 11, it’s time to delve into more advanced solutions. These methods target deeper system corruption or inconsistencies that might be preventing the update from installing or functioning correctly. They require a bit more technical comfort but can be highly effective.
Before proceeding with these steps, it’s always a good practice to create a system restore point or a full backup. This provides a safety net, allowing you to revert your system to a working state if anything goes awry during the process.
Performing a System File Checker (SFC) Scan and DISM Restore Health
Corrupted system files are a common culprit behind update failures, especially errors like 0x800f081f. Windows provides two powerful command-line tools to address this: System File Checker (SFC) and Deployment Image Servicing and Management (DISM).
First, run SFC to check for and repair corrupted Windows system files:
- Open Command Prompt as an administrator (search for “cmd,” right-click, and select “Run as administrator”).
- Type
sfc /scannowand pressEnter. - Allow the scan to complete. This can take some time. If it finds corrupted files, it will attempt to repair them.
If SFC reports that it couldn’t repair all files, or if the problem persists, use DISM. DISM can repair the underlying Windows image that SFC uses, making it a more robust solution for deeper corruption:
- Still in the administrator Command Prompt, type
DISM /Online /Cleanup-Image /RestoreHealthand pressEnter. - This command will use Windows Update to download and replace any corrupted files in the component store. This process can also take a while and may appear to hang at certain percentages. Be patient.
- Once DISM completes, restart your computer.
- After restarting, run the
sfc /scannowcommand again to ensure all system files are now intact.
After successfully running both SFC and DISM, attempt to install KB5083631 on Windows 11 once more. These tools are highly effective in resolving issues caused by underlying system file integrity problems.
In-Place Upgrade or Repair Installation of Windows 11
When all other troubleshooting methods fail, and you’re still struggling with KB5083631 on Windows 11, an in-place upgrade (also known as a repair installation) can be a powerful last resort. This process reinstalls Windows 11 while keeping your personal files, apps, and settings intact. It effectively refreshes the entire operating system, often resolving deep-seated corruption or conflicts.
To perform an in-place upgrade:
- Download the Windows 11 Media Creation Tool from the official Microsoft website.
- Run the tool and accept the license terms.
- Choose the option to Create installation media (USB flash drive, DVD, or ISO file) for another PC.
- Select your language, edition (Windows 11), and architecture (x64).
- Choose ISO file and save it to a location on your computer.
- Once the ISO file is downloaded, navigate to its location, right-click on it, and select Mount. This will open the ISO as a virtual drive.
- Open the mounted drive and double-click on
setup.exeto start the Windows 11 setup. - Follow the on-screen prompts. When asked, select Keep personal files and apps. This is crucial to retain your data.
- The setup will proceed to reinstall Windows 11. Your computer will restart several times during this process.
This method can take a significant amount of time, but it’s often the most reliable way to fix persistent system issues without resorting to a clean installation, which would erase all your data. After the in-place upgrade, your system should be in a much healthier state, allowing KB5083631 on Windows 11 to install correctly.
Managing Windows Updates: Best Practices for Stability
Successfully troubleshooting issues with KB5083631 on Windows 11 is only part of the equation. A proactive approach to managing your Windows updates can significantly reduce the likelihood of encountering problems in the first place. By understanding how to control and monitor updates, you can maintain a more stable and predictable computing environment.
Effective update management involves more than just clicking “Install now.” It includes strategic pausing, careful review of update history, and knowing your options for rollback. These practices empower you to take control of your system’s health.
Pausing and Resuming Updates
Windows 11 offers built-in features to pause updates, giving you a window of time to ensure that new updates don’t interfere with critical work or introduce unexpected issues. This is especially useful if you’ve heard reports of problems with a recent update, such as KB5083631 on Windows 11, and want to wait for Microsoft to release a fix.
To pause updates:
- Open Settings (
Windows key + I). - Go to Windows Update.
- Under the “Pause updates” section, use the drop-down menu to select how long you want to pause updates (e.g., 1 week, 2 weeks, up to 5 weeks).
During the paused period, your system will not download or install any new updates. You can resume updates at any time by returning to the same section and clicking Resume updates. This flexibility allows you to schedule updates during off-peak hours or after confirming their stability from other users’ experiences.
Strategically pausing updates can prevent immediate disruption, giving you time to observe community feedback or complete urgent tasks before applying potentially impactful changes.
Understanding Update History and Rollback Options
Knowing your update history is crucial for diagnosing post-installation problems. If your system starts behaving erratically after an update, reviewing the history helps you pinpoint which specific update might be the culprit. Windows 11 provides a clear log of all installed updates, including KB5083631 on Windows 11.
To view update history:
- Open Settings (
Windows key + I). - Go to Windows Update.
- Click on Update history.
Here, you’ll see a list of all installed updates, categorized by type (e.g., Quality Updates, Driver Updates, Definition Updates). If you suspect a particular update is causing issues, you have the option to uninstall it.
To uninstall a problematic update:
- In the Update history section, scroll down and click on Uninstall updates. This will open the Control Panel’s “Installed Updates” window.
- Locate the specific update you wish to remove (e.g., an update with the KB number 5083631).
- Select the update and click Uninstall at the top of the window.
- Confirm your choice and restart your computer if prompted.
Uninstalling an update effectively rolls back your system to its state before that particular update was applied. This can be a lifesaver if an update introduces severe bugs or incompatibilities, allowing you to regain system stability while waiting for a corrected version from Microsoft. Remember that uninstalling security updates can leave your system vulnerable, so this option should be used judiciously and only when necessary.
Conclusion: Ensuring a Smooth Windows 11 Experience with KB5083631
Navigating the world of Windows updates, particularly cumulative packages like KB5083631 on Windows 11, is an essential part of maintaining a healthy and secure computing environment. We’ve explored the fundamental purpose of this update, highlighting its critical role in delivering security patches, bug fixes, and performance enhancements that contribute to the overall stability and resilience of your Windows 11 system.
While updates are designed for improvement, the reality is that installation issues and post-update glitches can occur. We’ve covered common error codes such as 0x800f081f and 0x8007000d, along with practical, step-by-step troubleshooting methods. From leveraging the built-in Windows Update Troubleshooter and manually installing updates via the Microsoft Update Catalog to resetting Windows Update components, you now have a toolkit for addressing many common problems.
For more persistent challenges, we delved into advanced solutions, including using the System File Checker (SFC) and DISM tools to repair corrupted system files, and performing an in-place upgrade as a robust last resort. These methods empower you to tackle even the most stubborn update-related issues, ensuring your system’s integrity.
Finally, we emphasized the importance of proactive update management. By understanding how to pause and resume updates, reviewing your update history, and utilizing rollback options, you can exert greater control over when and how updates like KB5083631 on Windows 11 are applied. This strategic approach minimizes disruption and helps maintain consistent system stability.
In summary, keeping your Windows 11 updated is non-negotiable for security and performance. By applying the knowledge and techniques shared in this guide, you can confidently manage and troubleshoot KB5083631 on Windows 11, ensuring a smoother, more secure, and optimized computing experience. Stay vigilant, stay updated, and enjoy the full potential of your Windows 11 system.
For more interesting articles, stay tuned to Winsides.com!









Community
Comments (0)